Tag Archives: gluten free

Sweet potato cheesecakelets- egg free and vegan option


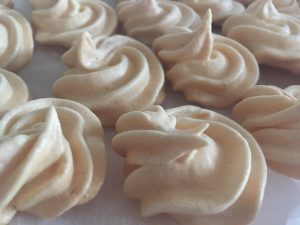
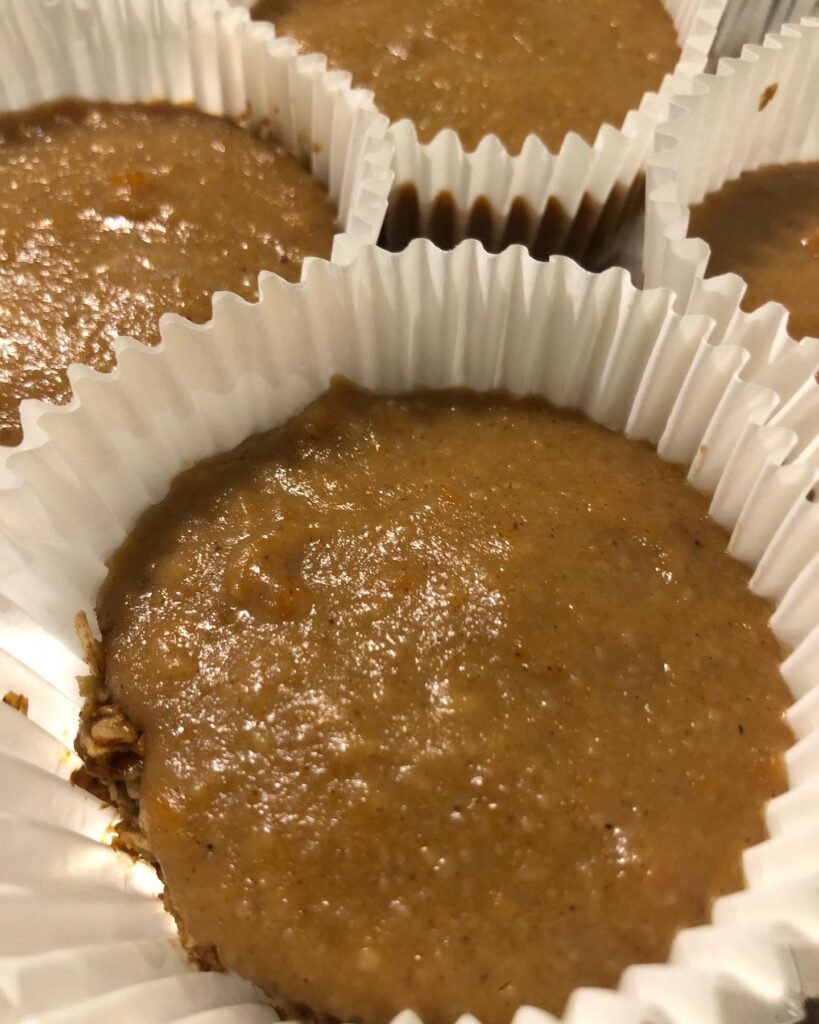
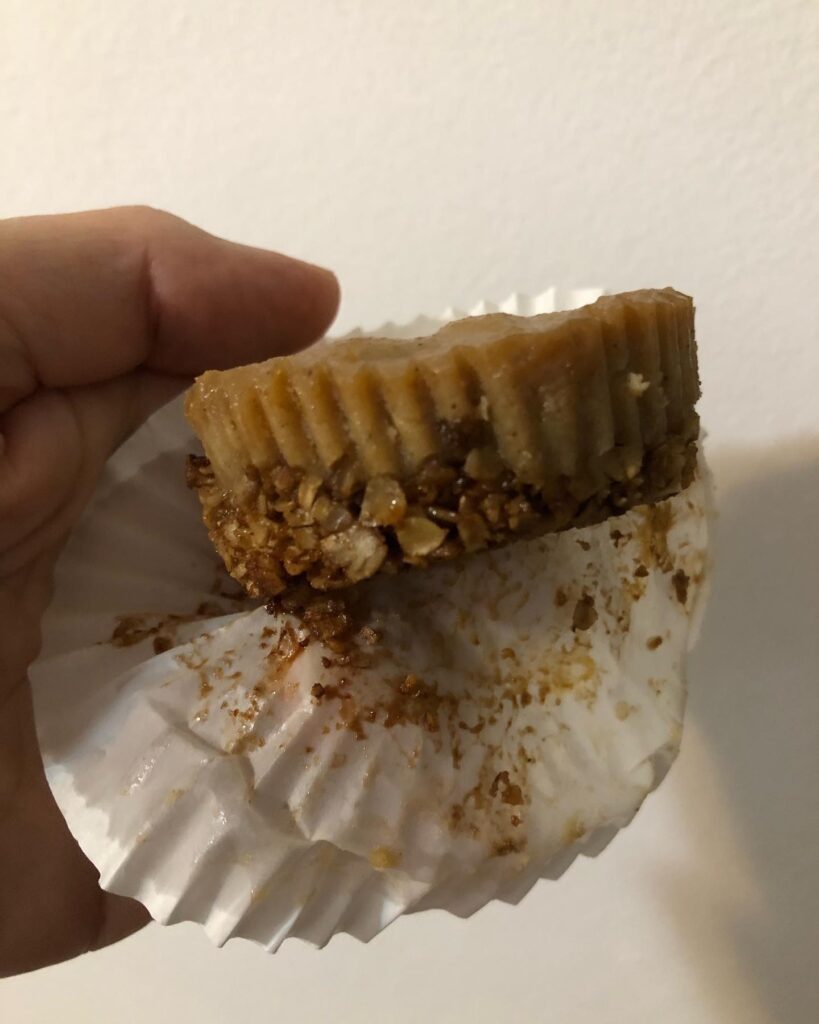
Sweet potato eggless cheesecakes
Ingredients
For the homemade cookie crust:
2 1/2 cups rolled oats
1/2 cup coconut sugar or brown sugar
3/8 teaspoon salt
1/2 cup butter/ margarine, room temperature 1/2 teaspoon vanilla
For the filling:
2- 250 gram packages cream cheese, room temperature or 1 blocks medium firm 454 grams- drained and pressed lightly
2⁄3 cup mashed sweet potato
1 tsp pumpkin pie spice or combination cinnamon, cloves, ginger/allspice
1 3⁄4 cup granulated sugar or brown sugar
 6 tablespoons milk (dairy or non dairy)
3 tablespoons cornstarch
1 teaspoons vanilla extract
1⁄4 teaspoon salt
Directions :
For the homemade crust:
1. Grease a 9″ springform pan on the bottom and up the sides. Or fill 24 muffin cups with paper
2. Preheat the oven to 350 °F (176 °C).
3. Place the crust ingredients in a food processor. Process for about 30 seconds or until when pinched together, it easily holds together.
4. Pat over the bottom and up the sides of the prepared springform pan. It won’t make it all the way to the top. Or divide evenly amongst the 24 cups and tamp down with the bottom of a glass.
5. Bake for 14-18 minutes or until lightly brown (prepare the filling while the crust bakes).
6. Remove from the oven and let cool for 5 minutes before pouring in the cheesecake filling.

To bake the cheesecake:
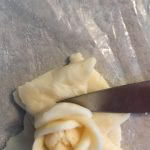
1. Poke and microwave your sweet potato for 3-4 minutes on high until baked through. Allow to cool slightly, then peel and mash/ puree.
2. Turn the oven down to 325°F(163°C).
3. In a large mixing bowl, beat the cream cheese < or drained soft tofu> and sugar using an electric hand mixer at medium speed. Beat just until well combined and creamy.
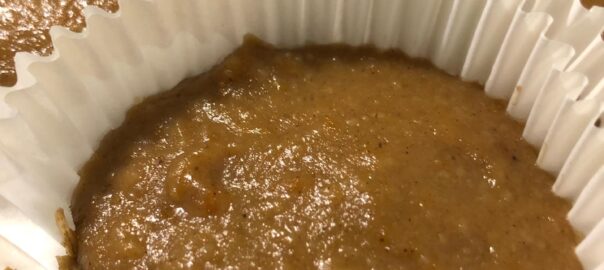
4. Mix together the milk and cornstarch until no lumps remain. Add this, the mashed sweet potato and the remaining ingredients to the cream cheese mixture. Beat on low until well incorporated. Over beating will make cracks so don’t over mix.
5. Pour over the crust/ divide evenly amongst the muffin cups.
6. Bake for 45 minutes for the full cake, 15-20 minutes for the muffin cups. The middle will still be a little jiggly.
7. Remove to a rack to cool for 2 1/2 hours.
8. Use a knife to run around the inside of the pan to loosen the crust from the pan.
9. Chill for at least 4 hours before cutting.
10. If the homemade oat crust is very firm and too difficult to cut straight from the fridge, let the cheesecake sit at room temperature for 20-30 minutes.
11. Cover and refrigerate any leftovers for up to 5 days. It can also be frozen whole or in pieces and thawed overnight in the fridge.

Original recipe this is based on:

Another Birthday, Another Kitchen Adventure

Mom is having a significant birthday in a few days, and for scheduling, the BIG PARTY was this weekend.

I offered to make her dessert. Upon asking her what she wanted, her quick response was Black Forest Cake – I got this!

We have a few varied dietary needs withithn the family realm though and so I also offered to bring something non-dairy/gluten free as a side snack for those folk.

Another awesome baker in the family, Sarah, offered to make a cake as well to cover the full-on healthy desssert option. Her cake is amazing:

Sarah’s cake

My plans: cake, moulded roses as an accent, and a variant on my granny’s butterscotch cream pe – meringues …and then I went way off road for this “variant” – maple curd

Black Forest Cake :

  • 3 layers of chocolate fudge cake – a box mix using the lower fat option – baked in 8 inch pans
  • 500 ml Whipping cream with added Oatker Stabilizer as this puppy has to travel!
  • 1 can cherry pie filing – ½ sugar very – but yes, in a can
  • 1 block from a full size bar, shaved chocolate – I hate making shaved chocolate, but I had a lovely Lindt dark chocolate bar so I was able to shave the minimum I needed to cover the patchy whipped cream sides of the cake.

Once the alyers were baked, I shaved the domes off the layers to make them flat. Assemble: layering cherry pie filling on the bottom layer, then filling and whipped cream on the 2nd layer. Cover with whipped cream in the style of your choosing and sprinkle the shaved chocolate and few saved cherries on top to make it pretty.

Meringues:

  • 4 egg whites at room temperature
  • ¼ tsp cream of tartar
  • ¼ cup icing sugar – too much – I’ll use less in the future

Whip it up good, pipe onto parchment lined cookies sheets and bake for 55 minutes at 250 degrees, then turn off the oven and let them sit for another hour or more.

Maple Curd:

The big adventure…

In a sauce pan, mix together really well:

  • 1 cup brown sugar
  • 2 tablespoons coconut milk powder

Then add and mix all together

  • ½ cup maple syrup
  • ½ cup water

Cook on medium heat until it boils and stirring constantly let it reach 105 degrees on a thermometer – maybe higher would have been better – that’s just what I did.

In a small bowl, beat

  • 4 egg yolks

Then pour some of the hot syrup into the bowl, mixxing to heat up the egg yolks, then pour the mix back into the sauce pan and let cook for another 5 minutes.

Bring off the heat and add

  • 1tsp vanilla extract
  • 1 tablespoon coconut oil

Stir well and pour into mason jars. Cool and store in fridge. Shake well before using.

This created a sauce that was drizzled over the meringues – giving a light sugar kick without dairy or gluten – but does have eggs.

Moulded chocolate roses:

Based on the method from my previous post about using moulded chocolate, I once again melted the chocolate and added the honey, then covered it with plastic and let it chill on the counter for a few horus while I did other stuff.

  • 120 grams  of white chocolate discs
  • 1 ounce of honey by weight
  • I am canadian and thus bilingual when it comes to measurements – my scale has both

After kneading the chilled chocolate, I then played witha few ways to create the roses.

The first one was made by shaping small bits of chocolate into flattened petal shapes, but they had a lot of length to them and I wouold cut it off at the abse after adding it.

For the next one I tried rolling a tiny ball in my hand then squishing it with my thumb to create each petal, and placing them overlaping around a started bud/blob. This worked better and I continued with this method for the remaining ones.

Eventually, with both techniques, it built up a lot so I have to cut off the base on each one so that it was not too thick.

I think I did pretty well for a first time! *pats self on back*