Friday morning and I am gently awakened with 20 minutes to snarf down a toaster waffle and hash brown and load up the back pack with train snacks, and head out to door.
We decided to take the LRT from Rideau to the Via Train station, and the timing worked out perfectly.
6:10 am train to Montreal with a planned adventure for the day involving two museums, two restaurants and randomness in between then the last train home.
Note: Head over to my TAVCreations blog for the photos of the dresses- both museums featured gorgeous costumes and vintage pieces!
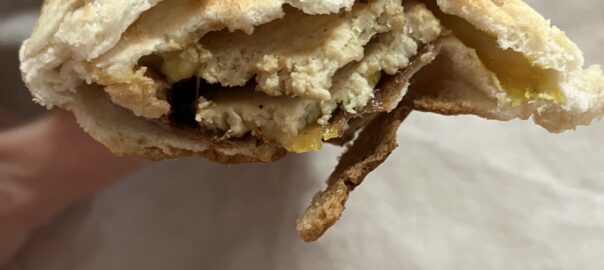
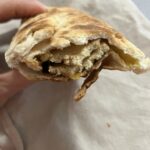
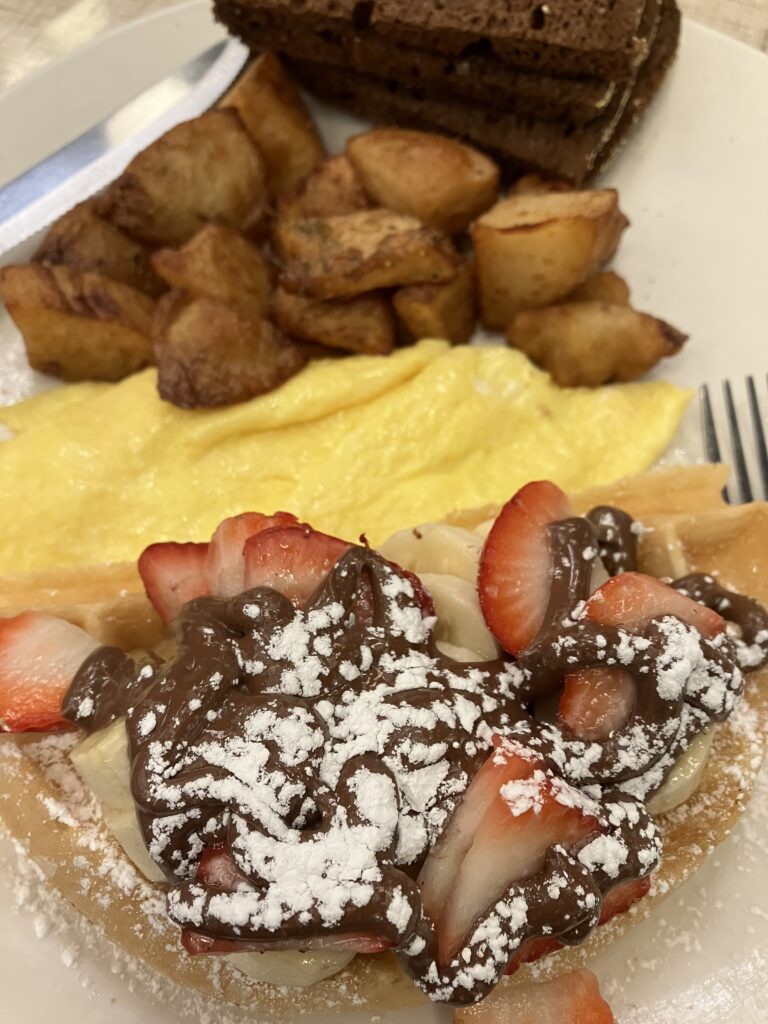
1st destination: breakfast. I had planned on a crepe place that ended up being under construction, but across the street was the universal dejeuner et grillades
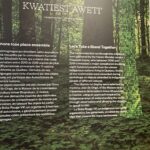
Next up: museum 1:
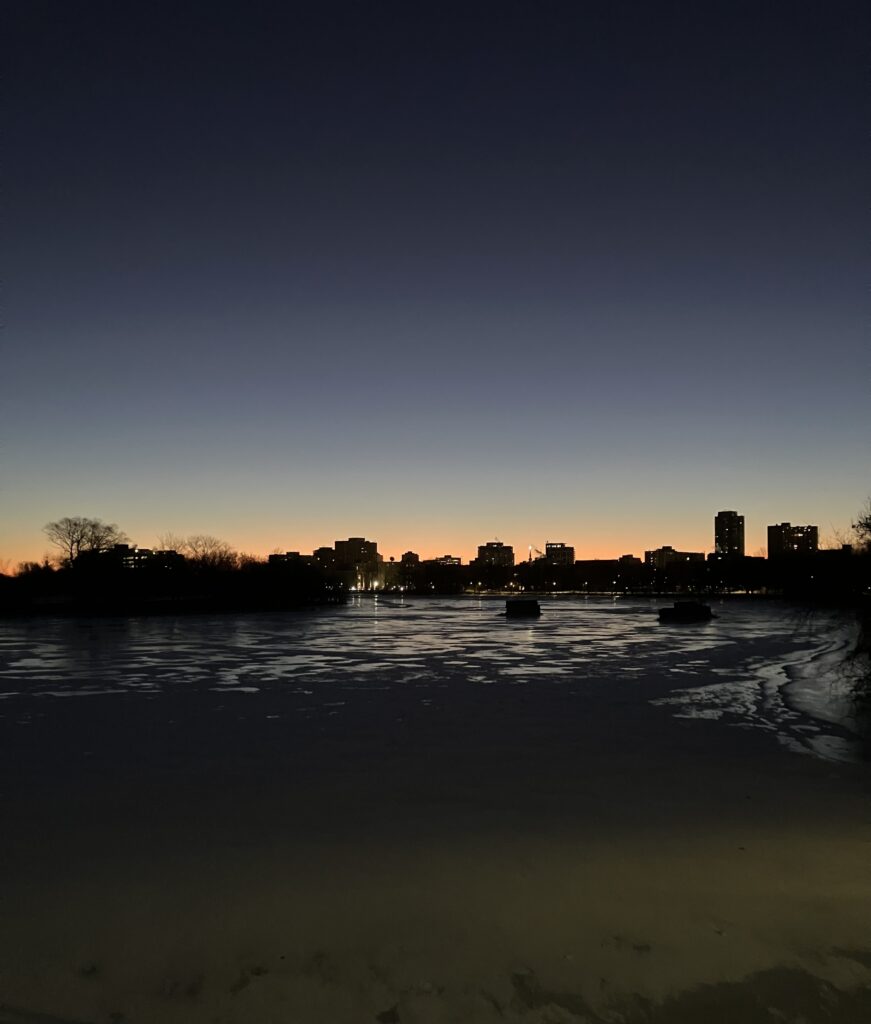
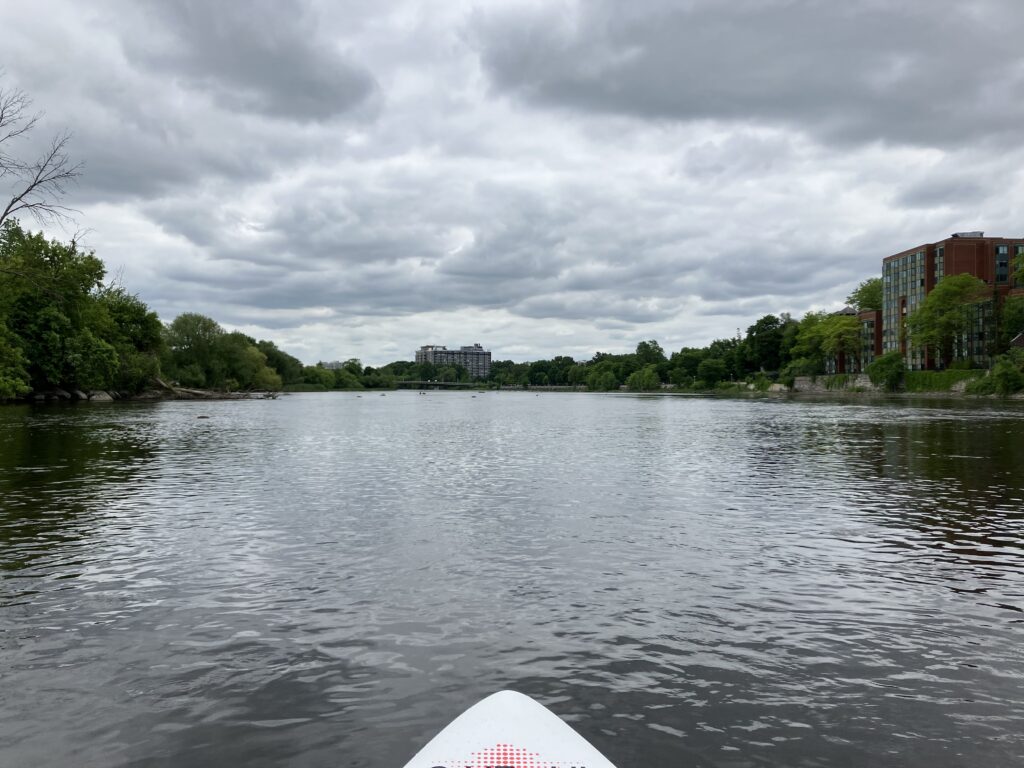
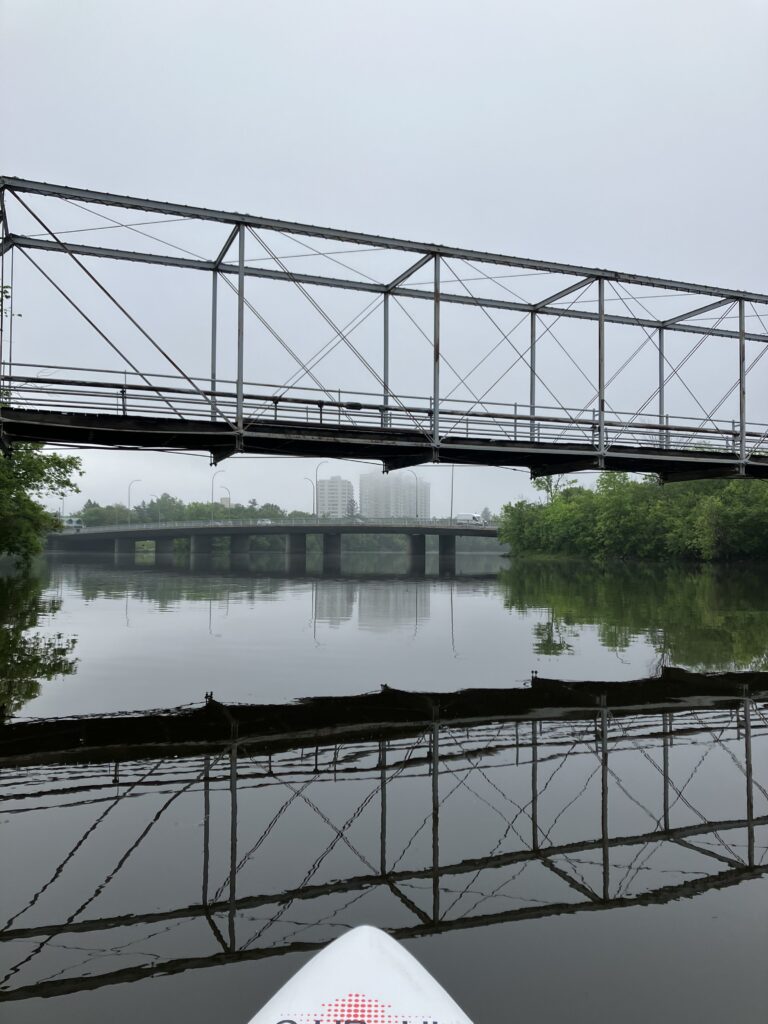
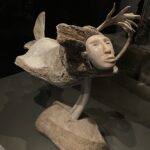
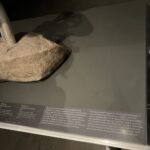
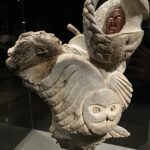
Pointe À Callière in old Montreal for the Sorcières exhibit. https://pacmusee.qc.ca/en/press-room/press-releases/press-release-witches-shadows/
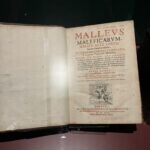


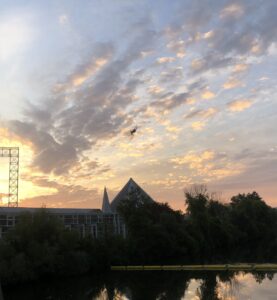
Along with the temporary exhibit, there was so much great archeological stuff. But the old river was gorgeous:

3rd stop:
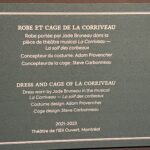
https://www.musee-mccord-stewart.ca/en/exhibitions/costume-balls/
The permanent exhibit is very meaningful and worth checking out, as are the three temporary ones…
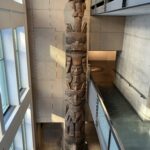

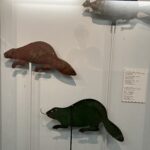
So worth going to see, if you can, check it out!
Next stop was a late lunch at a welcoming little Japanese BBQ spot on Crescent. Sorry, my phone stayed packed up, but it was great.
We decided to return to near our breakfast spot to pick up some squishies/ plushiest that I had spotted in a store window, and so these two came home with us.


Finally we headed underground to walk slush free back to the train station where we had a final meal of the day with a friend who was able to pop down to see us.
All in all, a great day!