Ok,I realize this is not the normal way to share cooking stuff- click on each photo for the next steps…
For the marinade I use a drizzle/ sprinkle of:
sweet: honey, maple syrup, mirim, brown sugar
Spicy: chili powder, paprika, pepper
Salty: soy sauce, teriyaki sauce
You choose your flavours and have fun.
Using the same container the tofu came in works for me, and I let it sit for about 10 -15 minutes after slicing it and adding the marinade.
You can slice more thinly and let it cook a bit more to get a crispy bacon type of tofu- just watch it doesn’t burn.
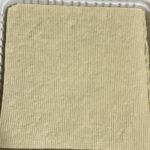
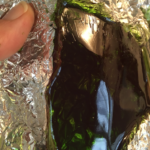
400 g extra firm tofu, frozen and defrosted, then drained
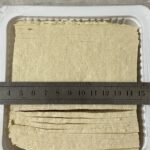
Use a straight edge to slice it into 3 mm strips
Leave in the container it came in to add the marinade: sweet, salty, spicy of your choice.
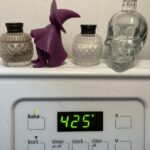
Oven pre heated to 425F ( sorry)
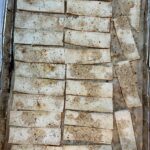
Lay out strips on parchment lined baking sheet, drizzle on any remaining marinade
Bake for 15 minutes
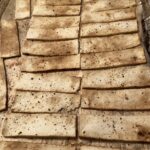
First side starting to brown
Bake another 14-15 minutes
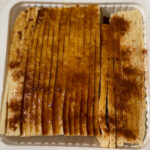
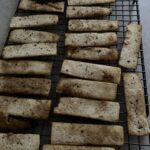
Final look- dark golden ( the darker pieces are thinner cuts- still practicing the slicing)
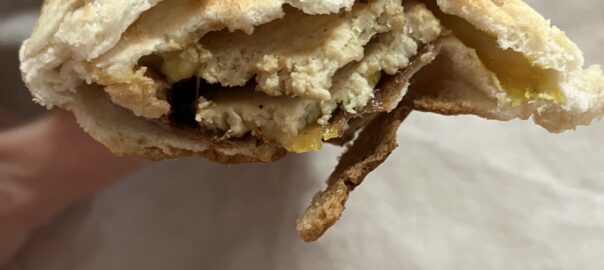
Cool on rack and divide up- I usually use 4-5 strips per sandwich
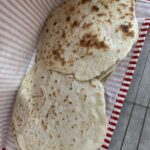
Make some fresh pita bread
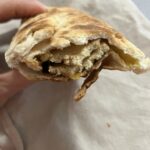
Roll it up with your choice of sandwich fixings and toast
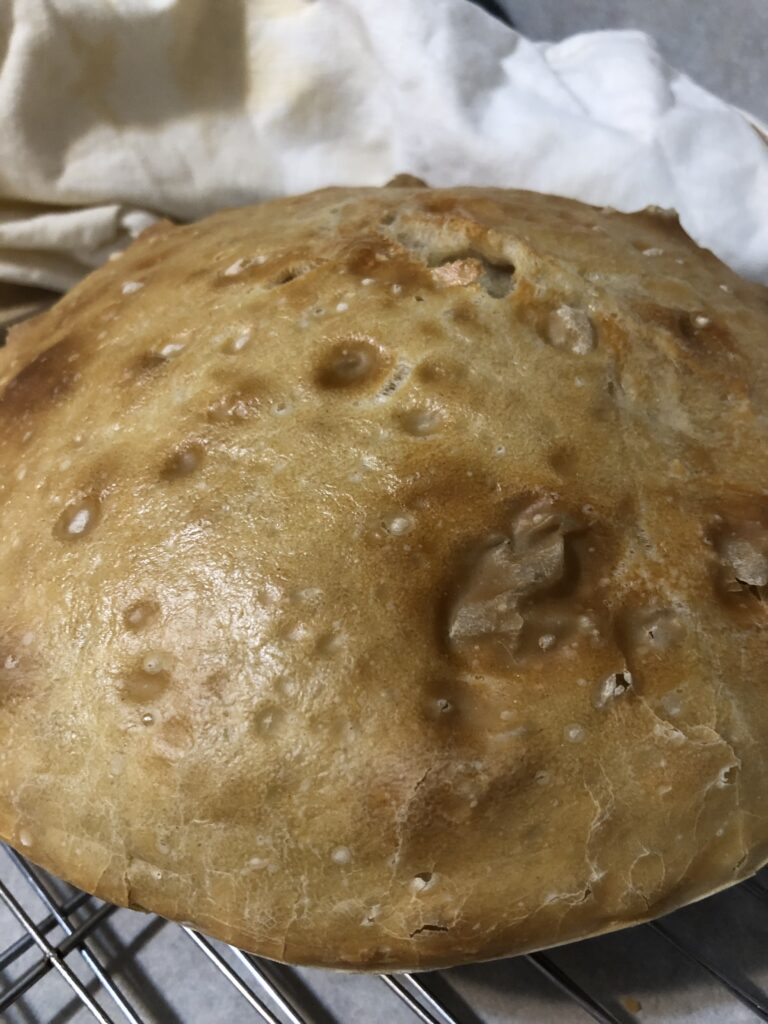
Last week I made a no-knead loaf and thought, why not separate out a bit of the batter and see if I could create some sort of sour dough starter. It had added yeast and was quite feisty, so I let it sit out on the counter and it grew quickly. I read that I could store it in the fridge, so I moved it in there and today gave it a feed.
When I fed the jar, I had scooped out some of the batter and spent some time thinking about what I wanted to create.
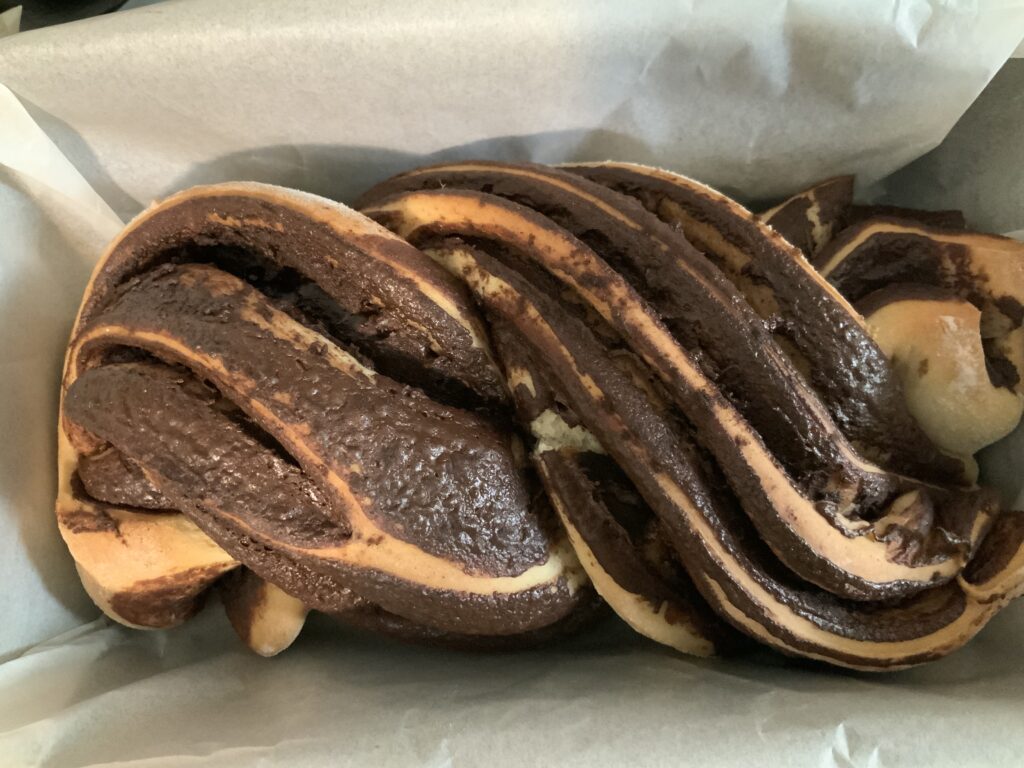
I decided to make a fake vegan chocolate babka.
Fake because I chose to just wing it. Vegan just because…
The dough:
⅓ cup sour dough starter ( flour, water, yeast from the no knead dough recipe)
2 cups sugar
⅓ cup olive oil
Enough water to make a nice bread dough- ¾ to 1 cup ish
Mix it, knead it( yes, this one I chose to knead), let it sit covered for 2 hours, because that’s how much time I had.
Preheat the oven to 375F
Roll out into a square or rectangle about 1 cm thick on a lightly floured surface.
The filling
1/3 cup dark chocolate chips – melt in microwave 30 second bursts
1 tablespoon peanut butter – stir into the melted chocolate
1 teaspoon cinnamon- sprinkled on the filling
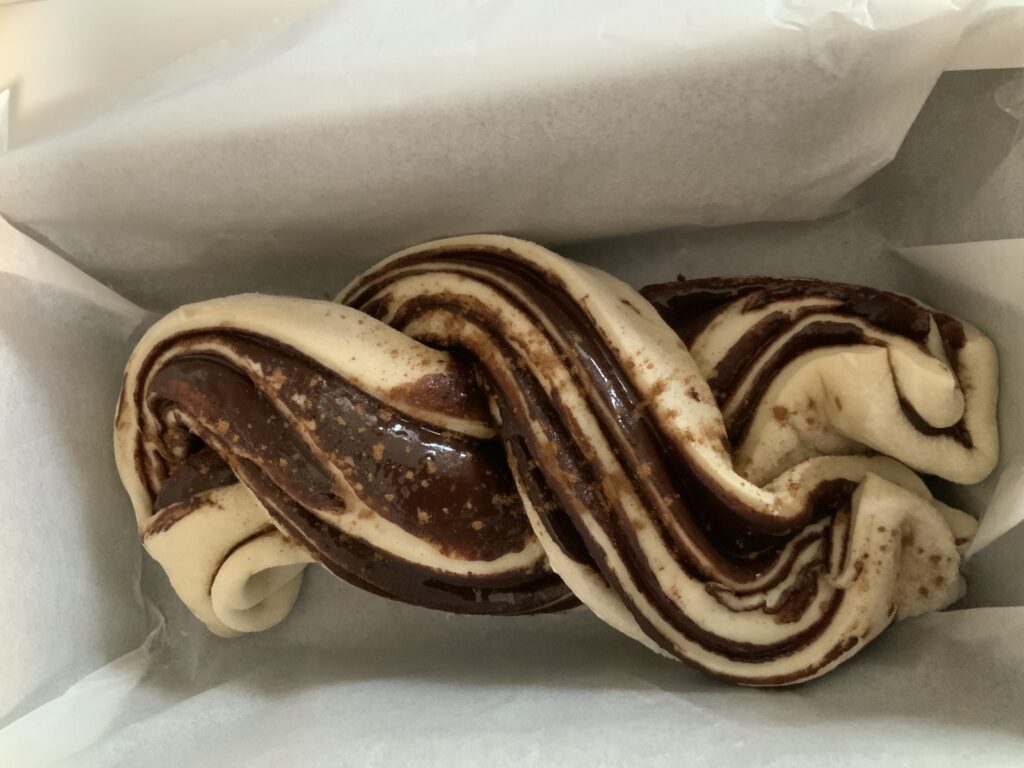
Pour the filling onto the dough and roll it up into a log.
Cut through the centre of the log lengthwise, leaving 2 cm dough still attached at one end.
Braid the two pieces carefully, and gently place into a lined loaf pan or greased pan.
*probably could let this proof more now, I chose not to .*
Bake for 35 minutes or until an inserted tester comes out clean. Technically a babka would have a glaze, I’m going to skip that step and just try it as is for this time around…or maybe make a simple vanilla icing sugar glaze… but for now:
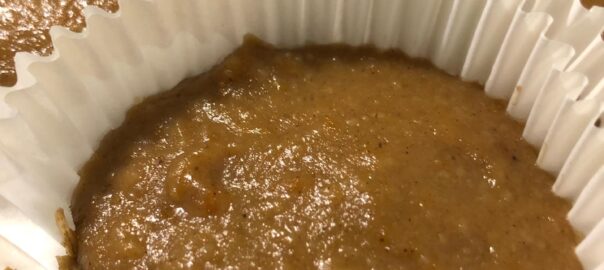
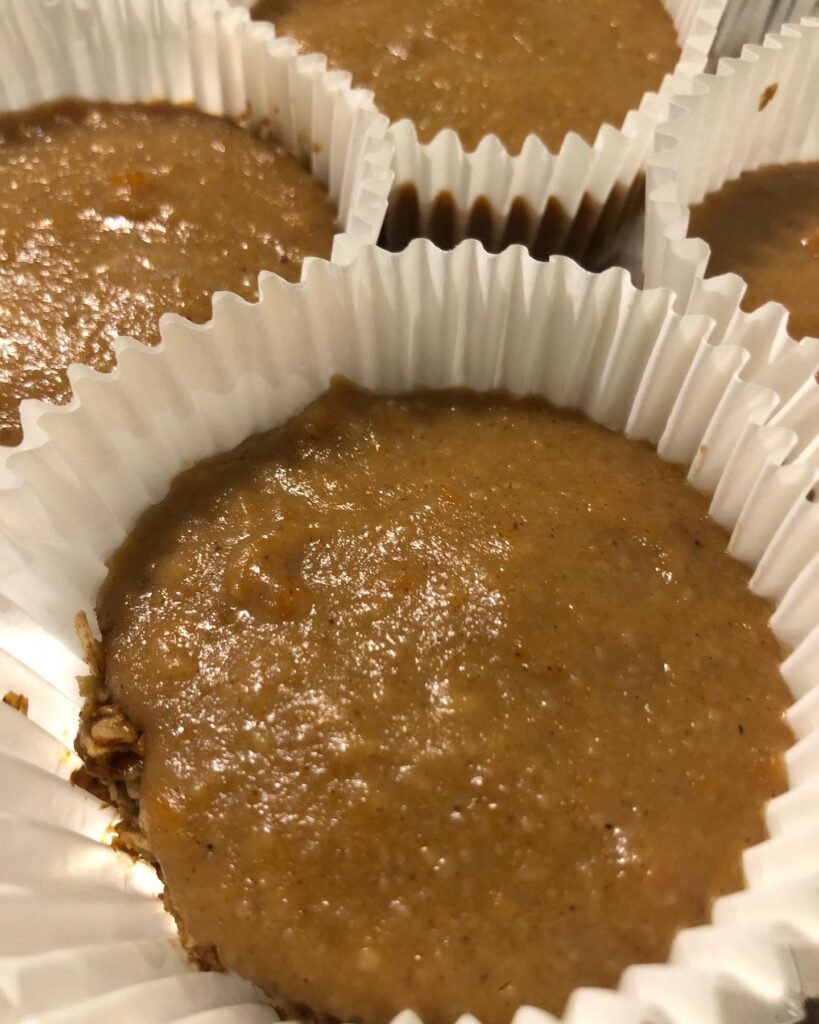
Sweet potato eggless cheesecakes
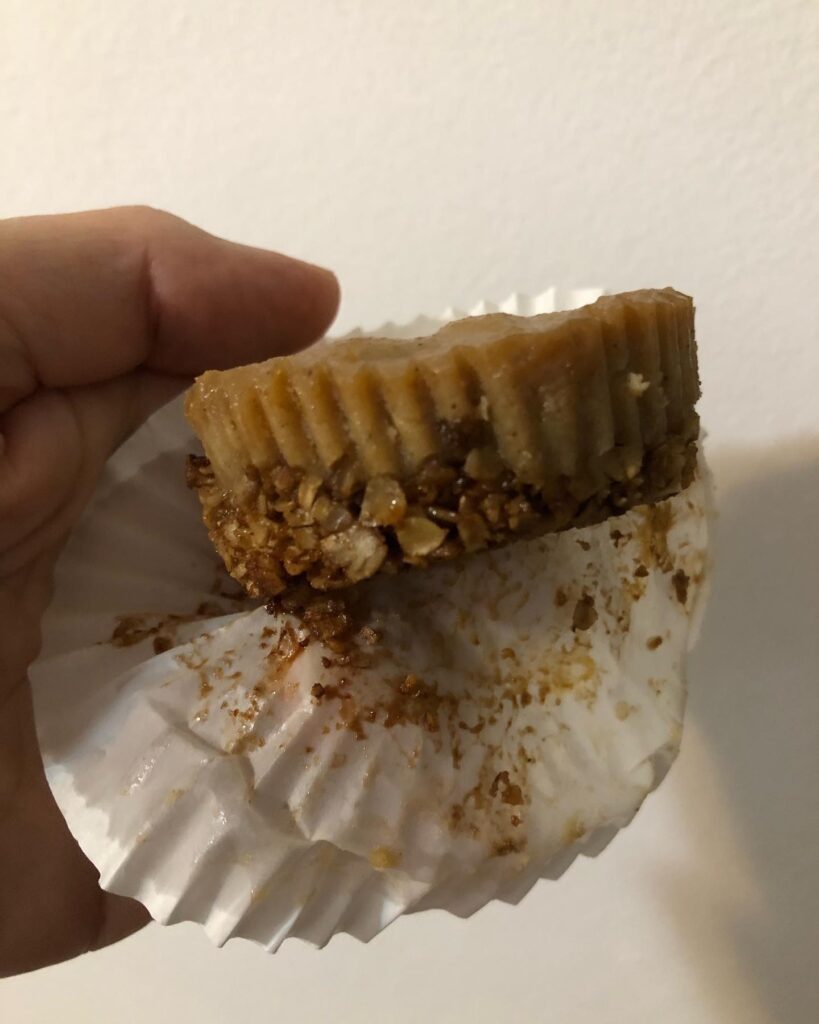
Ingredients For the homemade cookie crust:
2 1/2 cups rolled oats
1/2 cup coconut sugar or brown sugar
3/8 teaspoon salt
1/2 cup butter/ margarine, room temperature 1/2 teaspoon vanilla For the filling:
2- 250 gram packages cream cheese, room temperature or 1 blocks medium firm 454 grams- drained and pressed lightly
2⁄3 cup mashed sweet potato
1 tsp pumpkin pie spice or combination cinnamon, cloves, ginger/allspice
1 3⁄4 cup granulated sugar or brown sugar 6 tablespoons milk (dairy or non dairy)
3 tablespoons cornstarch
1 teaspoons vanilla extract
1⁄4 teaspoon salt Directions : For the homemade crust:
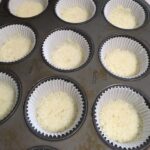
1. Grease a 9″ springform pan on the bottom and up the sides. Or fill 24 muffin cups with paper
2. Preheat the oven to 350 °F (176 °C).
3. Place the crust ingredients in a food processor. Process for about 30 seconds or until when pinched together, it easily holds together.
4. Pat over the bottom and up the sides of the prepared springform pan. It won’t make it all the way to the top. Or divide evenly amongst the 24 cups and tamp down with the bottom of a glass.
5. Bake for 14-18 minutes or until lightly brown (prepare the filling while the crust bakes).
6. Remove from the oven and let cool for 5 minutes before pouring in the cheesecake filling.
To bake the cheesecake:
1. Poke and microwave your sweet potato for 3-4 minutes on high until baked through. Allow to cool slightly, then peel and mash/ puree.
2. Turn the oven down to 325°F(163°C).
3. In a large mixing bowl, beat the cream cheese < or drained soft tofu> and sugar using an electric hand mixer at medium speed. Beat just until well combined and creamy.
4. Mix together the milk and cornstarch until no lumps remain. Add this, the mashed sweet potato and the remaining ingredients to the cream cheese mixture. Beat on low until well incorporated. Over beating will make cracks so don’t over mix.
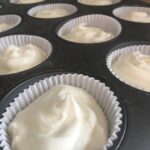
5. Pour over the crust/ divide evenly amongst the muffin cups.
6. Bake for 45 minutes for the full cake, 15-20 minutes for the muffin cups. The middle will still be a little jiggly.
7. Remove to a rack to cool for 2 1/2 hours.
8. Use a knife to run around the inside of the pan to loosen the crust from the pan.
9. Chill for at least 4 hours before cutting.
10. If the homemade oat crust is very firm and too difficult to cut straight from the fridge, let the cheesecake sit at room temperature for 20-30 minutes.
11. Cover and refrigerate any leftovers for up to 5 days. It can also be frozen whole or in pieces and thawed overnight in the fridge.
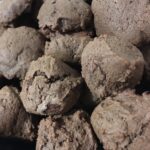
It has been a while! But tonight I had some chickpeas that I puréed and decided to go sweet… so I searched through my recipes and found one that I modified to create these fibre filled beauties!
Tavalonia’s Chickpea chocolate chip cookies:
preheat the oven to 350
1 can of chickpeas (14?ounce), drained ( save your aqua faba!)
purée them up well!
add:
⅓ cup chunky peanut butter
1/3 cup brown sugar
1/4 tsp each baking powder and soda
Mix well and add:
1 tsp vanilla extract
⅓ cup unsweetened coconut
⅓ cup rolled oats
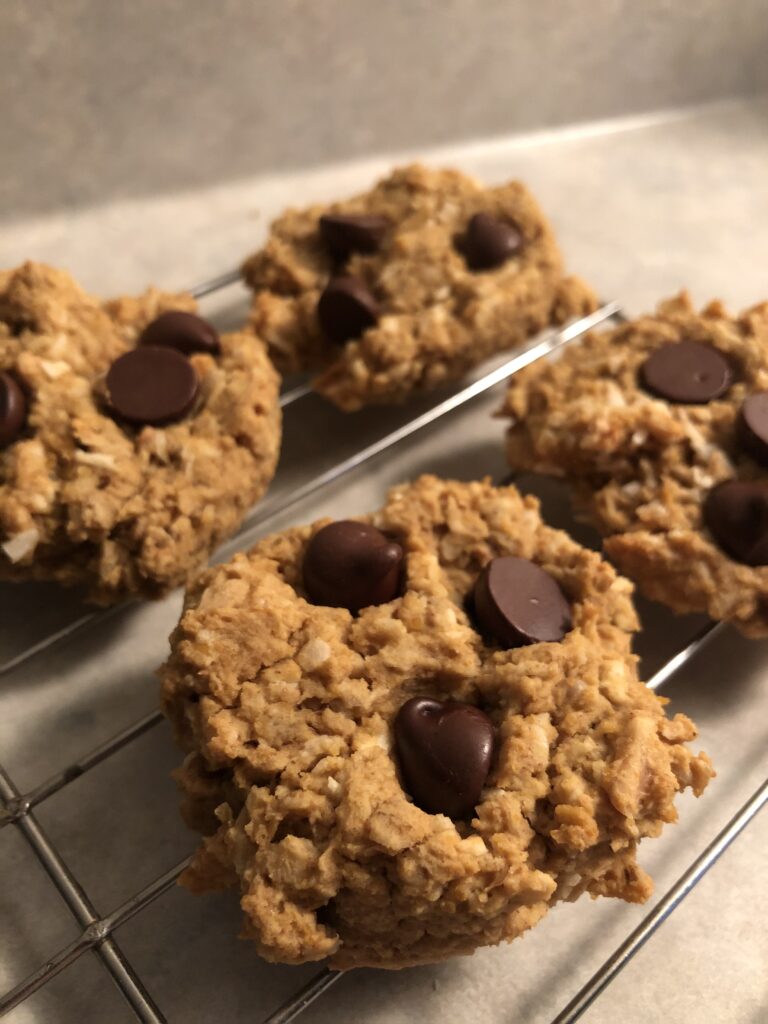
Mix well and scoop out 12-14 cookies on a parchment lined cookie sheet.
Add chocolate chips to the top of each cookie( this makes the clean up easier as the melted chocolate stays on the cookies) . I usually add 3-4 per cookie.
Bake for 20 minutes.
Enjoy! And share with your gluten free, vegan friends!
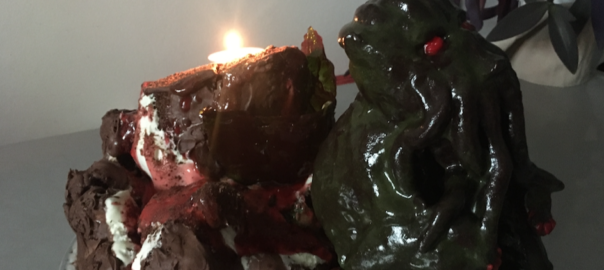
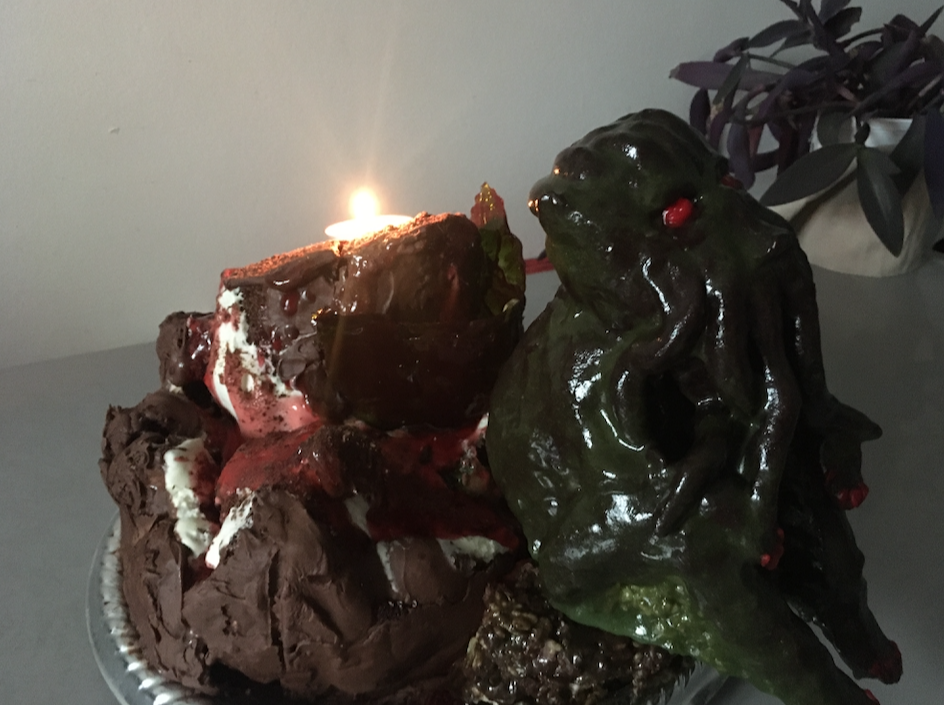
AS this is year 2 in diminished socializing < Covid Pandemic still doing its thing>, we did not have a big birthday party, but my MUSE always inspires me to create something fun for him.
This year, Gregorian calendar 2021, I decided to use the opportunity to make a small version of a Cthulhu cake… so I could decide if next year I will attempt a larger one for guests if we are able to enjoy the company of others then.
FYI – the Mountain will be shared later today with nearby neighbours so we don’t eat it all!
I apologize for the “jump to recipe” folk – you’ll have to scroll!
I’ll divide it into the 3 main segments and tackle each on it’s own, so you can tell by photos where I’m at in the journey!
WINGS
Cthulhu
Black Forest Mountain Cake
WINGS:
Recipe:
½ cup granulated sugar
½ cup water
¼ tsp cream of tartar
food colouring
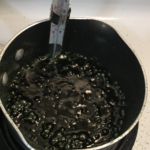
Put the sugar, water and cream of tartar into a pot and heat on medium heat, stirring only until the sugar dissolves. Bring to a boil and insert a candy thermometer.
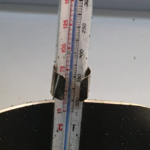
No stirring now – let it reach 300 degrees or hard candy stage.
Remove from heat and quickly stir in food colouring. Pour into greased mold and let harden for 30-35 minutes.
Remove from mold while still a bit warm in order to shape the wings a bit – stick it into a cup or something to keep it upright and place in the fridge to finish setting.
Lessons learned:
I thought if I made this with brown sugar it would be cool and have a different flavour – I think I over cooked it . I used parchment paper with a pattern under it to try to create the wing shape and it was rough and too large – then they cracked and I turned it into a creepy bat…
at the last minute I rushed to create the wings that I did use for the cake
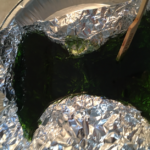
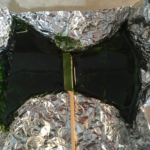
positives: the stick helped, the foil mold was a better size, and they looked very cool with the texture created by the foil.
negatives: I did not think to pre-grease the foil – that would have saved me 30 minutes of scraping foil off the back – but chemistry: sugar melts with water, so I alternatively scraped and ran water over the wings until I got all of the foil off. Also, I added the food colouring at the beginning and then had to clean up the bits of green sugar mix that bubbled up and out of the pot onto the stove …though it was easy to see…
the original set turned into a bat
bubbling away
reach 300
pour into mold< pre-grease it!!>
add a stick
peel off foil
Cthulhu Figure:
Components:
Rice Krispie treats
Cake pop filling for head <optional>
Modeling chocolate
Faux Mirror Glaze
decorator’s icing , cinnamon hearts for red eyes and nails
Recipes:
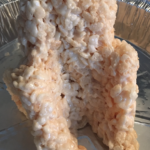
Rice Krispie treats – follow the directions on the cereal box – you’ll need marshmallows, butter/margarine, vanilla flavouring . I only needed a half recipe for this project. You can also use premise treats, but I find I have more control creating my shapes while it is still warm.
Helpful hint: Oil your hands with a neutral oil < veg oil> or your butter/ margarine to do the sculpting. also oil the surface you will put it on or use parchment or wax paper – it makes life easier.
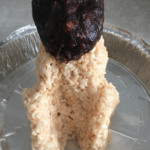
Cake pop filling head < you can just use more Rice Krispie treats to make the head> – I had leftover chocolate cake and butter cream icing from our anniversary, so thinking ahead, I had mixed the crumbled cake and frosting together, squished it into a ball, wrapped it in plastic and stuck it in the freezer.
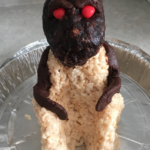
I shaped roughly into the head and it stuck onto the body quite nicely with no toothpick/ stick needed.
NOTE: I also made a Rice Krispie treat small circular platform you’ll see in later pics, that I then cut in half and stacked, upon which the little guy would sit when assembly time came.
the body…
with the cake pop filling head
MODELLING CHOCOLATE:
Recipe:
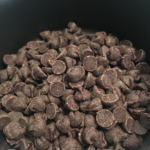
250 grams or 1 package chocolate chips < I used 50% cocoa/ dark chips>
¼ cup honey at room temperature
Melt the chips on the stove or microwave – careful not to over melt them. Remove from heat when they are almost all melted and stir until it is all melted.
Add the honey and stir until it reaches the texture of soft ice cream and is mostly dull. There may be some shiny streaks, and you don’t want to over mix.
Wrap it in plastic or parchment paper and set aside to cool to room temperature for at least 30 minutes.
dark chocolate chips
No product placement intended – just use what you’ve got!
When ready to start using it, knead it a bit to make sure all is nice and smooth then treat it like play dough or clay.
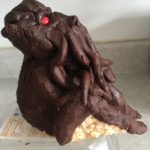
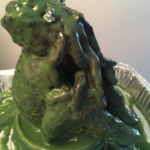
Here are some of the stages of creating Cthulhu that worked for me. I placed him on a small tin that would provide a good base for the mirror glaze pour, then into the freezer with him for at least 2 hours …
Note the brows above the cinnamon hearts in the eyes, and the arms resting on the legs
I covered the torso and legs mostly, and then added the tentacles and head ridges
I left the rice krispie exposed under the legs to allow for the dimensions to show better
The ears can be seen a bit from here and the back head ridges worked well..
Faux Mirror Glaze by TAV
I looked online to find any mirror glaze recipes that did not require corn syrup or gelatine as I had neither. The vegan recipe I found did call for corn syrup and agar agar – which I also did not have.
What I did have was more marshmallows – guess what’s in marshmallows – gelatine and a lot of sugar! Also most called for sweetened condensed milk – but I had a can of evaporated milk open in the fridge so…
Many recipes also called for white chocolate to give a more opaque base that would show the colours more, and while I only had 50 grams left from a previous baking adventure, I figured sure… I experimented…
Recipe:
⅔ cup evaporated milk
8 large marshmallows
50 grams white chocolate chips
Food colouring as desired
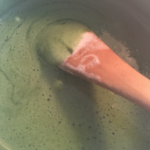
Heat milk and marshmallows over low heat to melt. Remove from heat and add in chocolate, and food colouring. Stir until all is melted.
Pour the glaze through a mesh sieve into a pouring container – I have a glass measuring cup that worked. This helps reduce the bubbles.
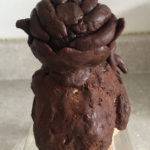
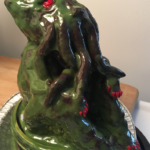
I took Cthulhu out of the freezer and placed him in a larger foil tray to catch the drips. I placed tiny foil pieces on the eyes to minimize the need to clear that out later -> it worked.
Because my glaze was fairly runny, it was very forgiving. I was able to keep scooping up the glaze from the tray and pour it back over the top of him, barely wasting any – which is a bonus! I used silicone pastry brush to get it into the crevices.
NOTE: the colour did change after 12 hours to a darker green – but that’s ok..
the glaze in the pot.. there are bubbles – these are removed by running it through a sieve.
Tada!
Decorator’s Icing:
I actually had some already from an XMAS cookie decorating kit that I had – so I will let you decide if you want to just make a simple icing sugar, butter/margarine/coconut oil mix and add food colouring, or do as you will for decorating – some folk have used sliced nuts for creating claws on food art…
side view….
full frontal…
Black Forest Mountain Cake
Components:
cake mix – yes – I use boxed mixes..
whipping cream < 35% fat> – I do whip it up myself!
Canned cherry pie filling – yes.
buttercream icing – I made a half recipe of my Aqua Faba Swiss Buttercream and added ¼ cup cocoa to it.
chocolate shavings from a dark chocolate bar
This year I wanted to try making a vertical roulade/ rolled cake to create the mountain – had to adapt at every stage as there were a few firsts for this…
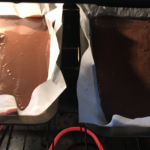
Mix the cake according to directions and line a sheet pan < I had two smaller ones, so I used those> with parchment paper. Bake until done – it took about 15-18 minutes < but I make have over baked a bit>.
Immediately roll into logs using the parchment paper and a tea towel. Let cool completely in this shape.
two sheet cakes baking
about 15-18 minutes
rolled
cooling
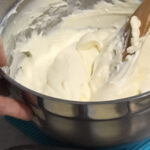
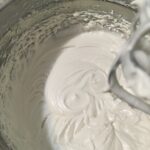
Whip about 300 ml whipping cream to stiff ish peaks – I did not add any sugar as the rest of the cake has enough.
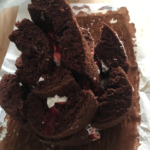
Unroll the cakes and kk- oh- they cracked something fierce.
Oh well – I knew I wanted to have peaks on my mountain so I cut the cakes diagonally, with the intention of rolling them from the high side to create a lowering around the mountain as it formed.
NOTE: Build the mountain on your serving tray. Make sure there is room in your fridge for the tray…
cracked…
try some cherries on it…
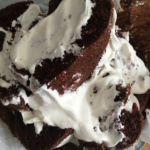
add some whipped cream…
build it gradually
add more whipping cream as needed.
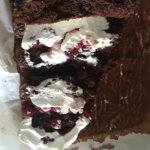
I spread some cherries and whipping cream on the larger of the two sheet cakes and started rolling them up. Since it had cracked, it ended up working better to build it by applying one segment at a time, and choosing the pieces based on what I liked the look of…putting cherries* and whipping cream on each piece to as I stuck it to the side of the growing mountain. I added a bit more whipping cream like snow along the tops of the pieces and in between as needed.
*save some cherries and most of the pie filling liquid for finishing the cake later…
Once I had all the pieces on the cake, I stuck it into the fridge to help it set, while I made the buttercream.
Aqua Faba chocolate Swiss Buttercream < ½ recipe>
¾ cup Aqua faba < strained juice from a can of or your own baked chick peas or mixed beans >
½ cup granulated sugar
¼ tsp cream of tartar
1 cup icing sugar
¼ cup cocoa powder
¼ cup softened butter or shortening
½ tsp vanilla extract
Mix aqua faba and sugar in a pot and bring to a boil, stirring occasionally. Boil for 5 minutes. Remove from heat and pour into a mixing bowl, letting it cool completely.
Whip it to stiff peaks, and add in the cream of tartar. This can take 15 minutes – bear with it!
Mix the cocoa powder with the ciocng sugar and add that to the meringue. Continue whipping and gradually add the softened butter or shortening, adding the vanilla last.
Bring the cake out and frost the outer edges or wherever you feel like to give it a nice coat/ look you want.
NOTE: I found that using a metal knife dipped in water helped it go on smoothly.
Use some frosting to cover the seat/platform later or if there was any faux glaze left, mix it and the frosting together for a lovely goo to cover the seat. Place it where it will allow room for the figure to sit safely beside the mountain.
The cake being erratic in construction needed some support, so I tied sheets of parchment around the outer edges and put it back in the fridge for overnight.
aqua faba on its way!
after the buttercream is applied – give the mountain some support!
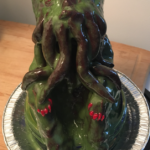
Assembly:
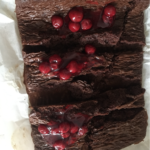
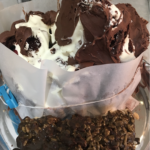
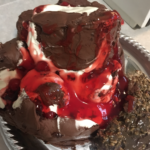
Ok – Cake comes out – gently peel back the parchment support and start adding the rest of the cherry pie filling as lava over the surface of the Mountain. Use the chocolate shavings to finish off the look of ash on the mountain.
red cherry pie filling
with a sprinkling of chocolate ash
Check placement of platform/seat and stick wings into cake approximately where it will line up with the Cthulhu figure’s back.
Gently lift him and place onto the seat, and adjust the wings to rest against his back – I was not able to get this to quite work the way I wanted – but lessons learned for future adventures!
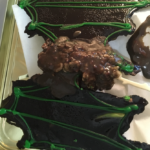
This worked on his own before he sat by the Black Forest Mountain…
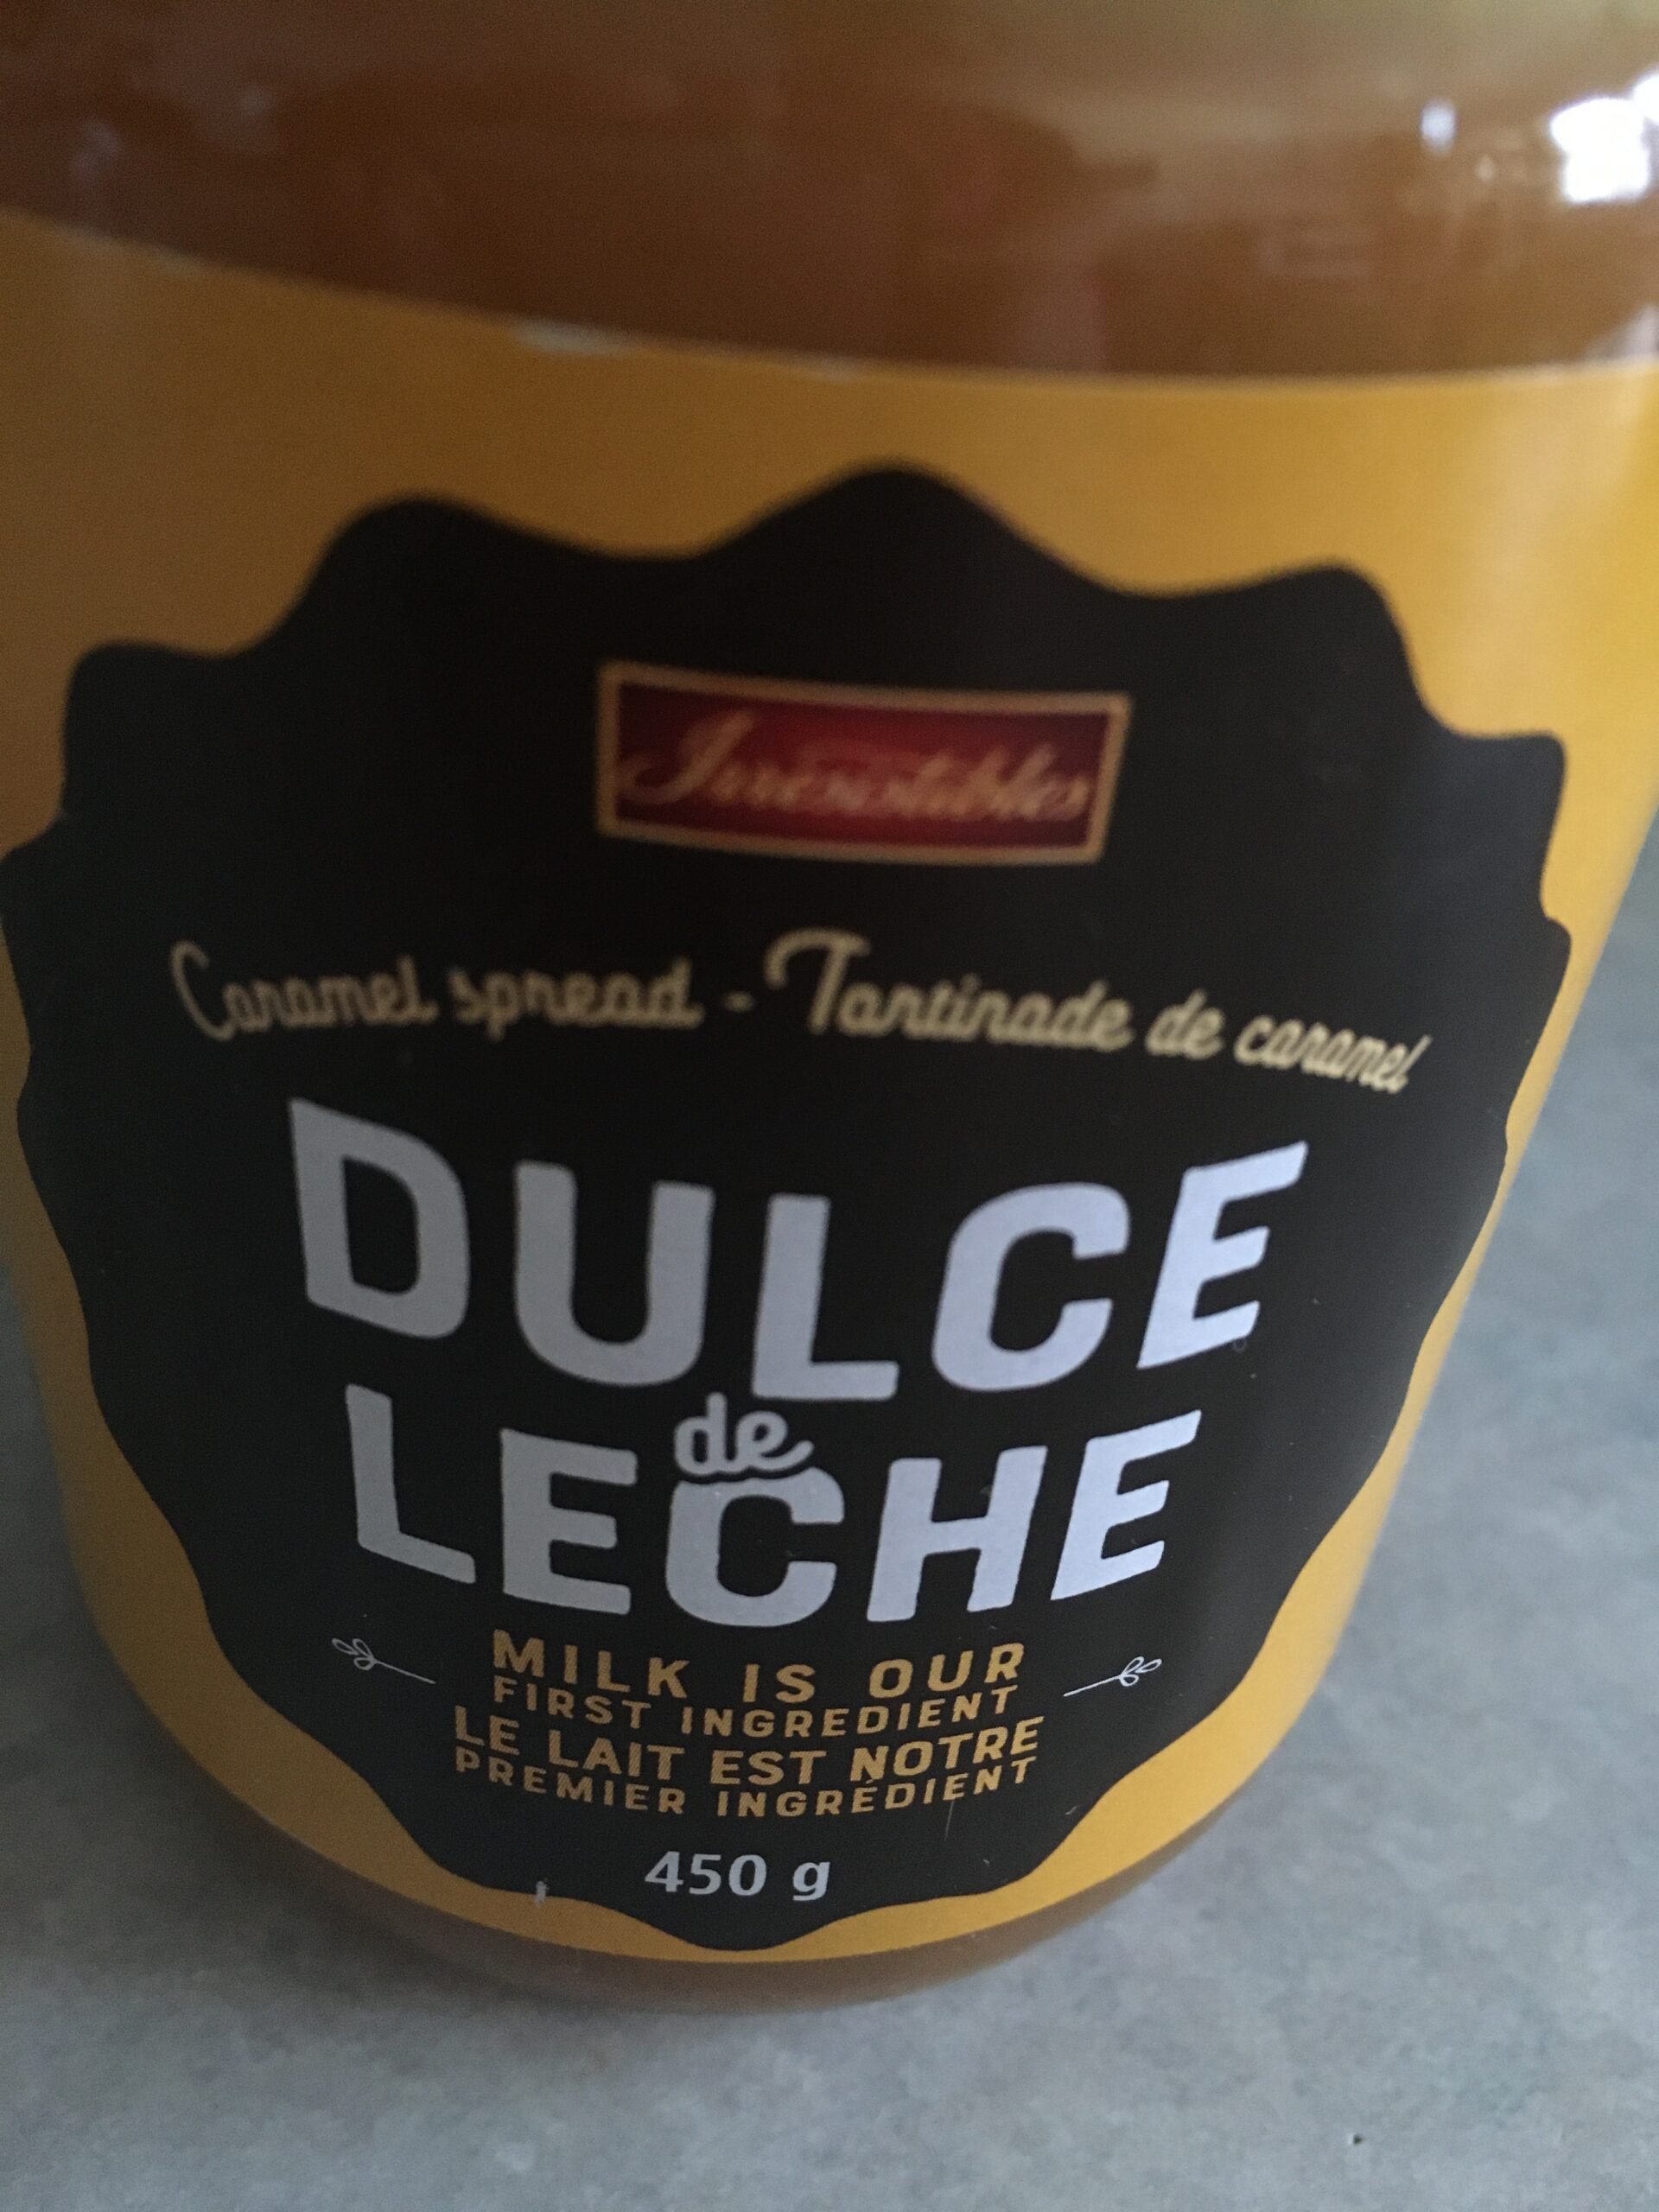
Having started the baking session with scones today, I was still in a bit of a biscuit mood when I started this recipe- a hybrid of a shortbread and scone concept with some cocoa thrown in. I wanted a way to use up the half jar of dulce de leche I still had after making the Squirrel Cake…..
So without further ado…
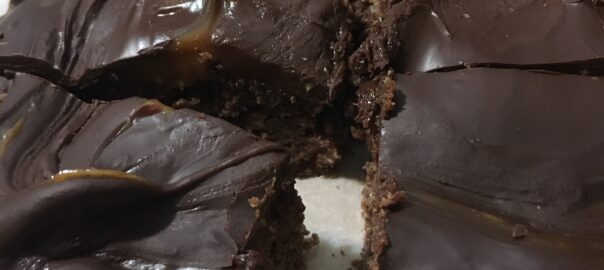
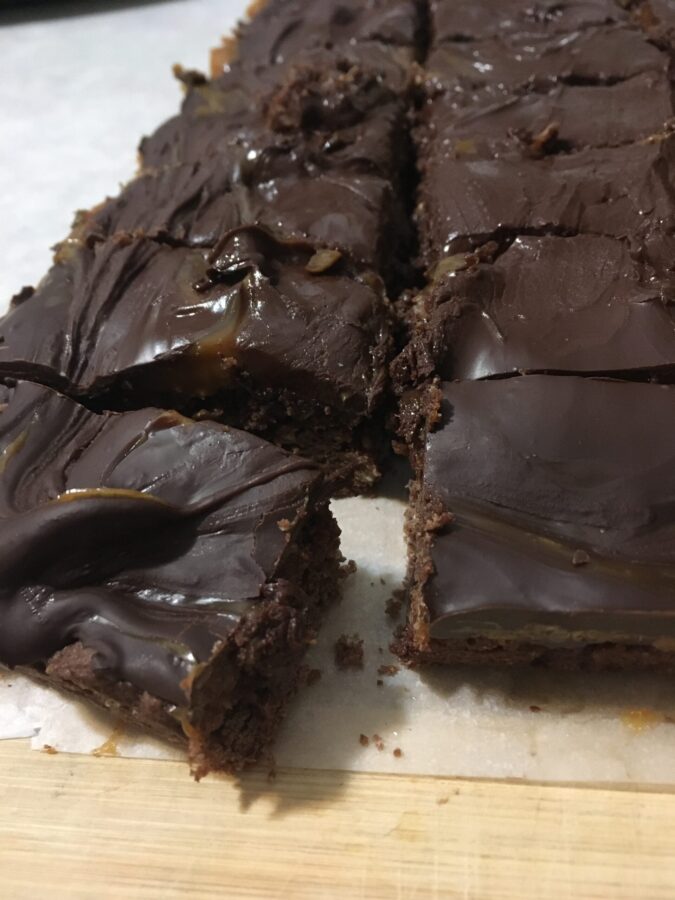
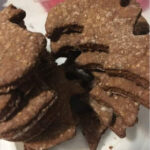
Could have let it chill a bit more, but it cut pretty well….
Chocolate Dulce De Leche Bars
Mix in a large bowl:
1 cup whole wheat flour
1 cup all purpose flour
½ cup rolled oats
⅔ cup sugar
½ tsp baking soda
½ tsp salt
¼ cup cocoa powder
Cut in with a pastry blender or two knives:
⅔ cup softened butter or vegan replacement
Mix well in another bowl:
½ cup Balkan style yogurt
1 egg
1 tsp vanilla
add to dry ingredients and mix well.
Pour into a greased pan, lined with parchment paper. Either: a 9×13 pan or two 8 inch square or round- or whatever you have and spread it evenly.
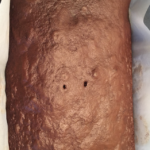
Bake in a preheated oven at 350F and for about 20 minutes or until toothpick comes out clean.
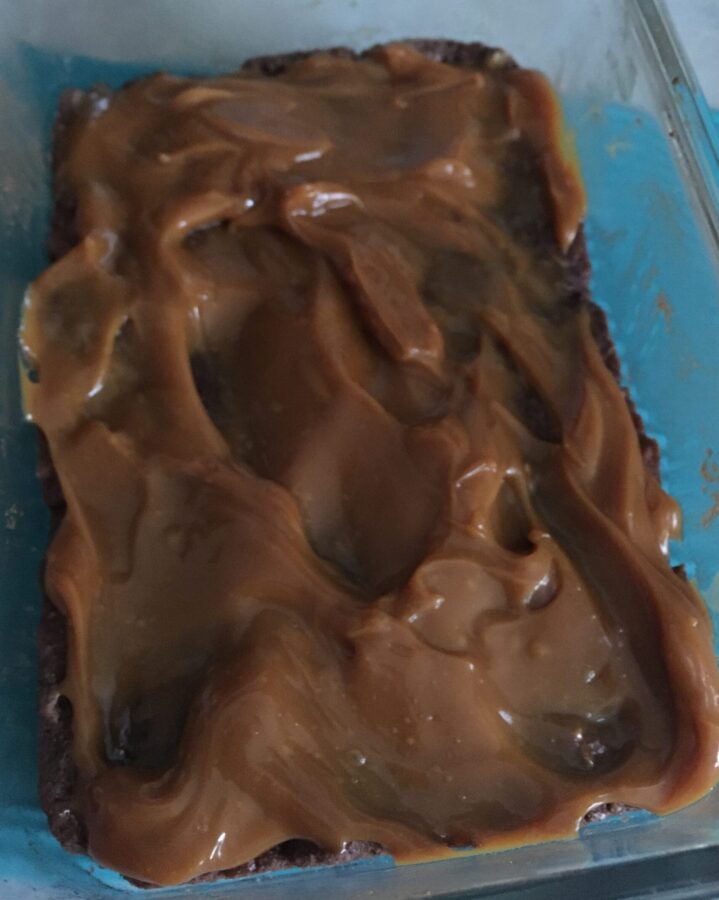
Remove from oven and spread the ½ jar of dulce de leche ( 225-250 grams)on it- glob it on and wait a minute for it to melt, then spread.
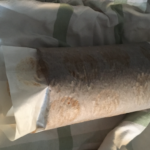
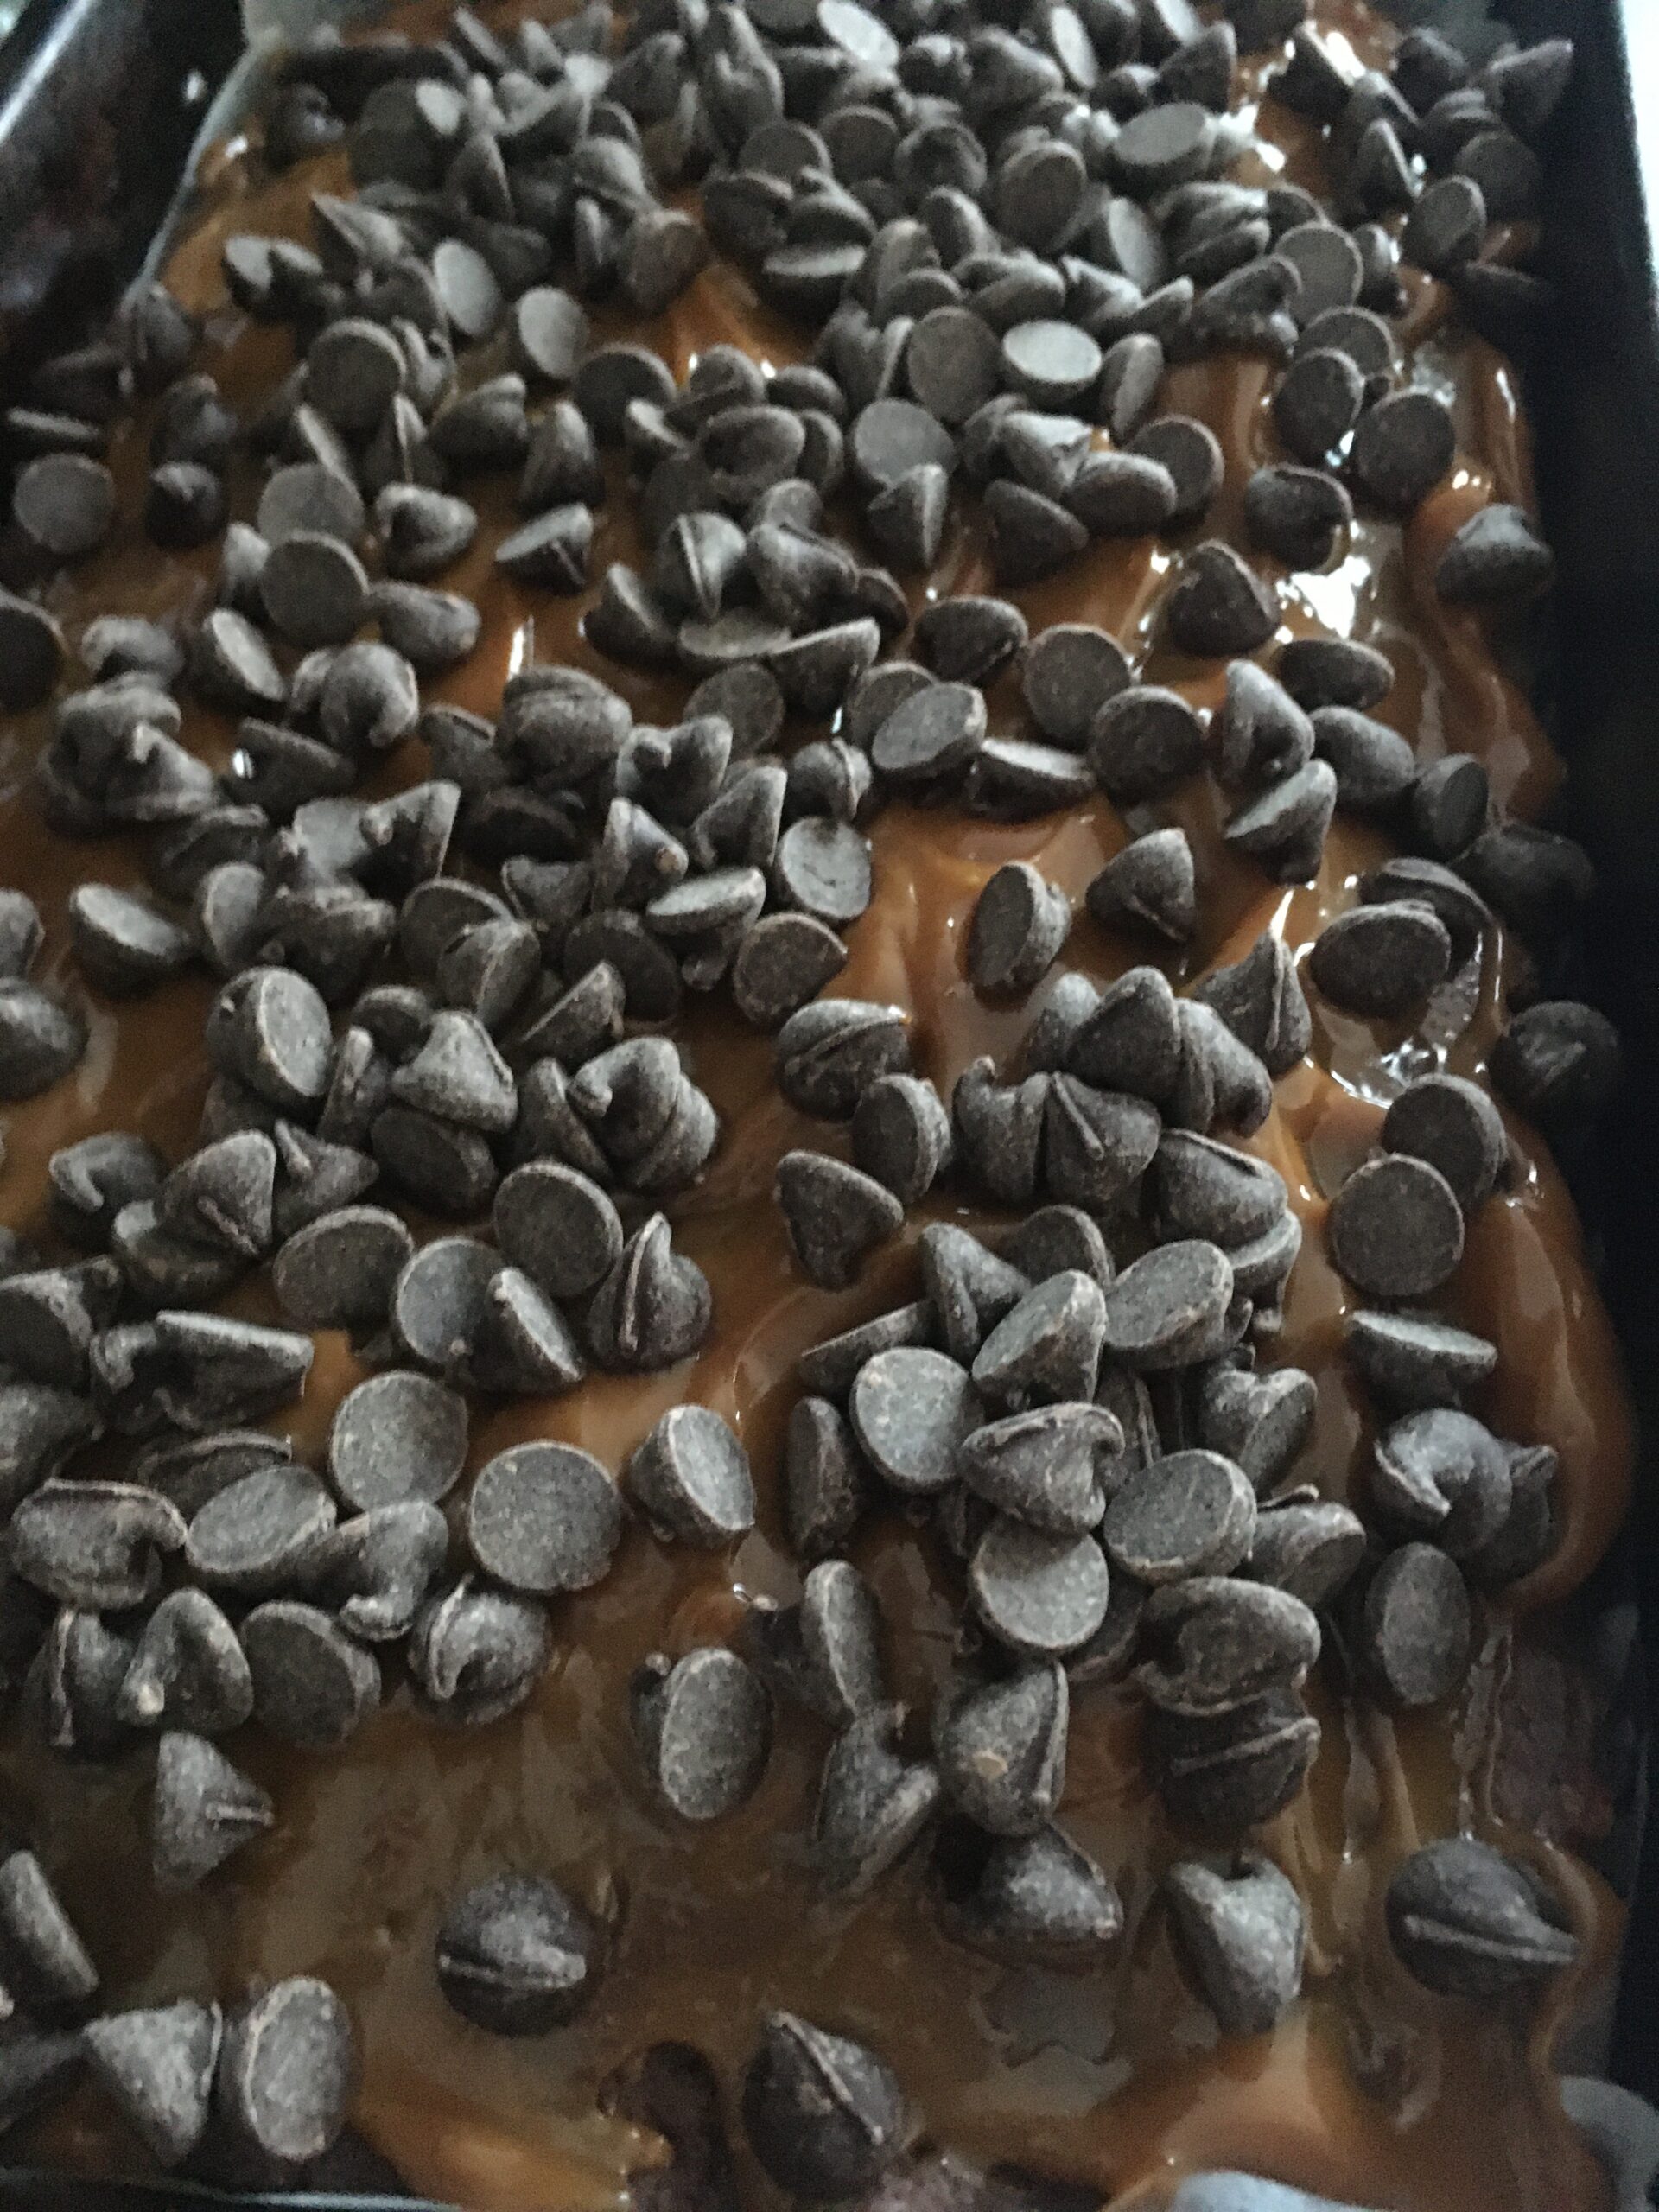
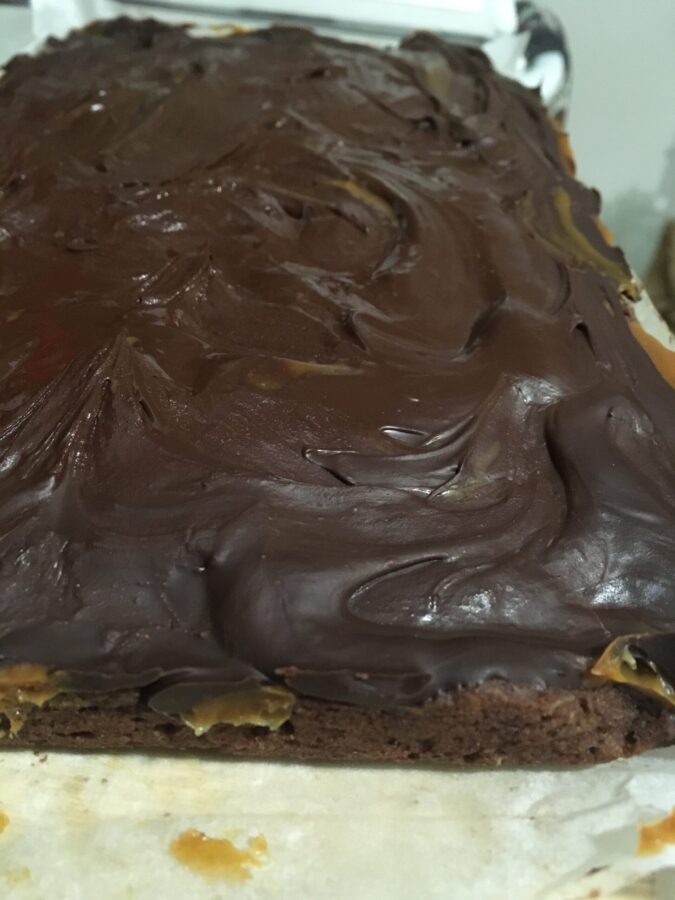
Sprinkle an even layer of chocolate chips on top and return to the oven for about 2 minutes. Remove and spread the melted chocolate chips , blending with the caramel is ok.
Chill in fridge or freezer until ready to serve . Enjoy!
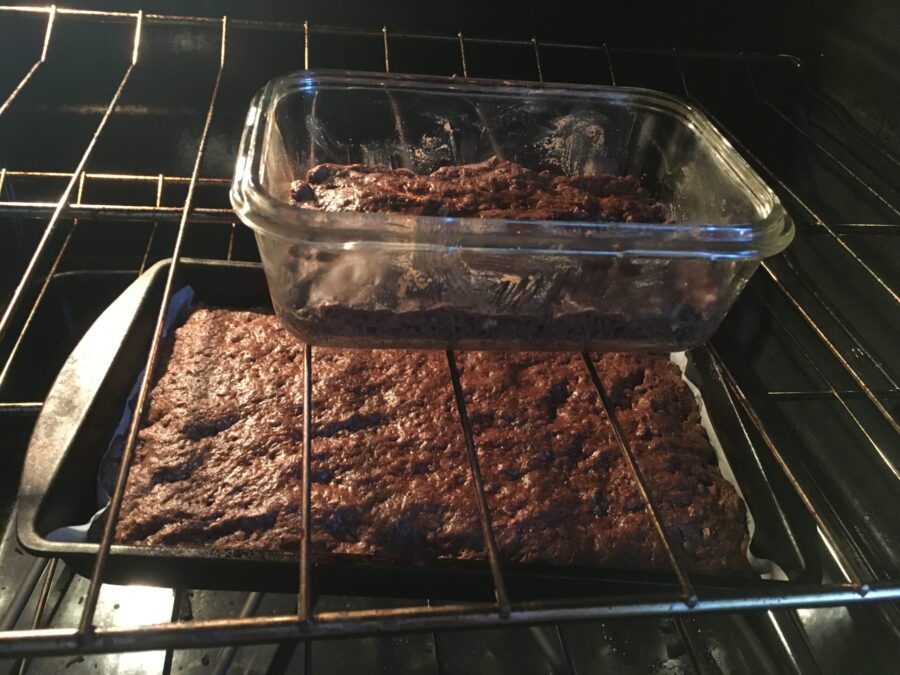
Two chocolate biscuit bases baking…225-250 grams of dulce de leche – I had half of this jar remaining and used it all…Dulce de leche spreads nicely when warmed…Sprinkling an even layer of chocolate chips and then popping it back in the oven to let them melt- easy icing method especially over the caramel…
Chilled and ready for cutting
I opted to simplify some things – but feel free to pop over and follow the recipe there
My version
½ white onion chopped
1 celery stalk with leaves chopped
1 tablespoon olive oil
Saute onion and celery in the oil in a medium saucepan on medium heat. Once the onions are transparent, add your spices to let them warm up a bit – you can do your own thing for spices – these are what I have handy…
2 tablespoons curry powder
2 tablespoons paprika
1 teaspoon salt
1 tsp pepper
then add
2 sweet potatoes < medium size> – oven roasted , peeled and chopped. note:I had already done that – and I would likely micro wave them to bake them quickly if they were not already baked..
60 grams dry weight red split lentils < I used my kitchen scale, not sure how much this is in cups>
and enough water to cover – I did not measure, but it was probably 3-4 cups – enough to make large bowls of soup for two.
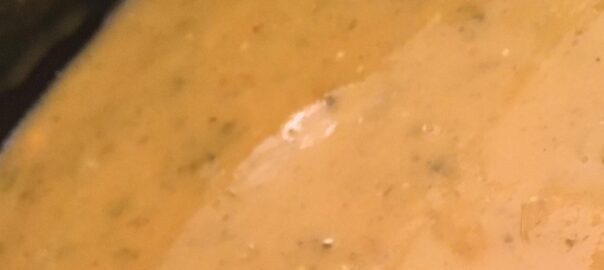
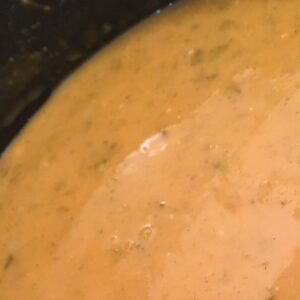
Bring it up to a boil, then turn the heat to medium low, let simmer until the lentils are soft – maybe 15-20 minutes. Once they are soft, puree the soup with an immersion blender – or however you puree soup!
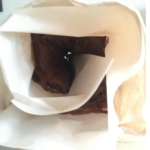
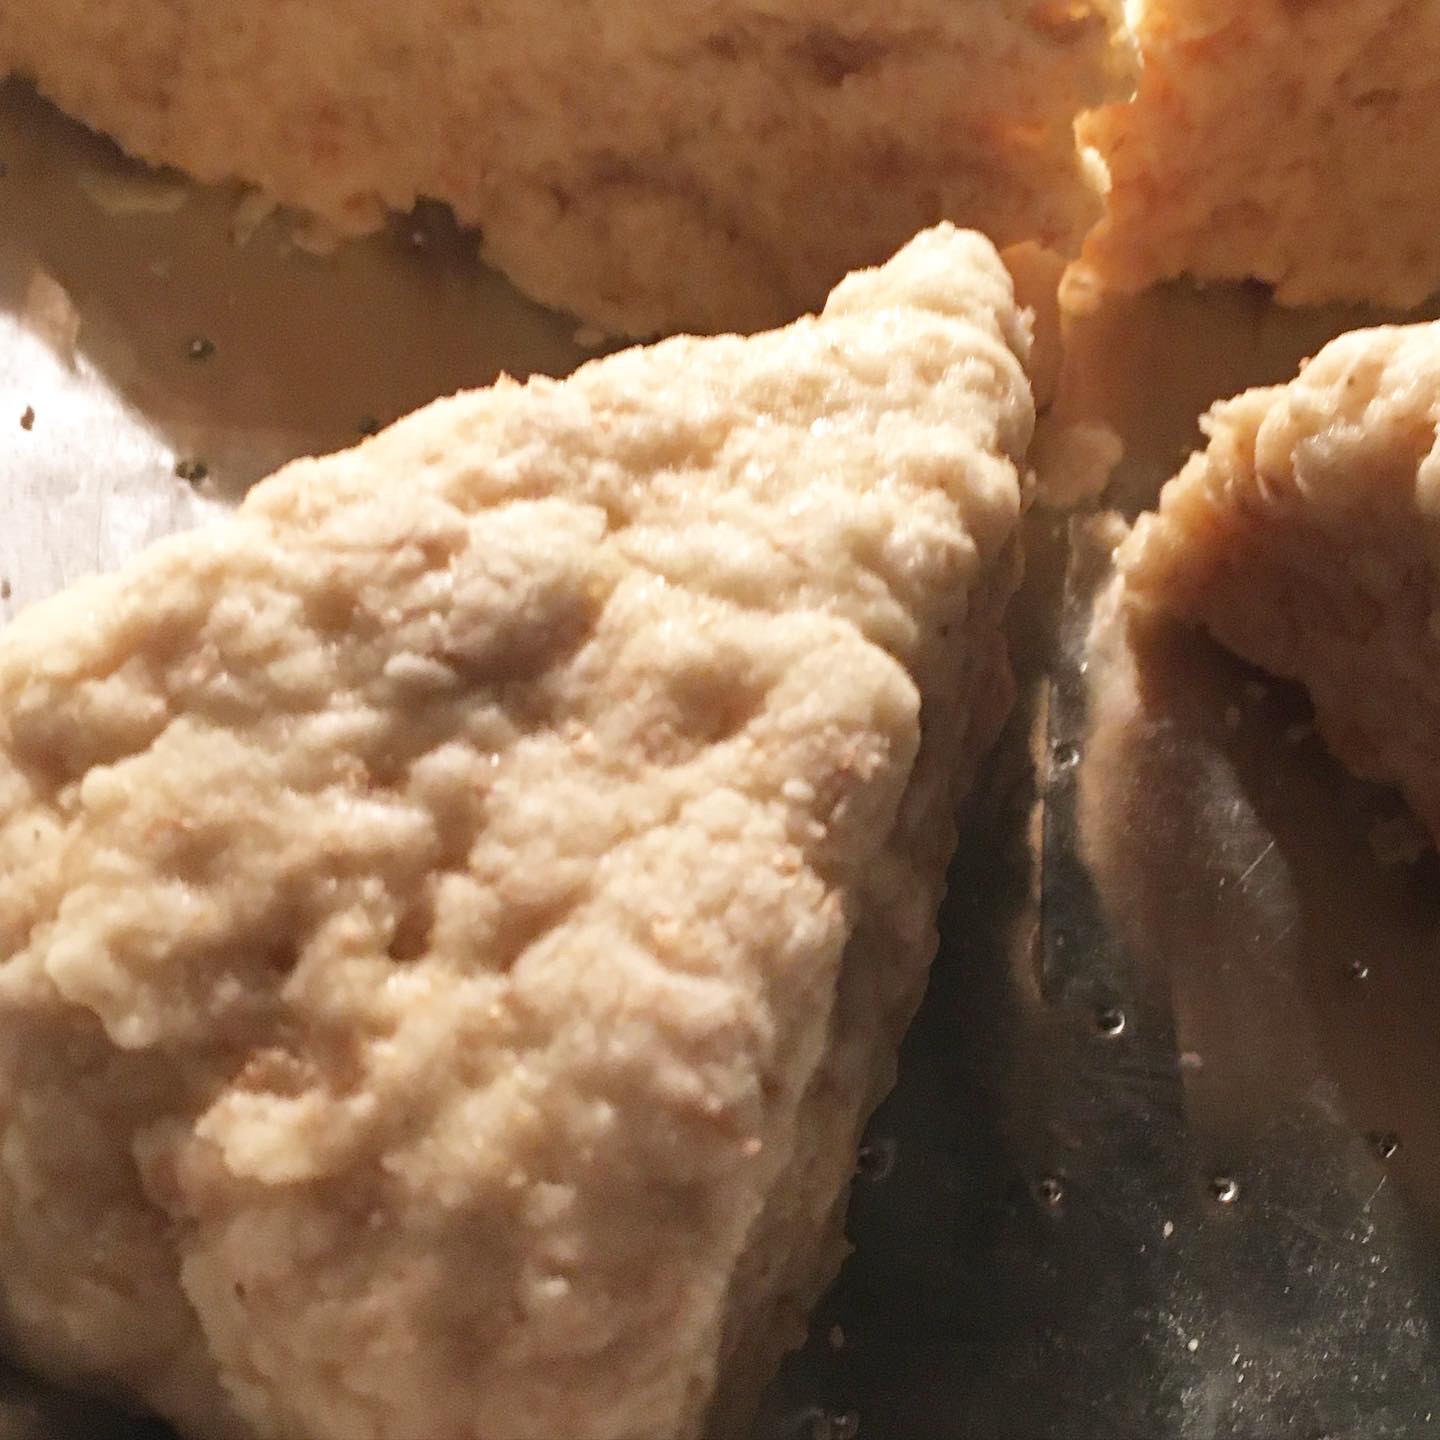
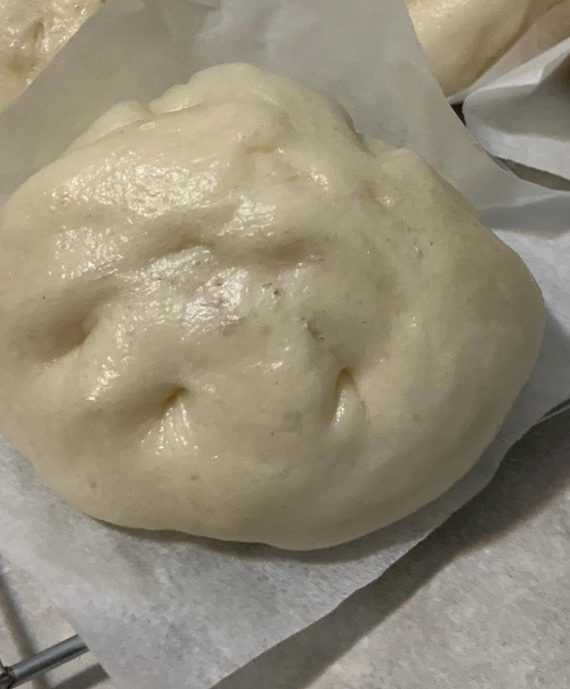
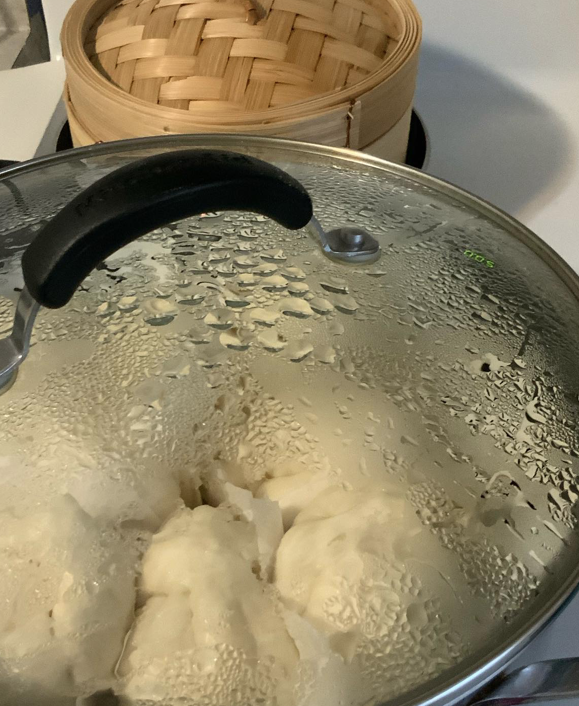
And it was super easy and successful! In spite of the small size of steamers I had available to use….
4 sort of fit in the small steamer I have…this single guy had more space int he larger set up in my larger pot… and the parchment is perfect for them to slide right off!Steaming away – and so easy!
I did some other regular/ repeat baking this past weekend during a virtual gathering with friends – and it was the BEST WAY to deal with an online gathering – I was. busy, I was doing stuff! Listening to our friends, some of whom we have not seen for months, and contributing in my own special snarky way as appropriate…
I made a small batch of each :
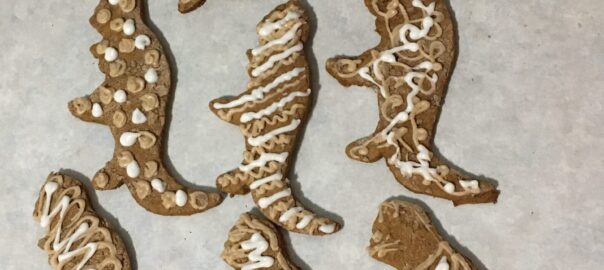
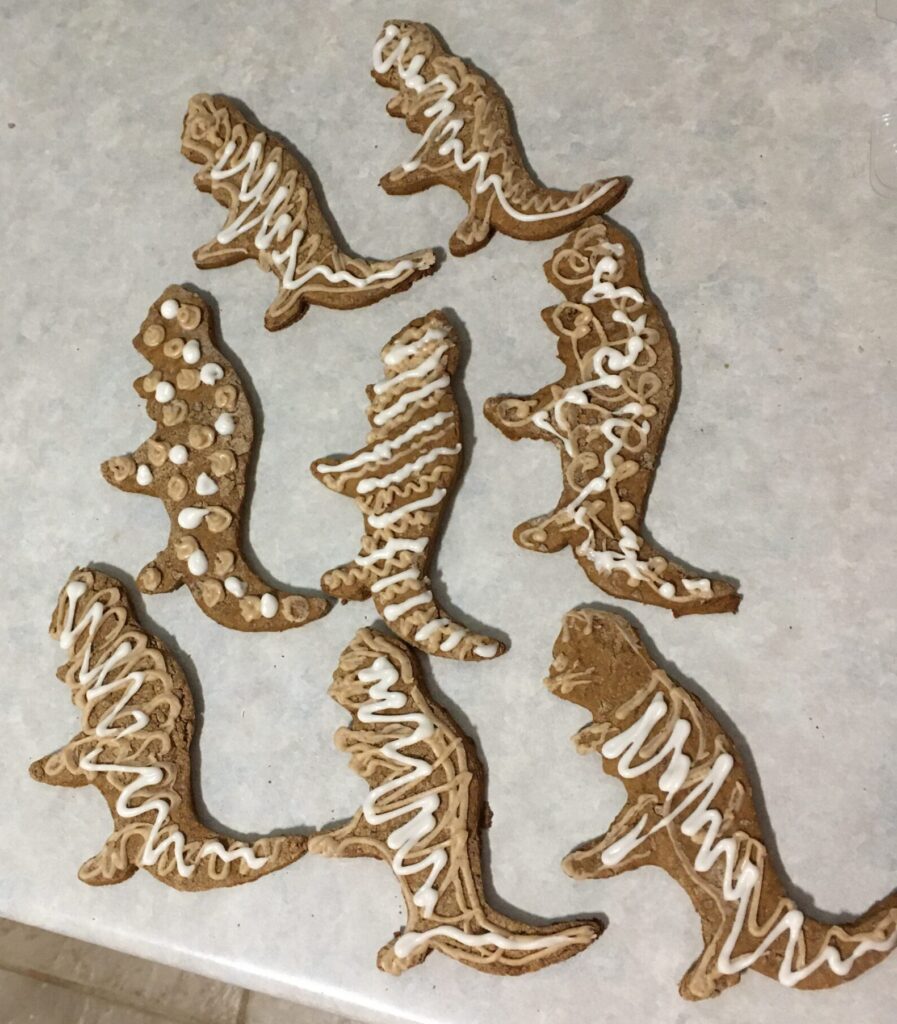
Chocolate cake cookie sandwiches< a variation made by using cake mix and reducing the water and filling them with more of my vegan Swiss buttercream as it is lasting quite nicely!>; Gingerbread cookies; standard chocolate chip cookies < be inspired – I added fireball whiskey to them>
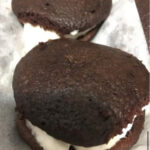
Chocolate Sandwiches made with a cake mix
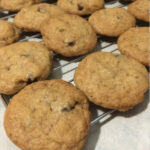
chocolate chip cookies – classic!
Gingerbread trees – no icing!
And then, I returned to look at what I had intended to be a truffle mix, but it was too soft. I had mixed cream cheese, icing sugar and added lemon juice and a tiny bit of vanilla, hoping the icing sugar would be enough to have it set up and become a rollable ball – nope….I stuck it in the freezer until I have time to contemplate …
So this morning – Happy YULE – I decide a no bake cheese cake direction was a good way to go…
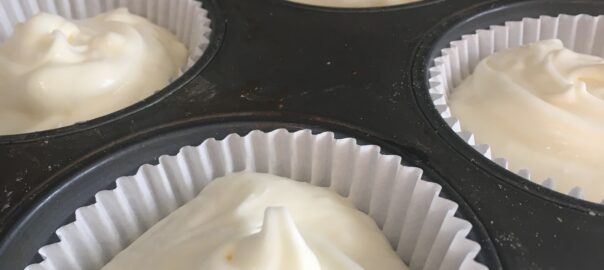
The filling
the crust
the finished cheesecakes
Lemon Truffle Cheesecakelets
Filling – can be used as a straight mousse if you prefer no crust
2 250g blocks of regular cream cheese – room temp
2 cups icing sugar
1 tablespoon lemon juice
1 tsp vanilla extract
1 cup heavy cream/whipping cream – cold
Cream the cheese, and add the icing sugar, mixing well. Add the lemon juice and vanilla and set aside.
In a separate bowl, whip the cream until stiff. Fold the lemon cheese mixture into the whipped cream gently, until it’s just mixed.
Set aside.
Crust: < I think you can use this in a springform pan as well, I just wanted to make minis so I could give them away easily..>
1/2 cup heavy cream
1/3 cup white chocolate chips or Merkel’s pieces
1½ cups unsweetened flaked coconut
Heat the cream in the microwave for 45 seconds or warm it on the stove. Add the chocolate pieces and stir until melted. Add the coconut and stir well. Divide into 12 muffin cups – about 1 tablespoon each.
Using a flat bottomed glass that fits well, push down the coconut mix into the bottom of the cups with a gentle twisting motion – flattens it nicely and the twists away without the glass getting full of goo.
Fill each cup with the lemon cheesecake mixture and chill in the fridge for 6-12 hours.
YOU WILL HAVE LEFTOVER MOUSSE – pour it into some martini glasses, and stick a graham cracker in each or make a smaller cheesecake in a separate pan using graham crackers on the bottom…your choice!
This gluten free cookie recipe was a variation on the recipe I found here. The change I made was to use half chick pea flour and half oat flour< I make my own by grinding oats in a coffee grinder>.
I would also recommend chilling the dough before baking- I did not, and the cookies spread out a lot!
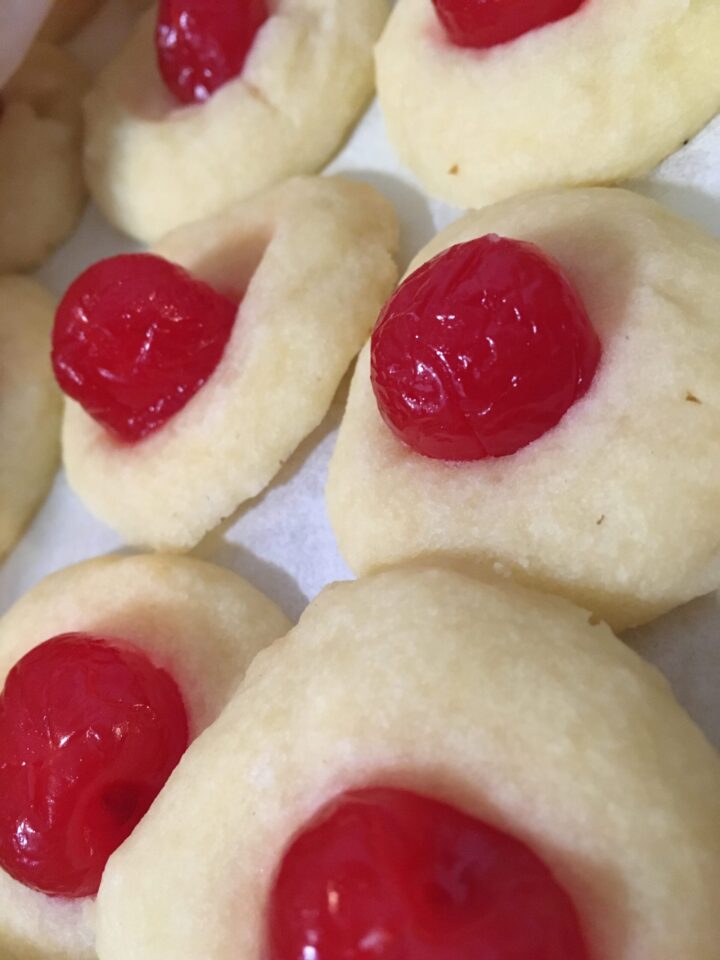
Cherry shortbread
Based on the recipe I found here – and these shortbread cookies melt in your mouth… I used vegan butter replacement, and otherwise followed it.
The dough is super soft when mixed, so chill it for at least 30 minutes before creating these melt in your mouth cookies! And be sure to drain the cherries, if you buy them in syrup.
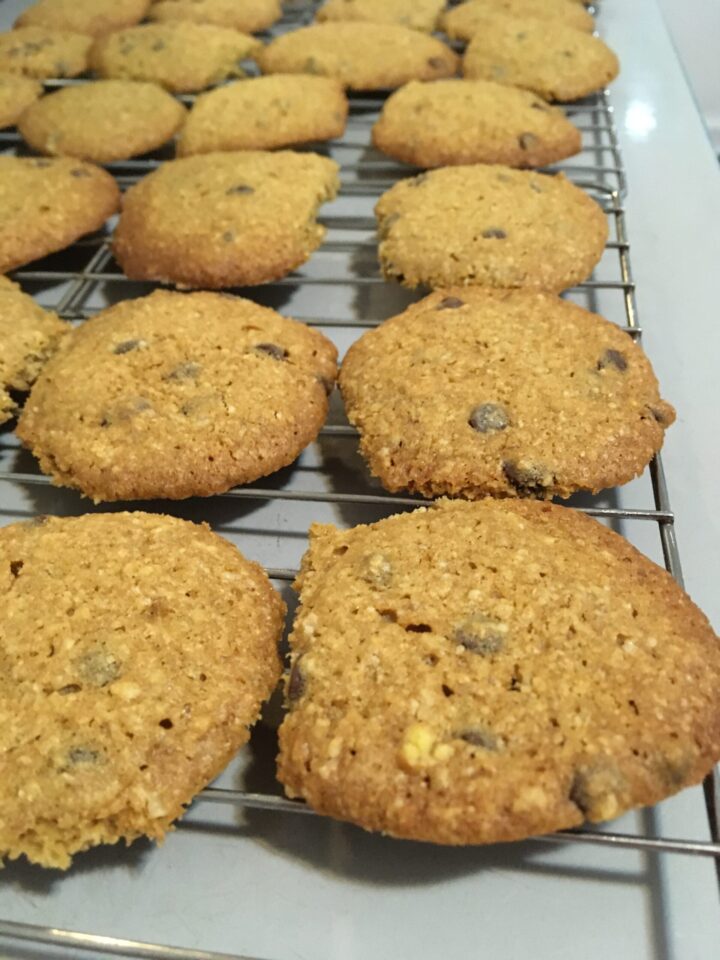
Oatmeal Coconut choc chip cookie
Here’s the recipe – I choose to add coconut “and” chocolate chips – or sometimes all three!
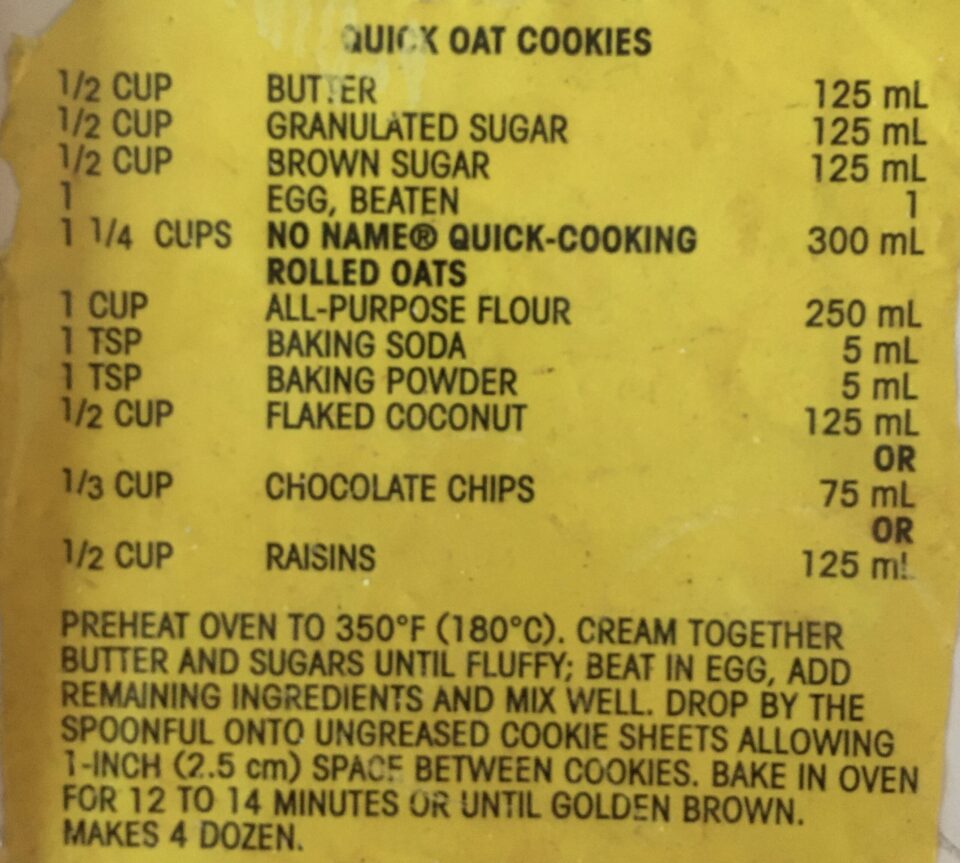
Oat cookies from no name oatmeal bag
and these chocolate cookies are a family tradition 🎉….but I’m changing things up a bit…
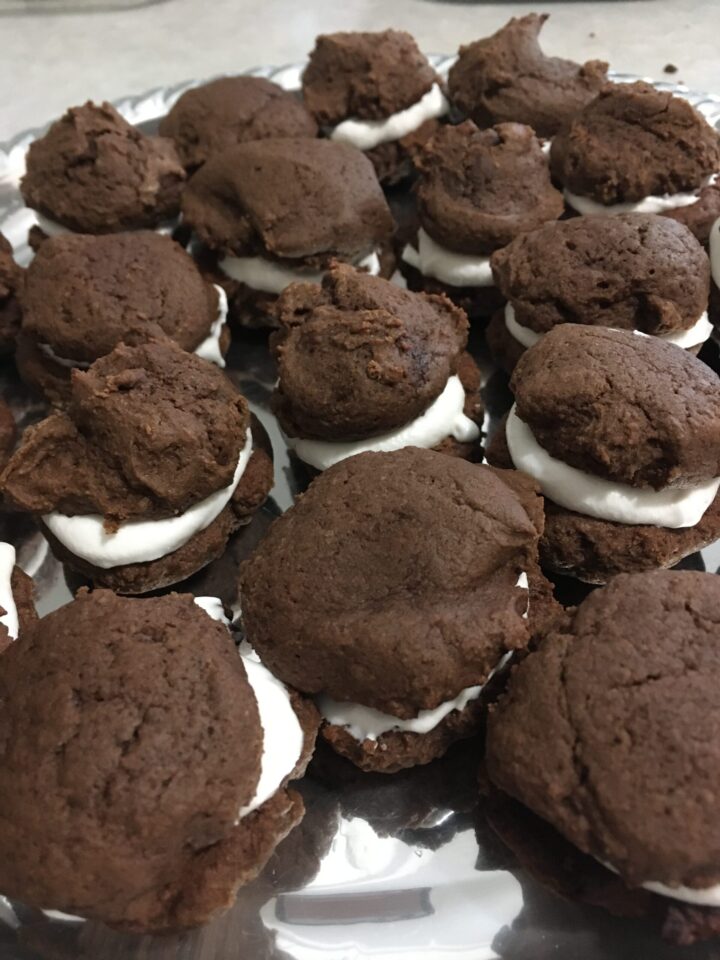
Vegan Chocolate cookie sandwiches
Vegan chocolate cookies and Vegan Swiss Meringue Buttercream frosting…
So this is a variation on one of my families traditions….these are amazing frozen when in their sandwich form ( stolen from the giant Tupperware container in the chest freezer…)
½ cup vegan butter substitute
1 cup sugar
1 egg replacement*
1 tsp vanilla
½ cup cocoa
½ tsp baking powder
1 ½ tsp baking soda
2 cups flour
1 cup oat milk
*egg replacement options : 1 tablespoon ground flax mixed with 1 tablespoon hot water or 1 tablespoon aqua faba < strained liquid from canned chick peas> or your own choice!
Cream the first 2 ingredients then add the next 2.
Mix the dry ingredients together and add, alternating with the oat milk, until you get your batter.
Drop onto parchment paper lined cookie sheet, flattening with wet fingers/ bottom of a glass, and bake for 7 minutes at 400Degrees F.
Cool completely and enjoy as is or fill with frosting to make sandwiches….
Vegan Swiss Buttercream frosting…
So I hybridized the original family recipe, which uses Marshmallow creme < I wasn’t going out to buy this>, and this Aqaufaba Swiss Buttercream I found online which called for WAY TOO MUCH FAT – as in I had used all my vegan butter by this point in the day
1 ¾ cup aquafaba ( strain the liquid from 1 or 2 cans of chick peas- measure it )
1 cup white sugar
¼ tsp cream of tartar
2 cups of icing sugar
½ cup vegetable shortening ( I used Crisco) softened/at room temperature.
1 ½ tsp vanilla
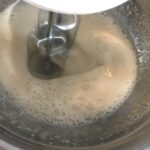
Mix aquafaba and sugar in a saucepan and bring to boil for 5 minutes…stirring occasionally.
Take off heat, pour into mixing bowl and cool completely ( I put the bowl into the fridge for about 20 minutes.)
Once cool, start whipping the mixture at high speed. You can use a whisk attachment, I suggest not trying to do this by hand unless you have strong arms. It can take up to 15-20 minutes to get it to firm peaks with the machine doing the hard work…
Once you reach that stage, mix together the cream of tartar and icing sugar, and gradually add that in, whipping it- whip it good…
Add the softened vegetable shortening ( I used Crisco) that is at room temperature, keep whipping to incorporate it fully and finally, add the vanilla.
You will have leftover frosting- so feel free to halve the recipe…and it will store in the fridge for up to 2 weeks in a. tightly sealed container…