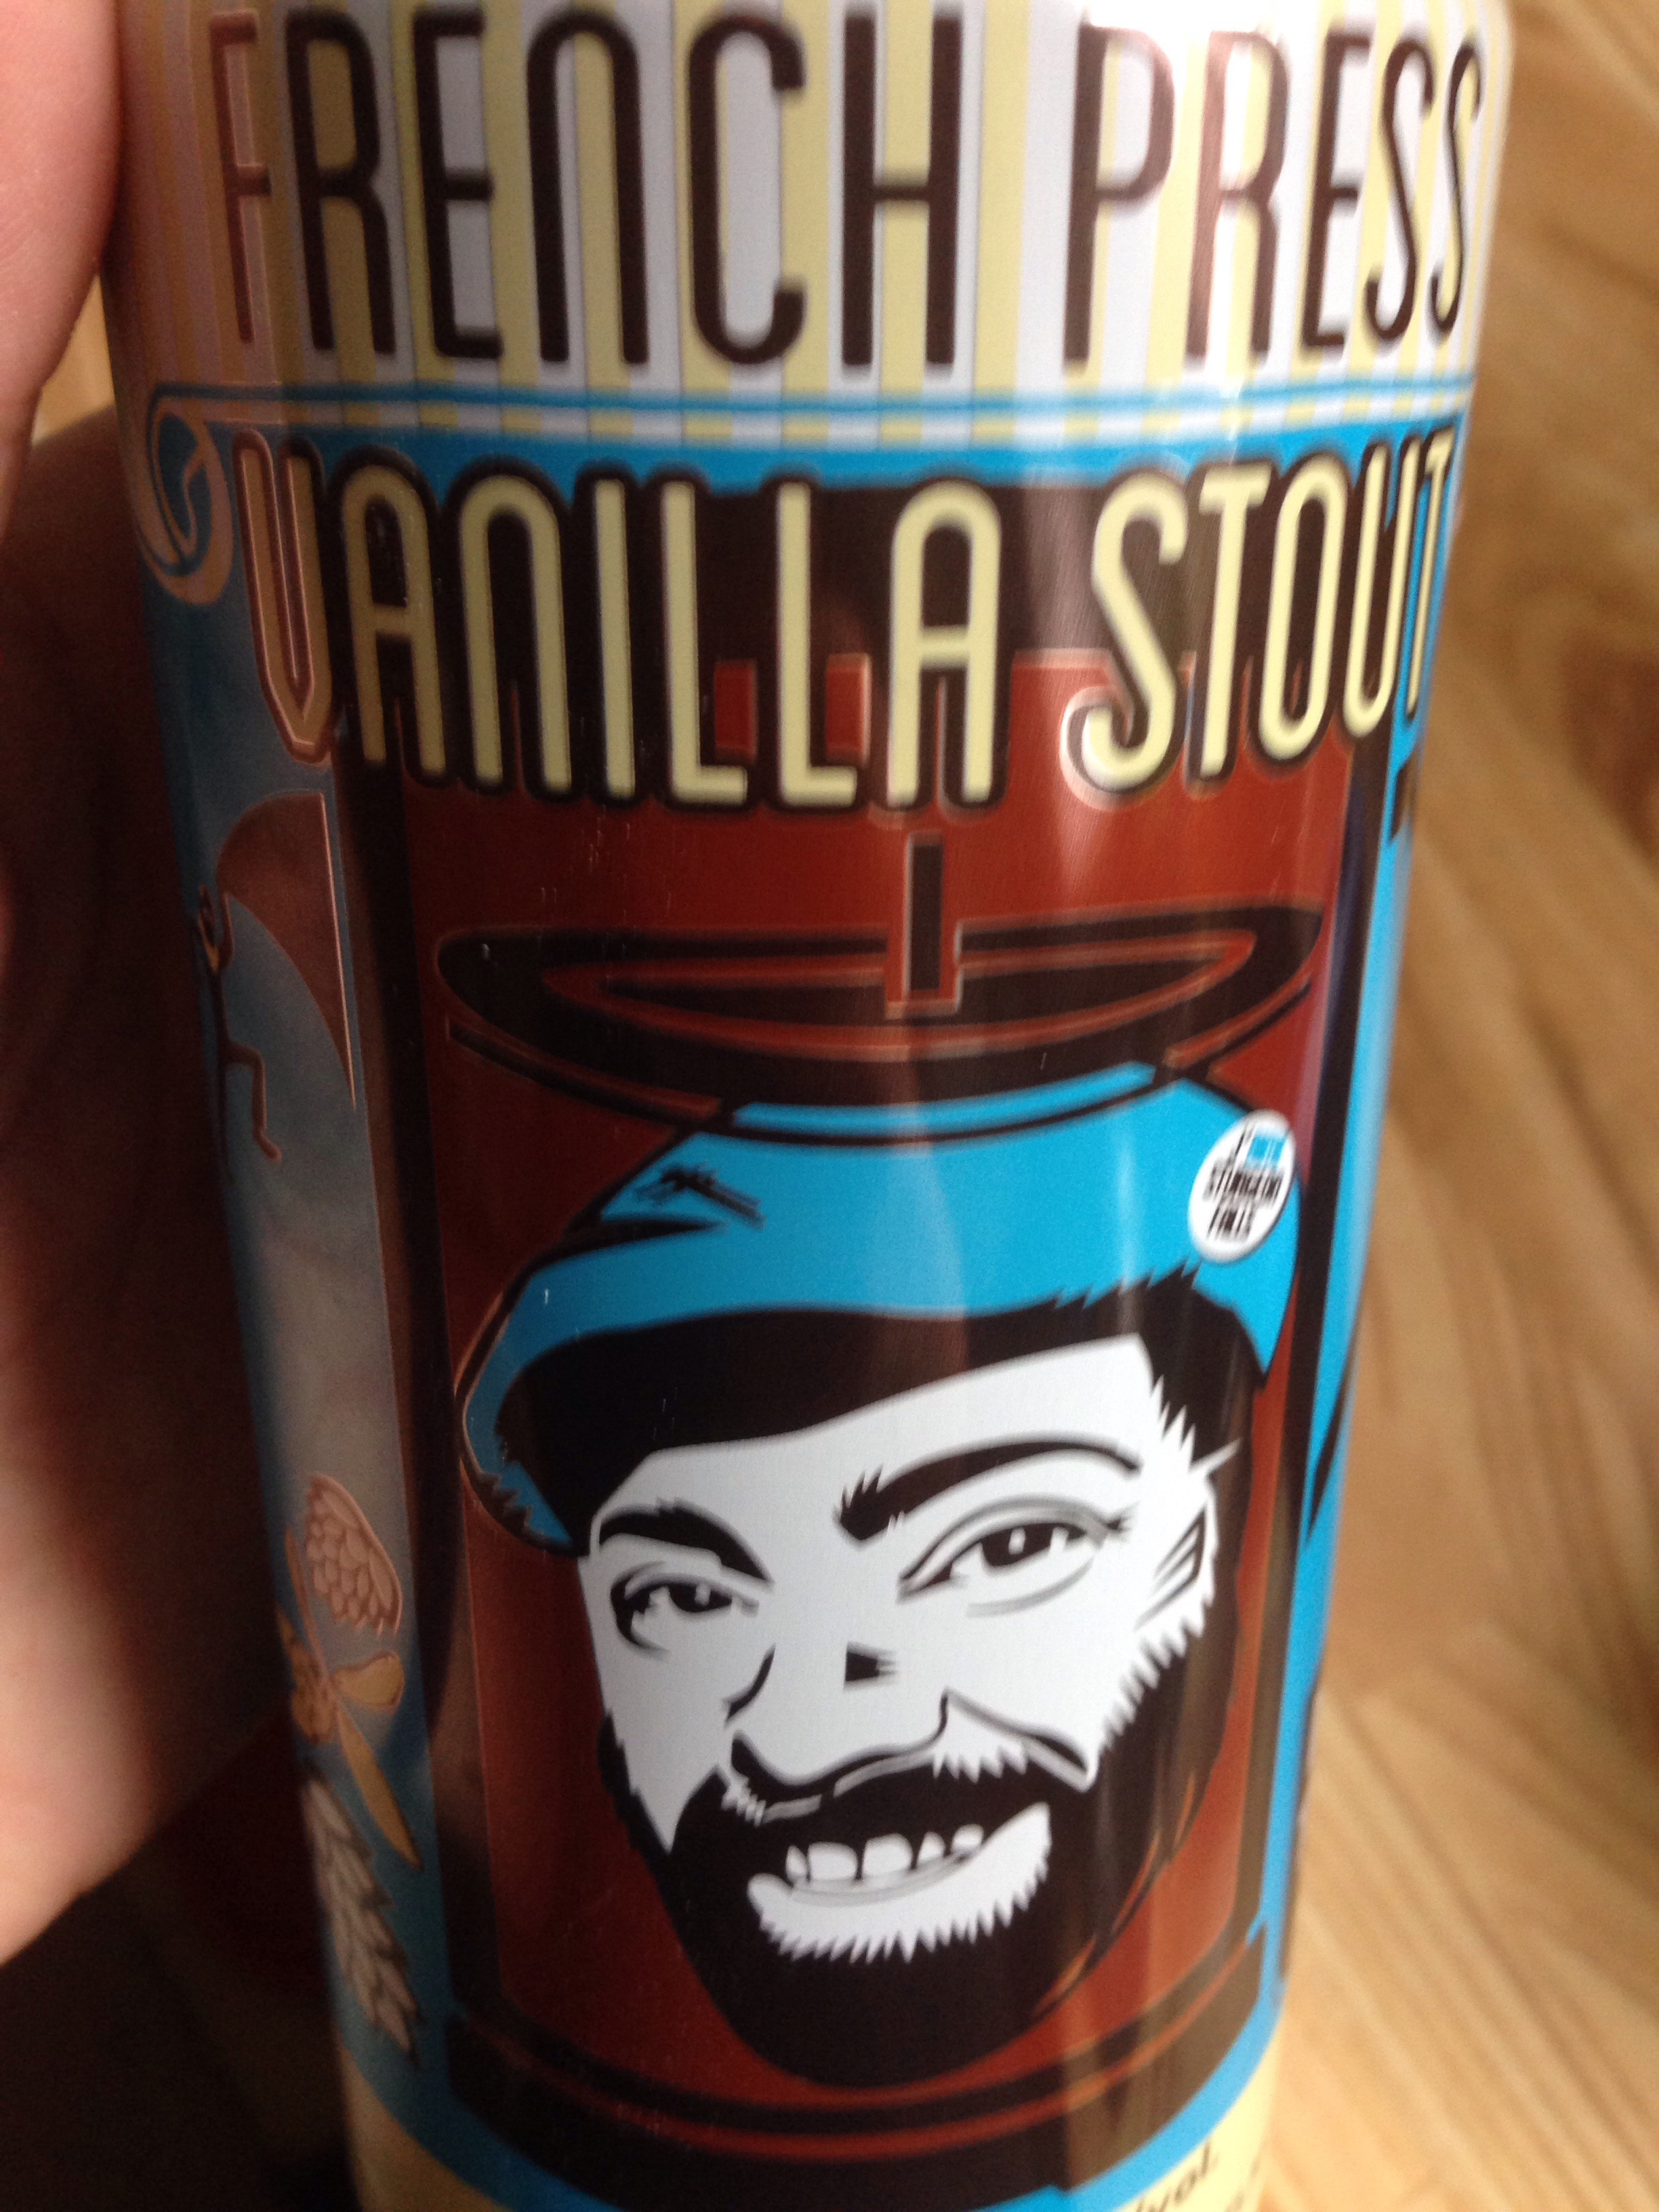
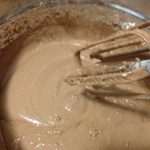
We tried the French Press Vanilla Stout a few days ago and @wtl rated it an abomination. I was not so harsh, I deemed it bread worthy.
So I poured it into a bowl and added about 3 cups of white flour ( it’s what I had on hand). I also added about ¼ cup cocoa and 2 tablespoons of cinnamon.
I stirred it and left it to percolate.
For 2 days.
I was really busy.
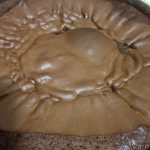
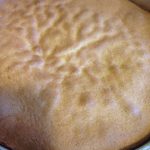
This morning I looked at it – added enough flour to get a good kneaded bread texture.
Then instead of trying to let it rise any further, I figured just bake it already.
350 degrees for about 30 minutes.
The top sounded hollow so I took it out.
But it was not really full baked.
So I sliced it like biscotti and baked it for about 10 minutes each side.
Icing sugar and vanilla glaze when it came out.
Not too bad.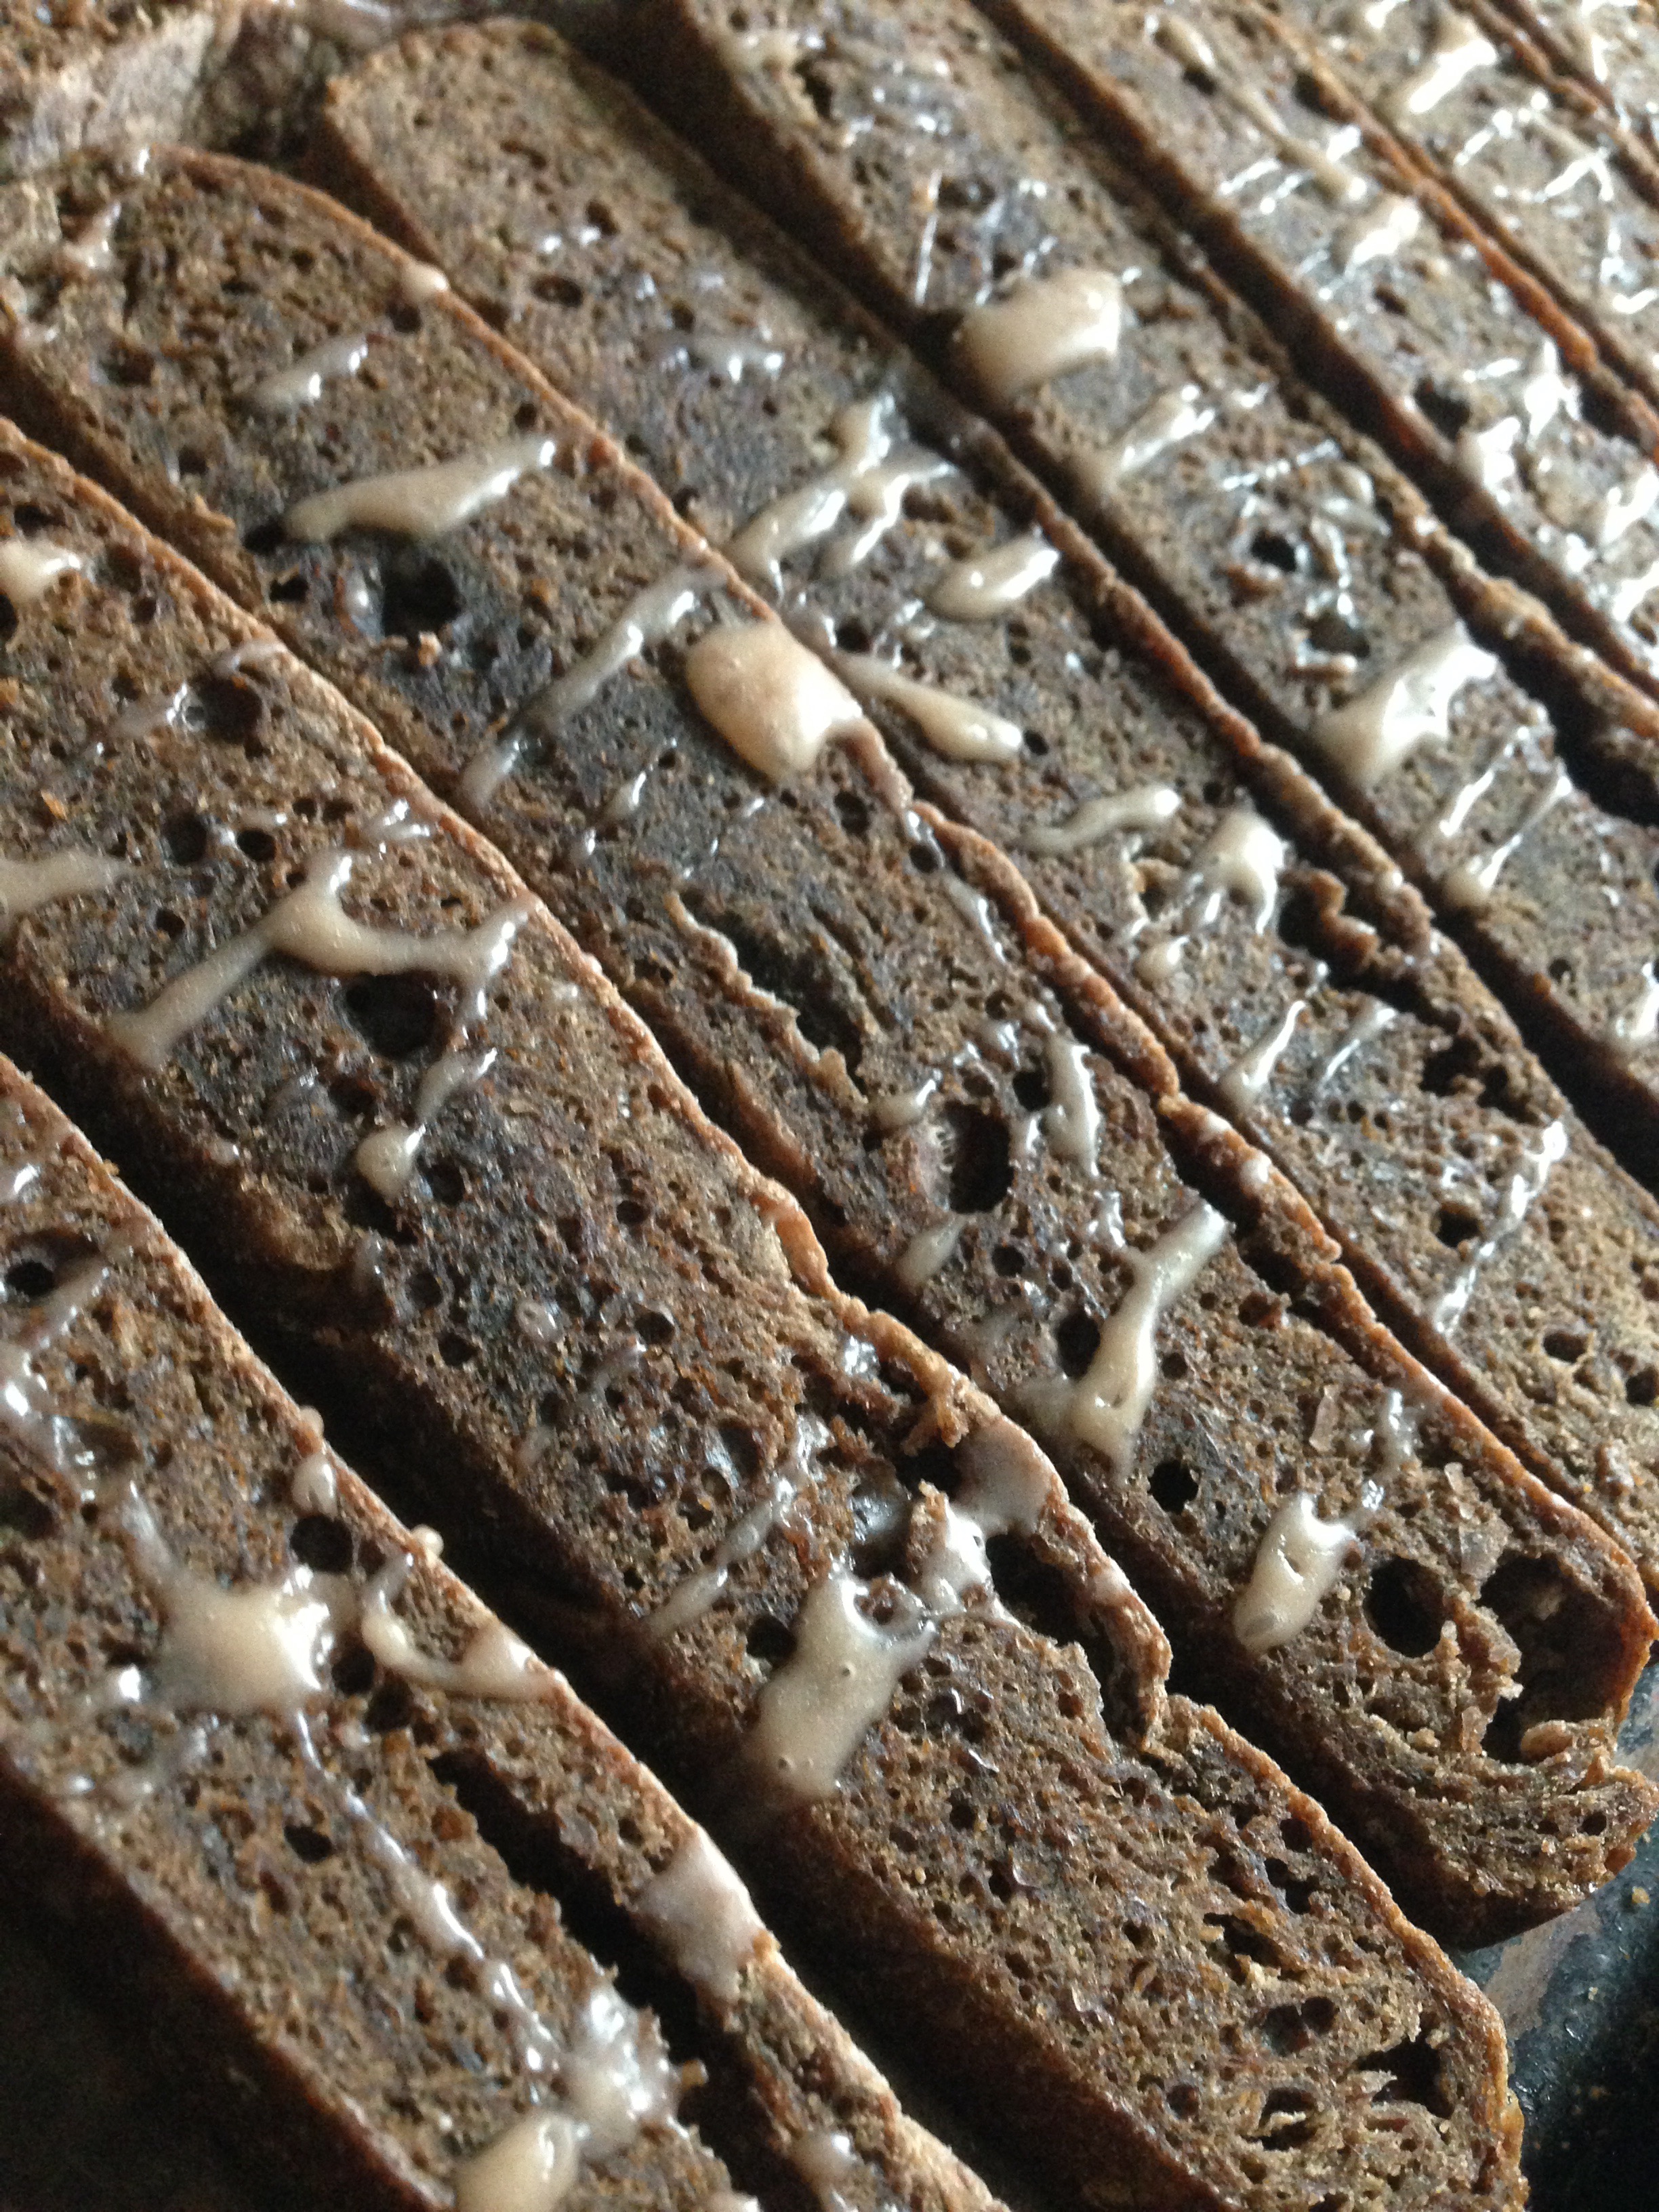
Category Archives: Recipes Blog
Calming measures: almond cookies
Some days I need to settle my molecules with the calming effects of baking. Building heat is off making it hard to focus on work. So dual benefit of warming part of the space plus…cookies!
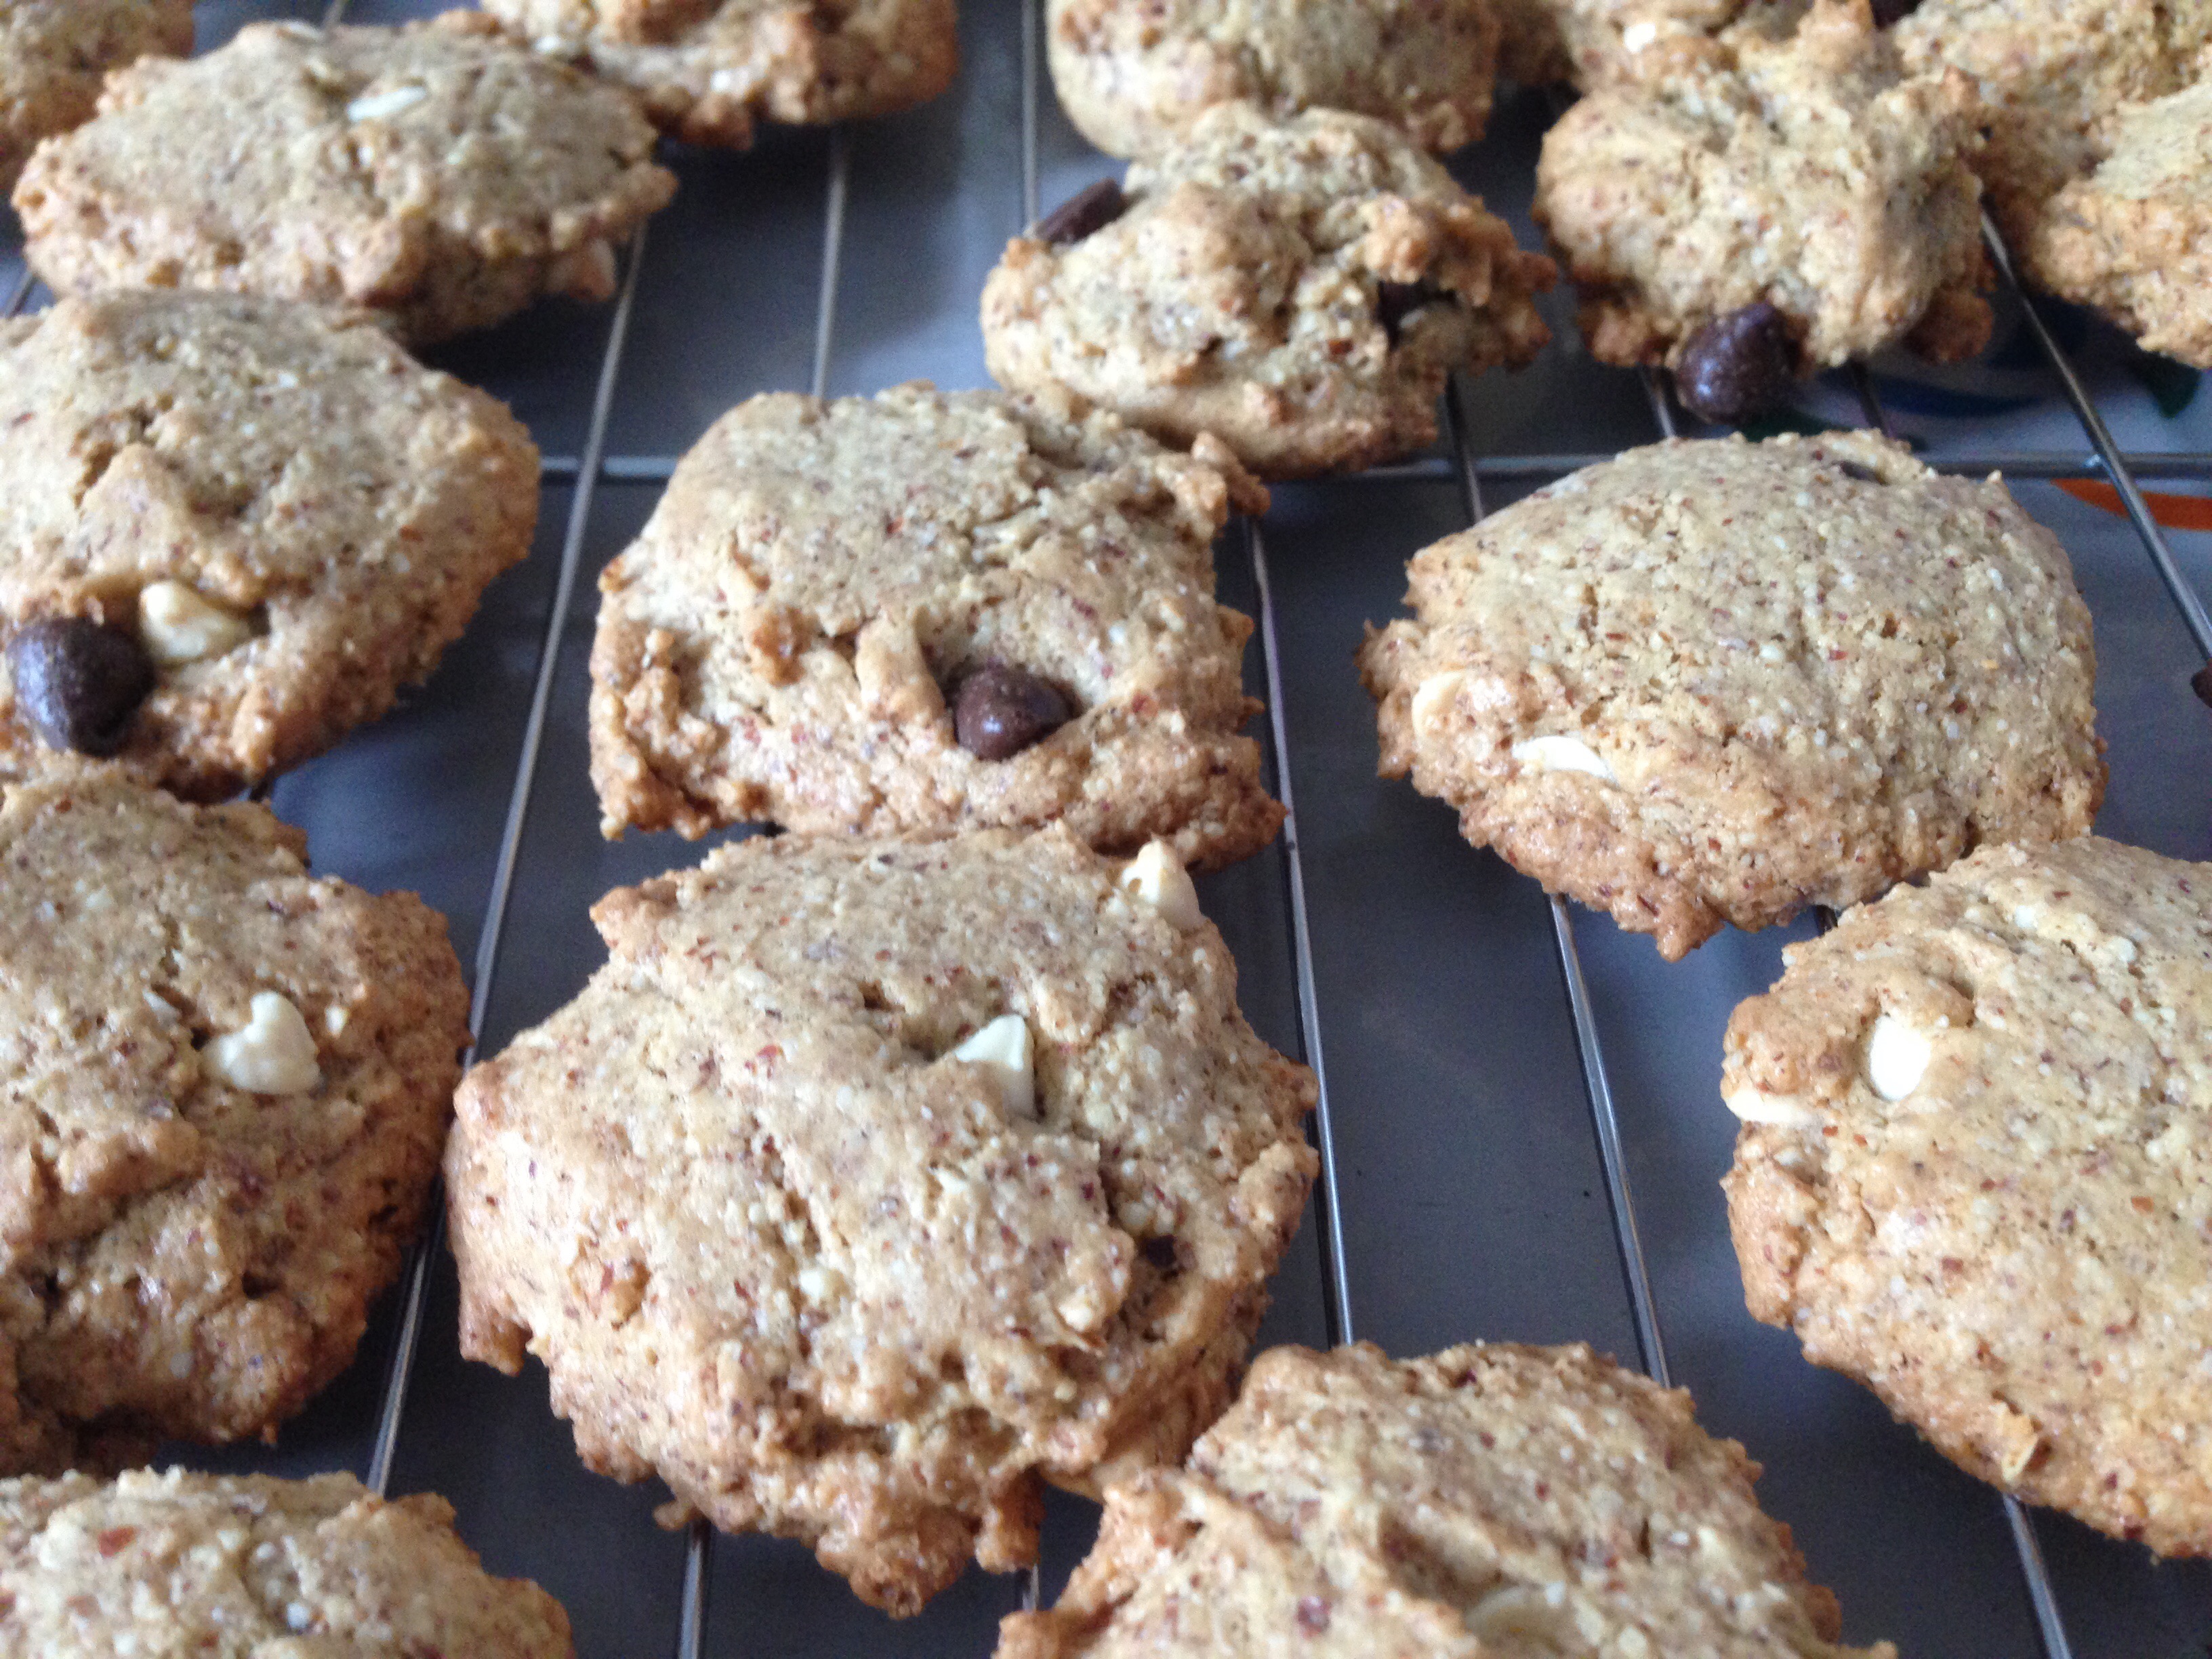
Original recipe :
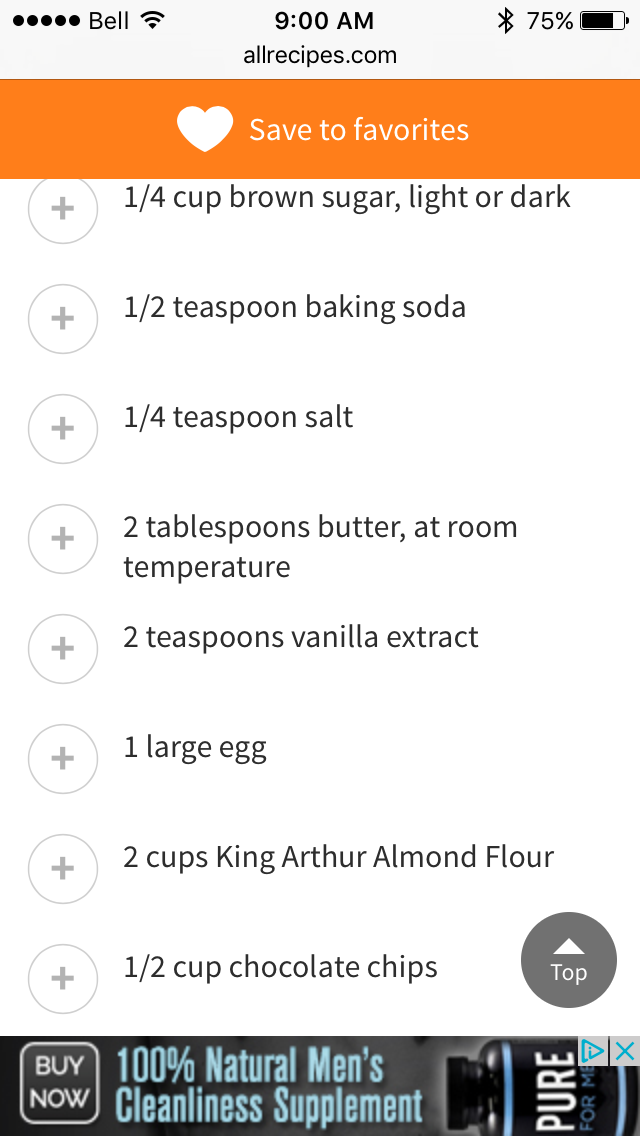
Oven 350 degrees; bake on parchment lined cookie sheet for 10-12 minutes ; makes 30 cookies.
My variation- same baking info:
- ¼ cup brown sugar
- ½ teaspoon baking soda
- 2 tablespoons coconut oil
- 1 egg
- 2 teaspoons vanilla
- 2 cups ground almonds/almond flour
- 2 tablespoons dark chocolate chips
- 2 tablespoons white chocolate mini chips
66 calories per cookie.
Enjoy.
Avocado brownies
No long pre-amble:
- 4 small avocados- puréed
- 1 cup cocoa
- ⅓ cup sugar ( whatever kind you like)
- 1 teaspoon vanilla extract
- ½ teaspoon baking soda
- 2 eggs
Oven 350 degrees F
Lightly greased pan and bake for 30 minutes. Cool and chill before cutting.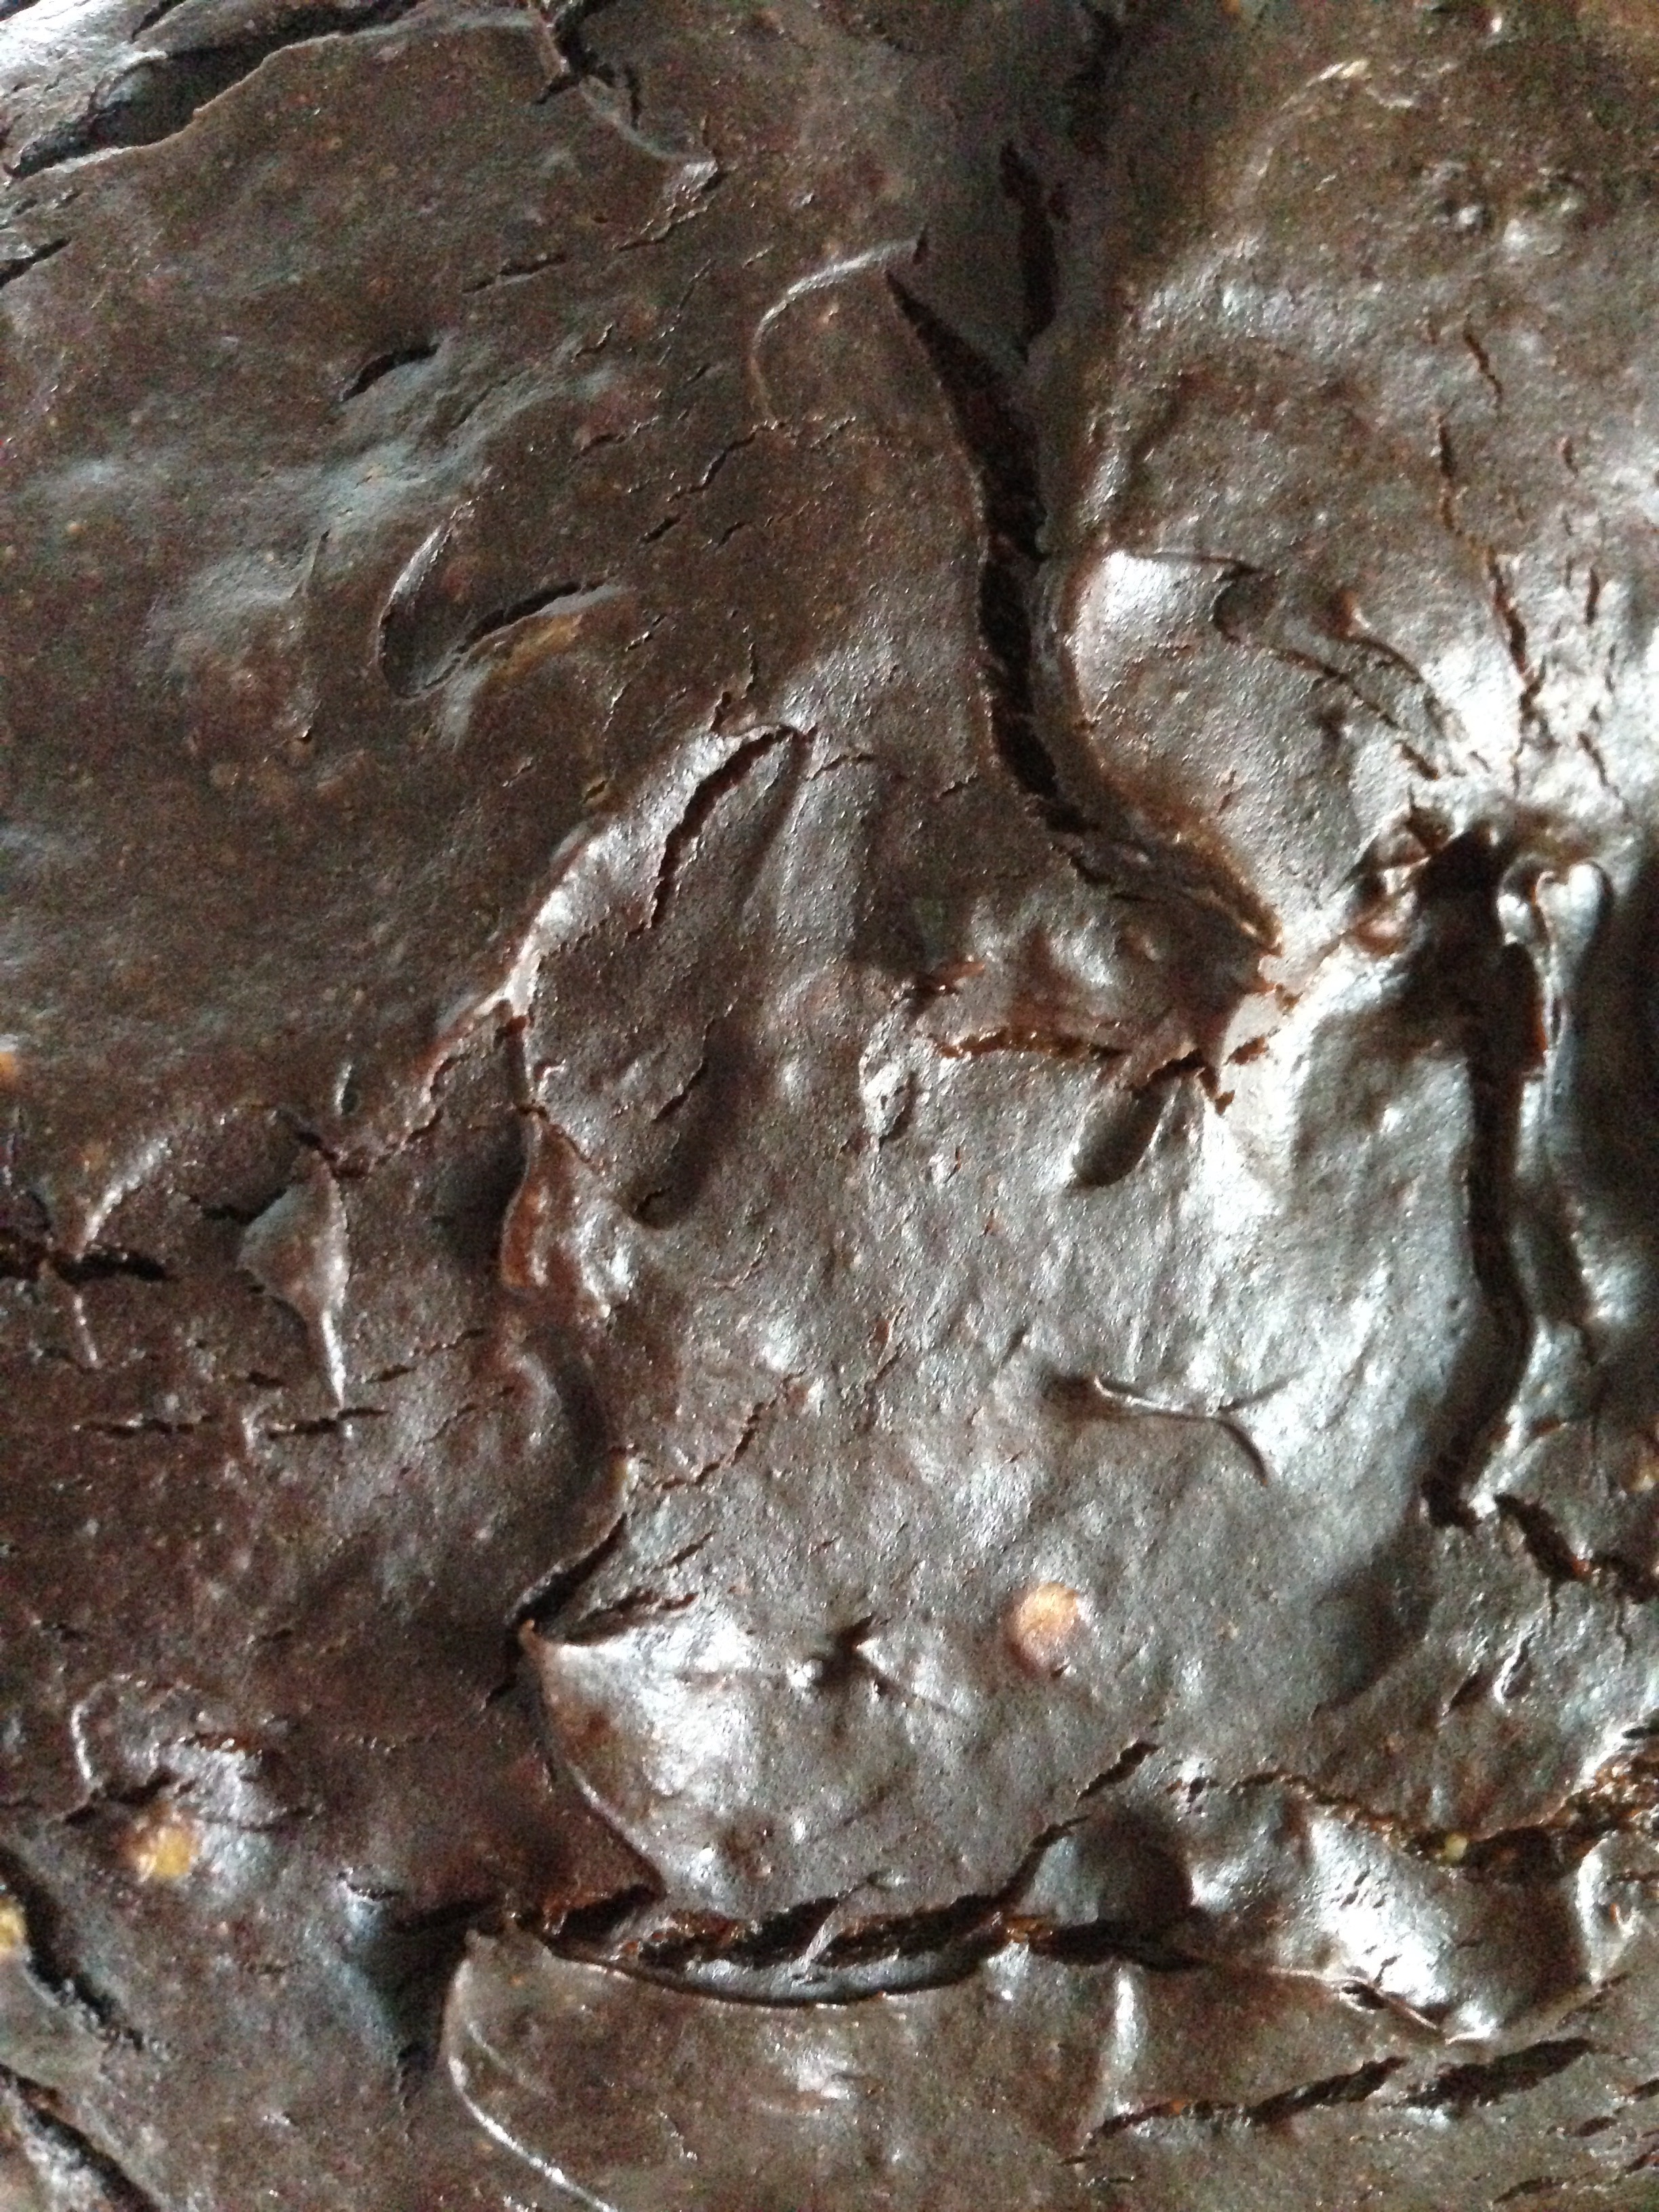
The oops, I forgot: Add 1/2 cup chocolate chips to the batter.
So, I tried to do that thing where you sprinkle the chips on top and then smooth it out once it has melted – but apparently white and dark chocolate chips have different melting points and don’t play well together…

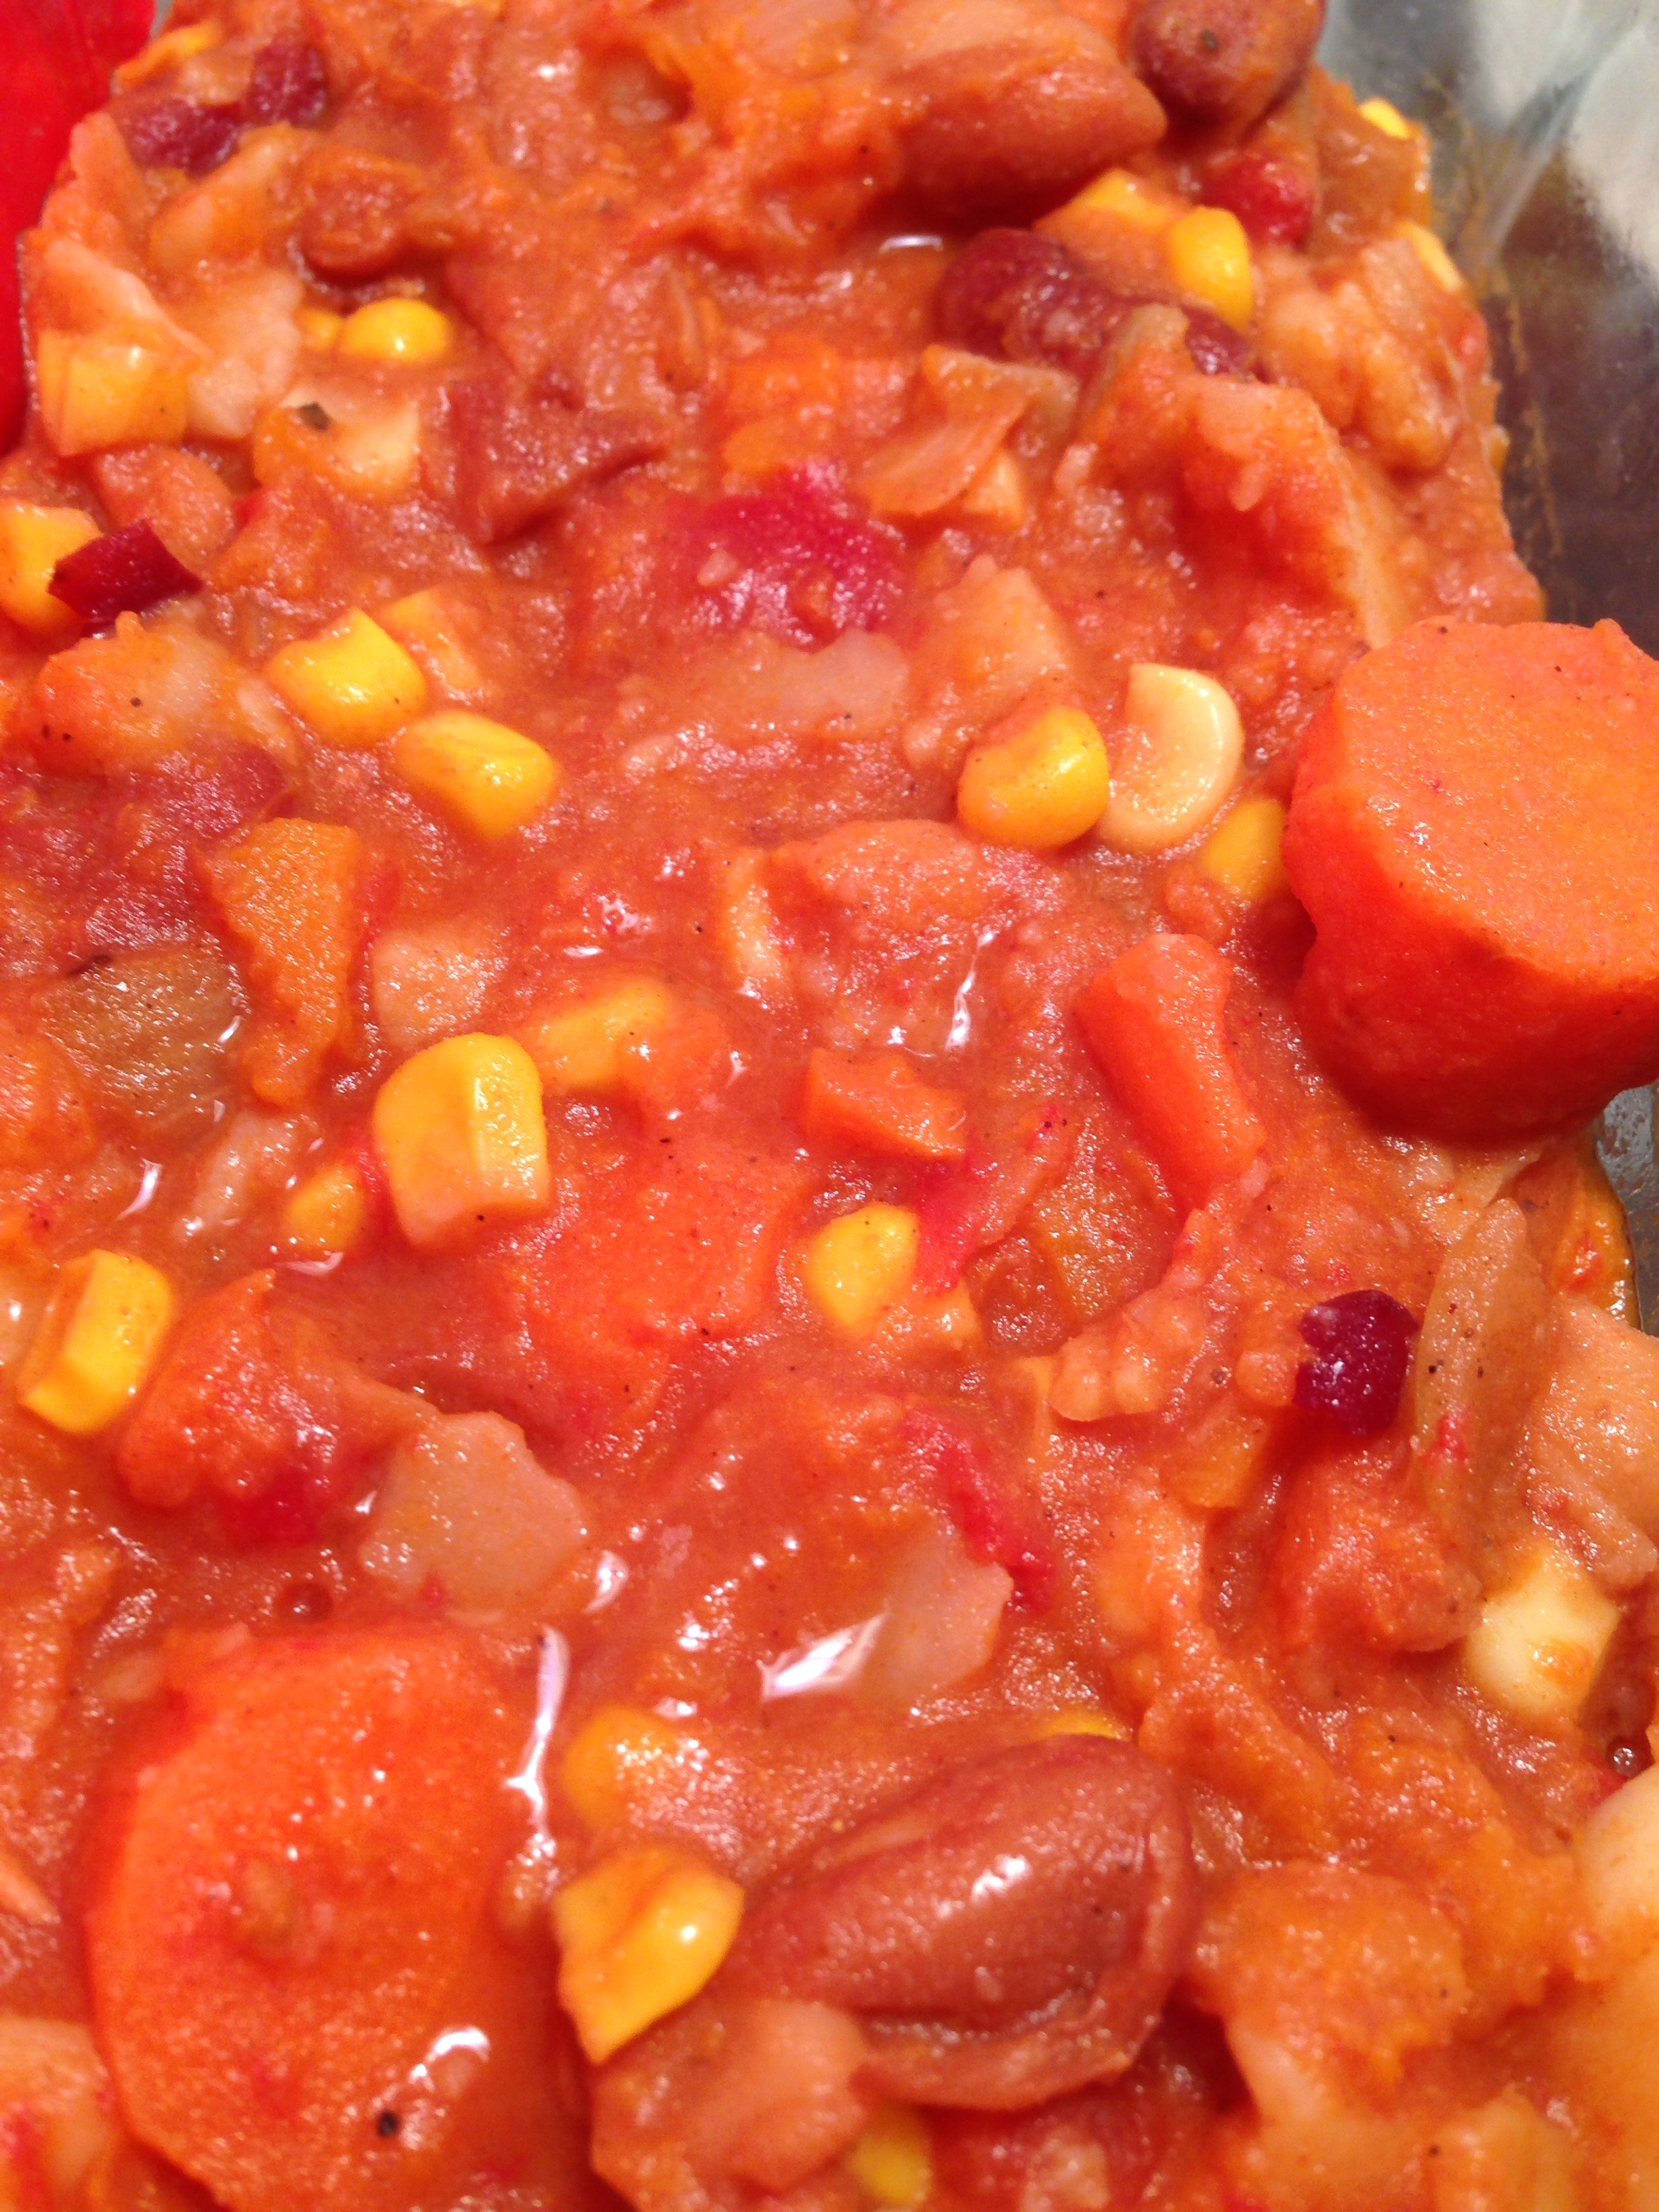
Recipe time- random veggie stew
Random but oh so good:
- Onion
- Potatoes
- Carrots
- Butternut squash
Amounts- use what feels right 🙂
Above veggies:chop and sauté in the order listed-I used olive oil.
Spices:
- garam masala
- Paprika
- Salt and pepper
To taste!
Add:
1 large can each:
- Roma tomatoes
- Mixed beans ( drained)
- Corn ( peaches and cream- or any type of kernel) ( drained)
Cover and let simmer until the veggies are soft.
Take a potato masher and squish some of the veggies and beans randomly. Stir it up.
Serve!
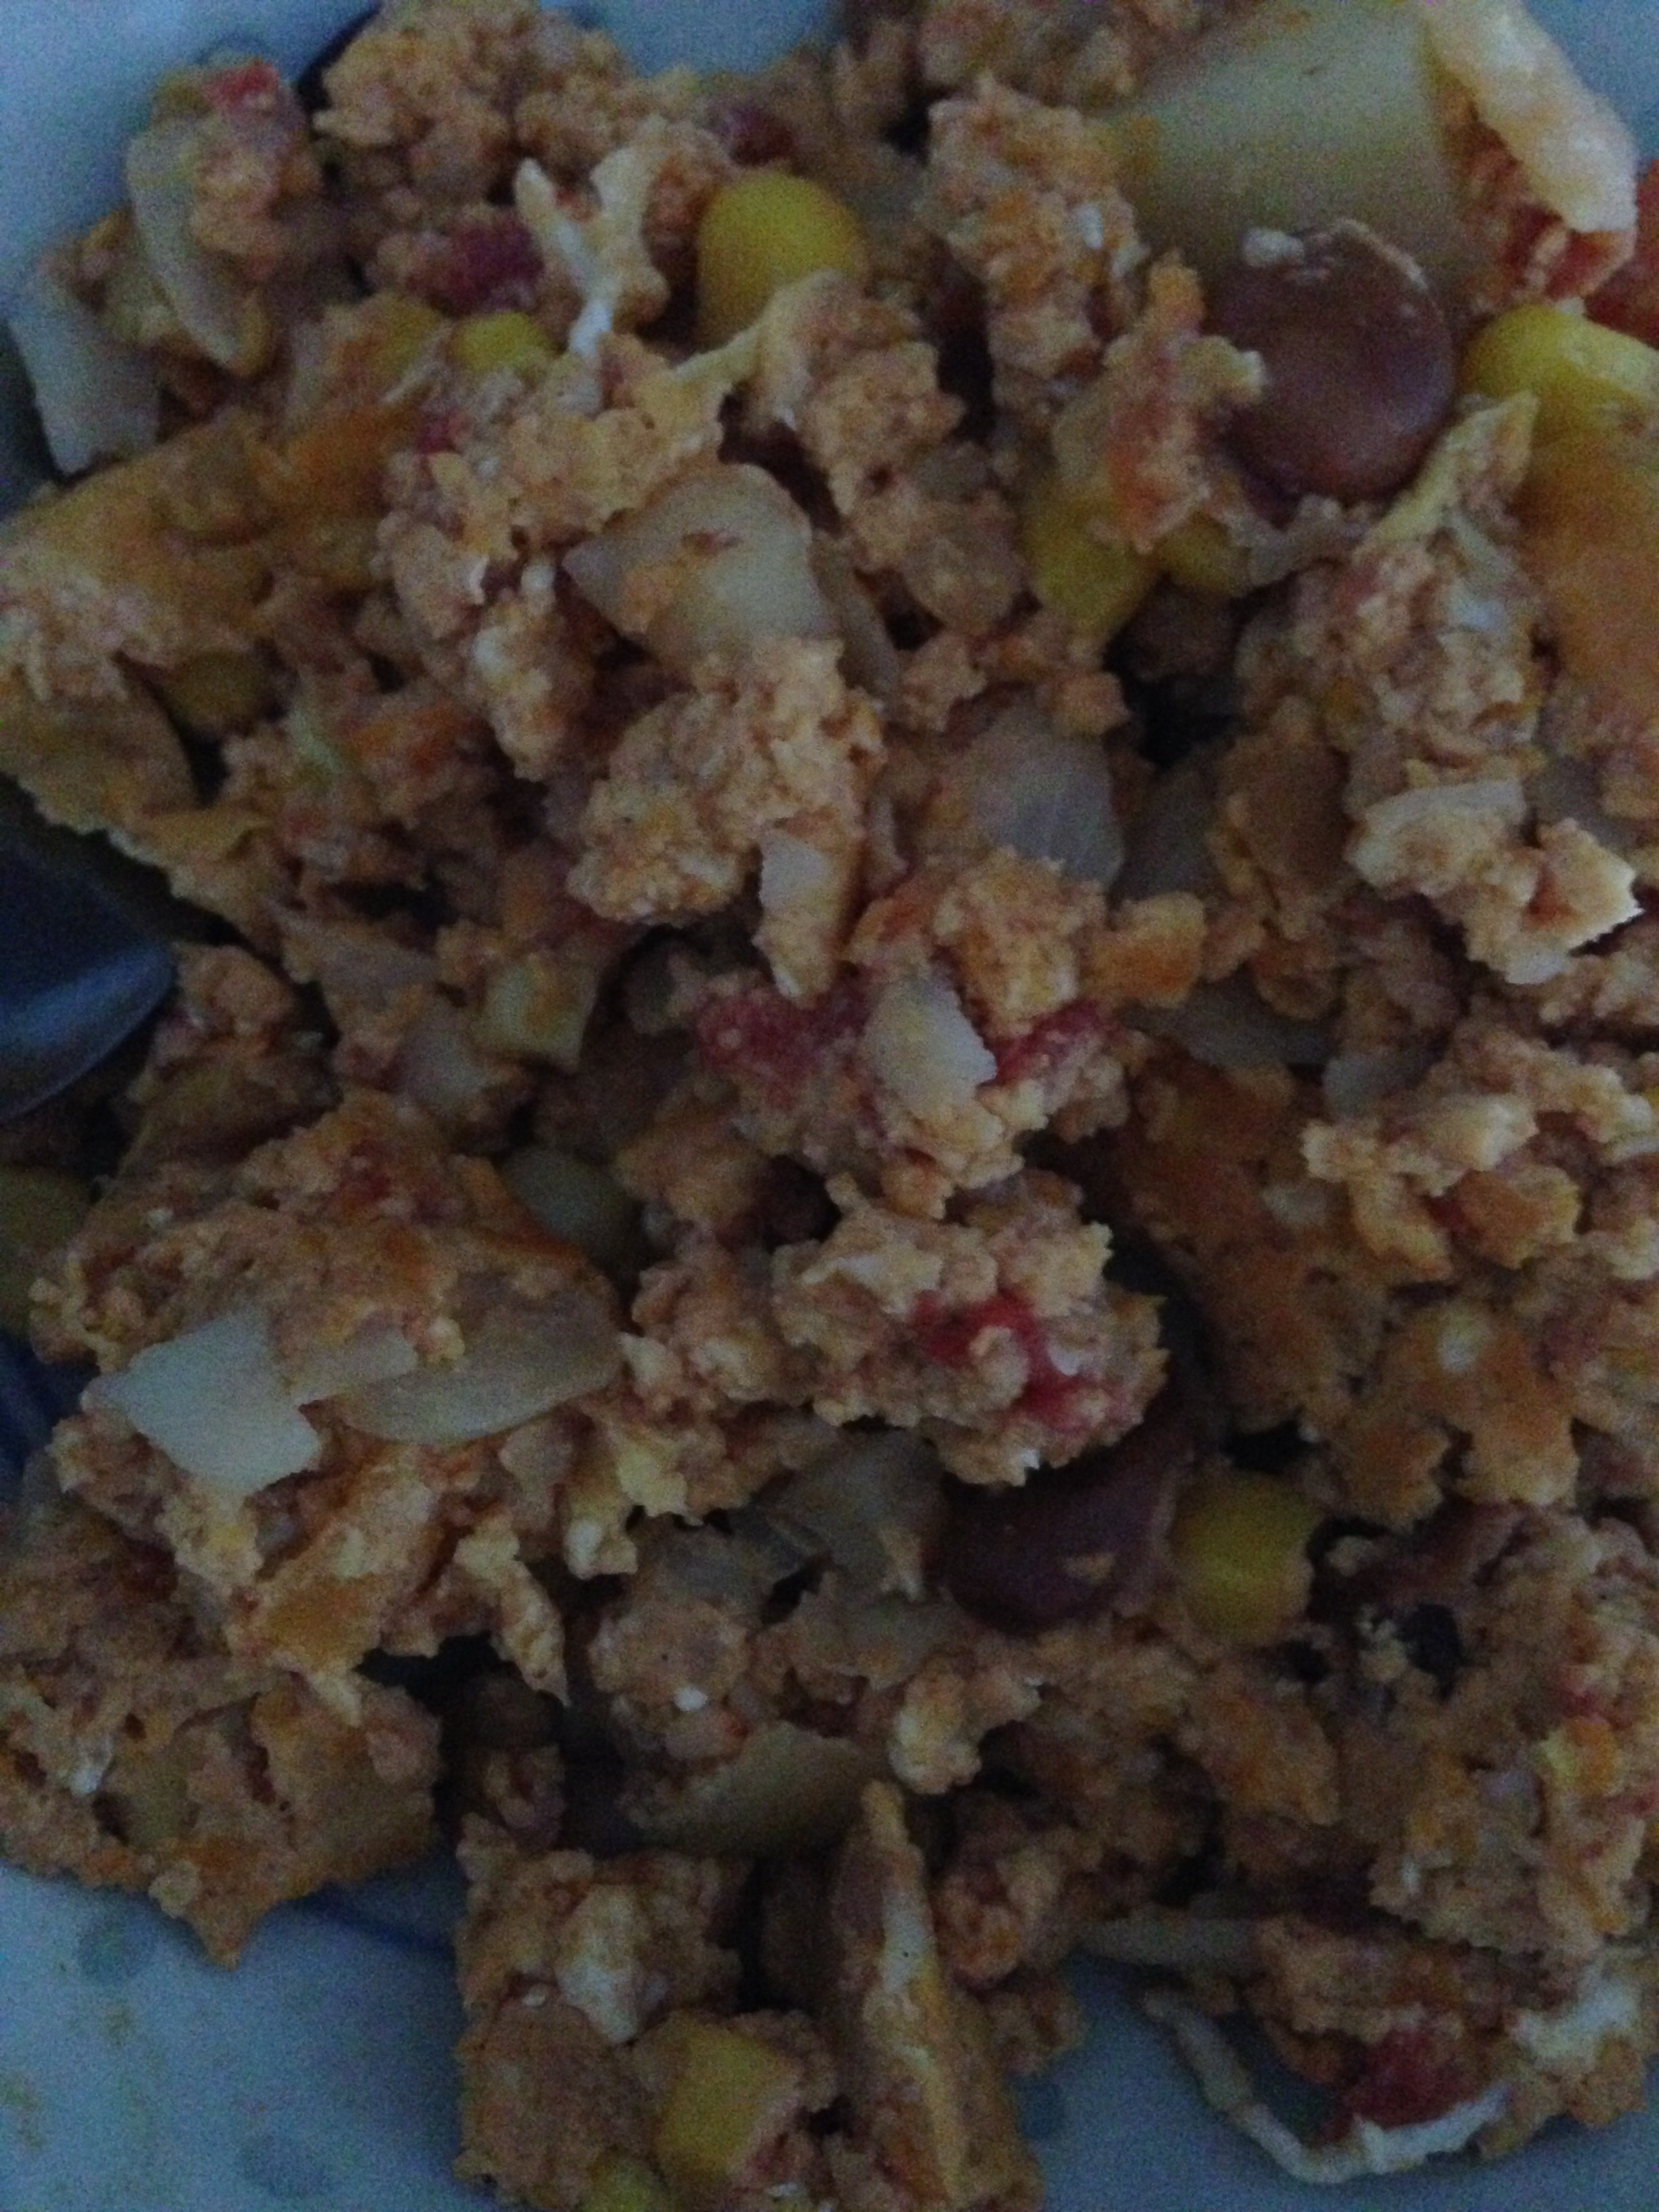
Next day breakfast:
Scramble eggs and add a few scoops of the random stew.
Top with cheese.
Cherpumple time again!
Ok – I thought I had a lovely post about the Cherpumple adventures in the past, but apparently not.
So, here goes:
You’ll need:
3 cake mixes – whatever brand you like and feel free to get creative with your combinations! I use: chocolate, white and yellow.
3 pre baked pies – full size pies is good, but you can go smaller if you prefer. If you want to make your own pies – that’s fine too – make sure they are cooled and ready to be deployed! I use: cherry, pumpkin and apple… < Cher-Pump-Le>
3 spring form pans – large enough for the pies and the cake batter, or 1 pan and plan to bake each one over a couple of days – this is fine!
The concept:
For each layer, take a pre-baked pie, remove it from the pie plate and place it in the centre of the spring form pan. Mix up the cake batter according to the box, and pour the batter over the pie. Spread it out and tap the pan to make sure it flows down and around the pie completely, removing as much air bubbles as possible.
Bake according to the directions, but bake it a bit longer – I usually aim for 55 minutes.
Let it cool, remove the sides of the springform pan, then chill it in the fridge before taking it off the bottom of the pan.
Repeat for each layer. Cool the layers completely before assembling and letting them chill overnight is even better!
My combination is:
- Chocolate cake and cherry pie
- white cake and pumpkin pie
- yellow cake and apple pie
But really – do what you like!
Icing – yep – use what you like – pre-made, make your own, whatever works for you.
frost between the layers and slather it all over!
Decorate in whatever fashion you like!
Chill again to let it feel nice and solid.


Use a big bread knife to cut into this 6 desserts in one and you should be able to serve a village if you cut the pieces small enough!
And I’ll update this one the 2016 Cherpumple has been cut into, but for now – here’s some previous ones I have made!


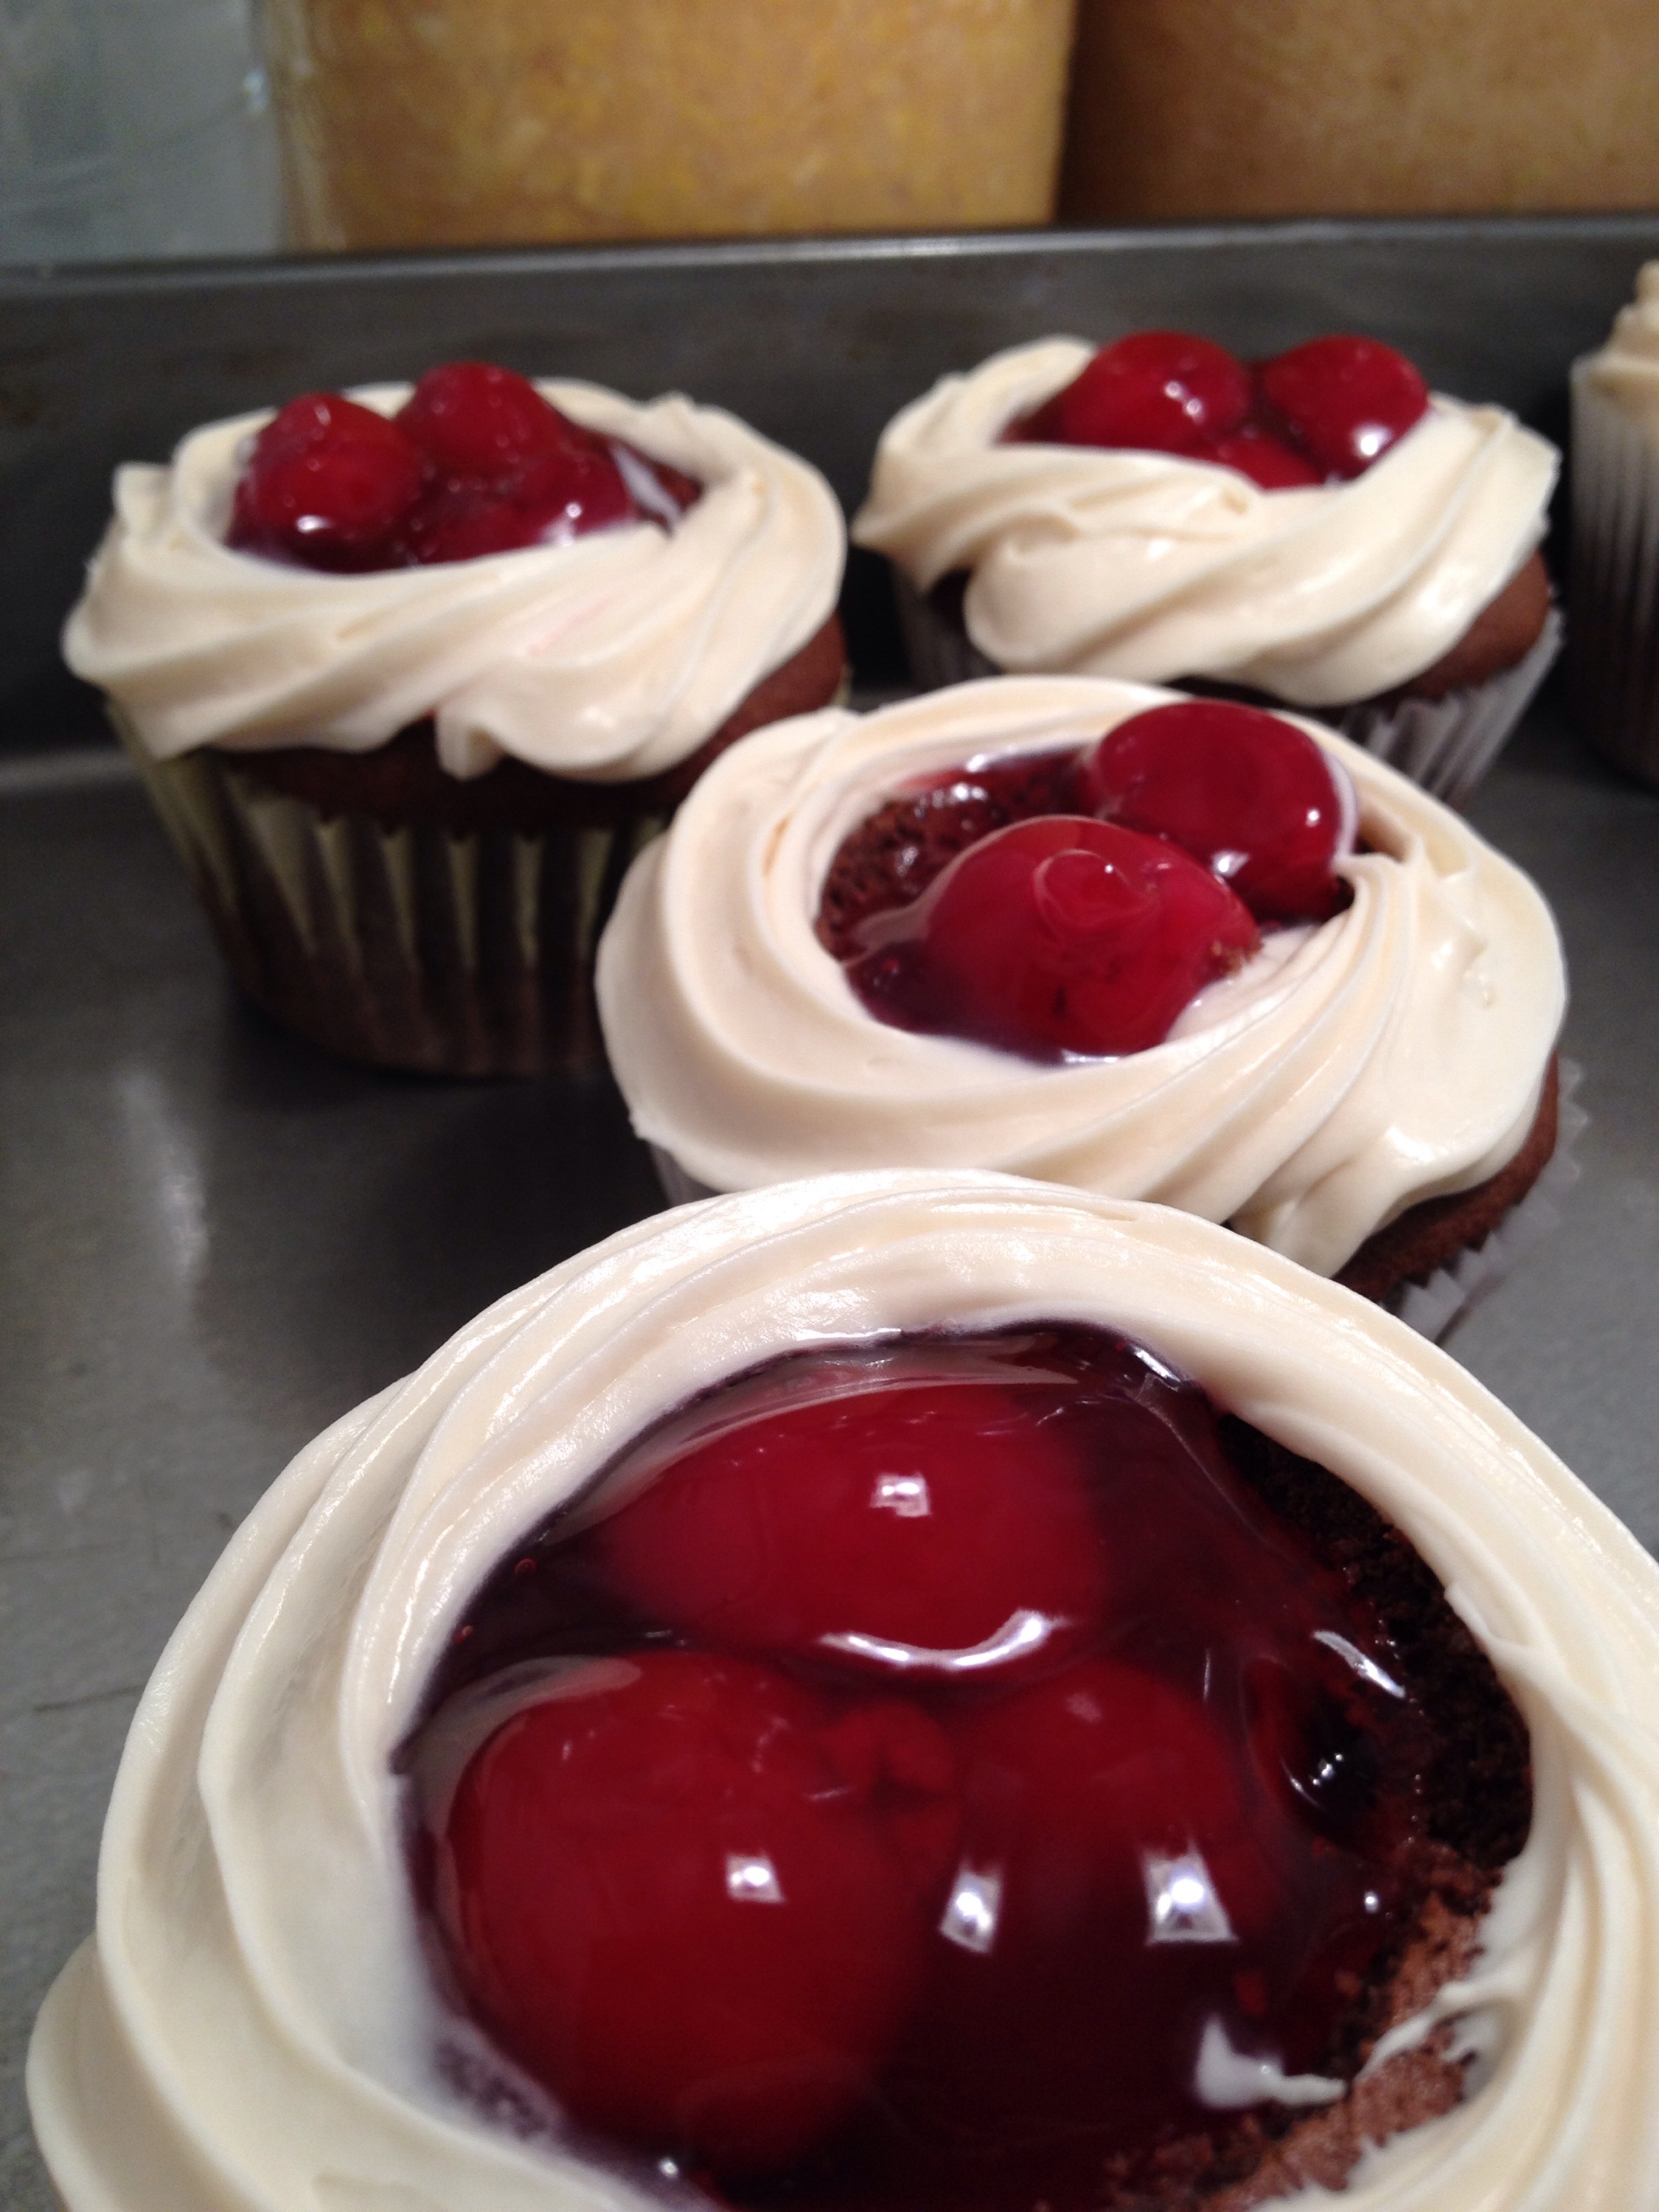
Non mutant Black Forest cupcakes
I did start with a simple chocolate cake mix, cherry pie filling and premade vanilla icing. Sometimes it’s just gotta be that way.
Once the cupcakes were baked and cooled, I cut the little funnel shapes to give room for the cherry pie filling.
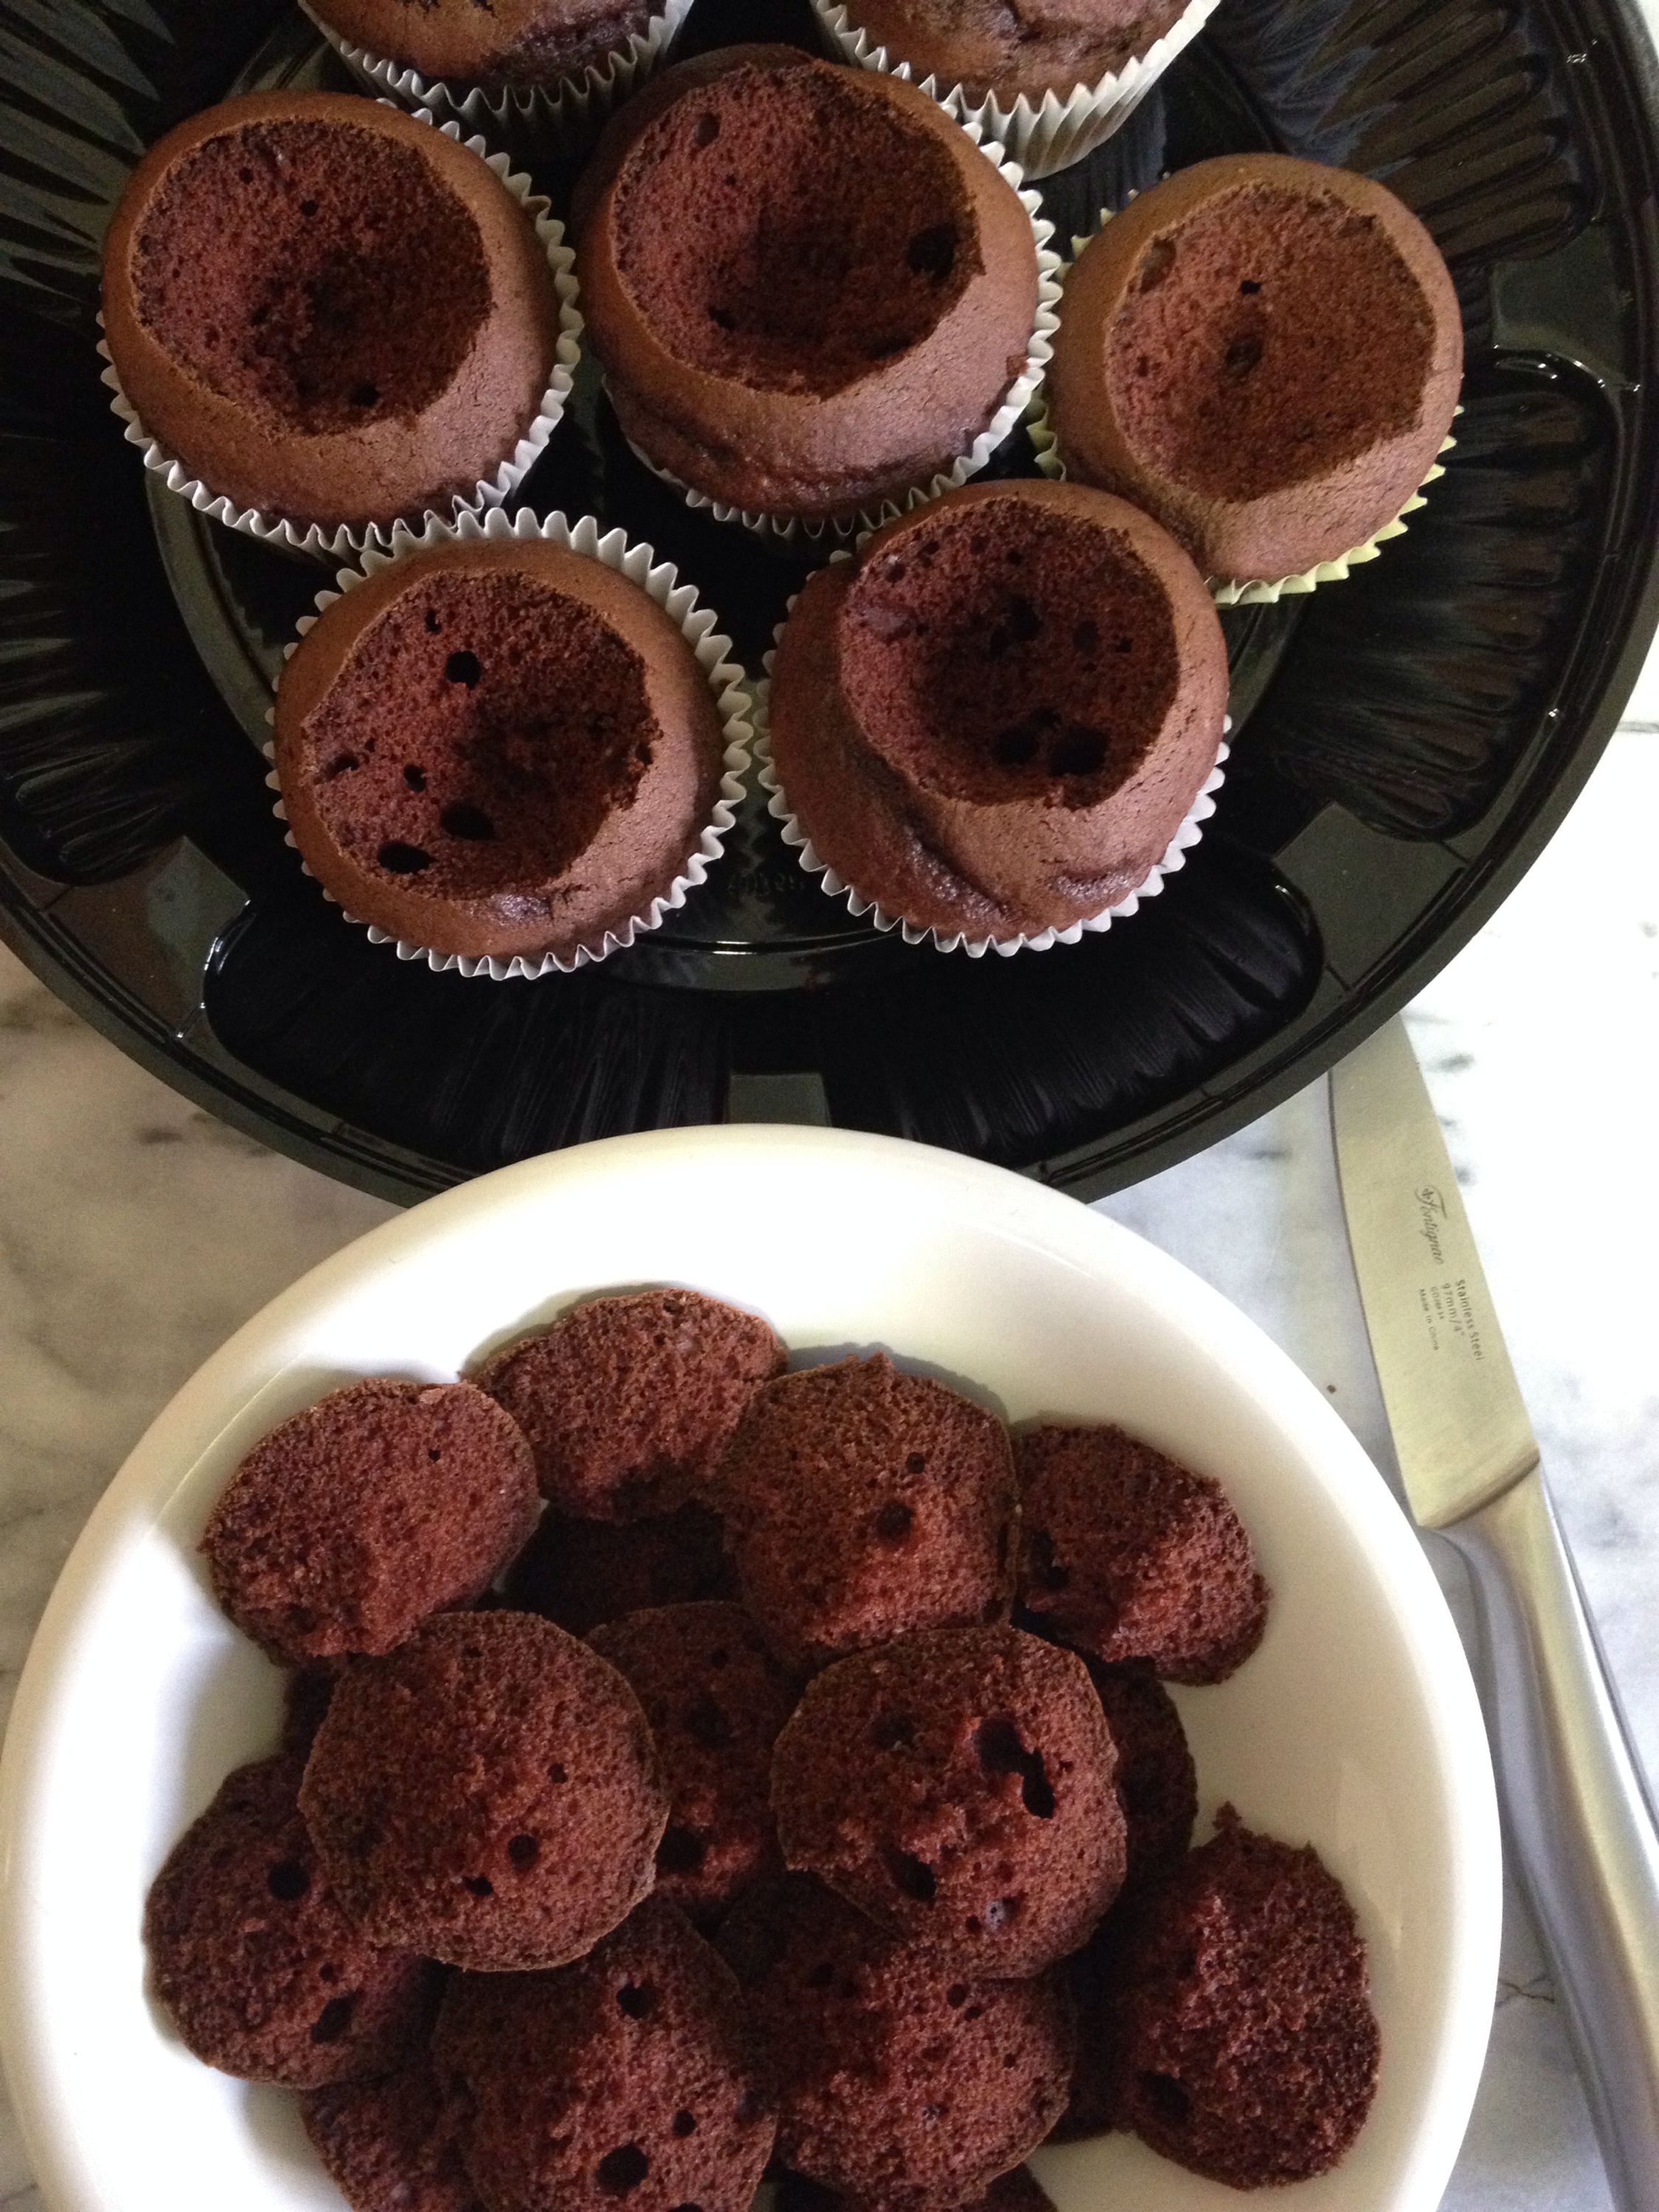
Then I dug out the one icing tip I have and taped it securely into the bottom cut corner of a large ziplock bag. ( I know/ so not eco friendly today, but I’m using a car sharing service to drive later today, so that’s something, right?)
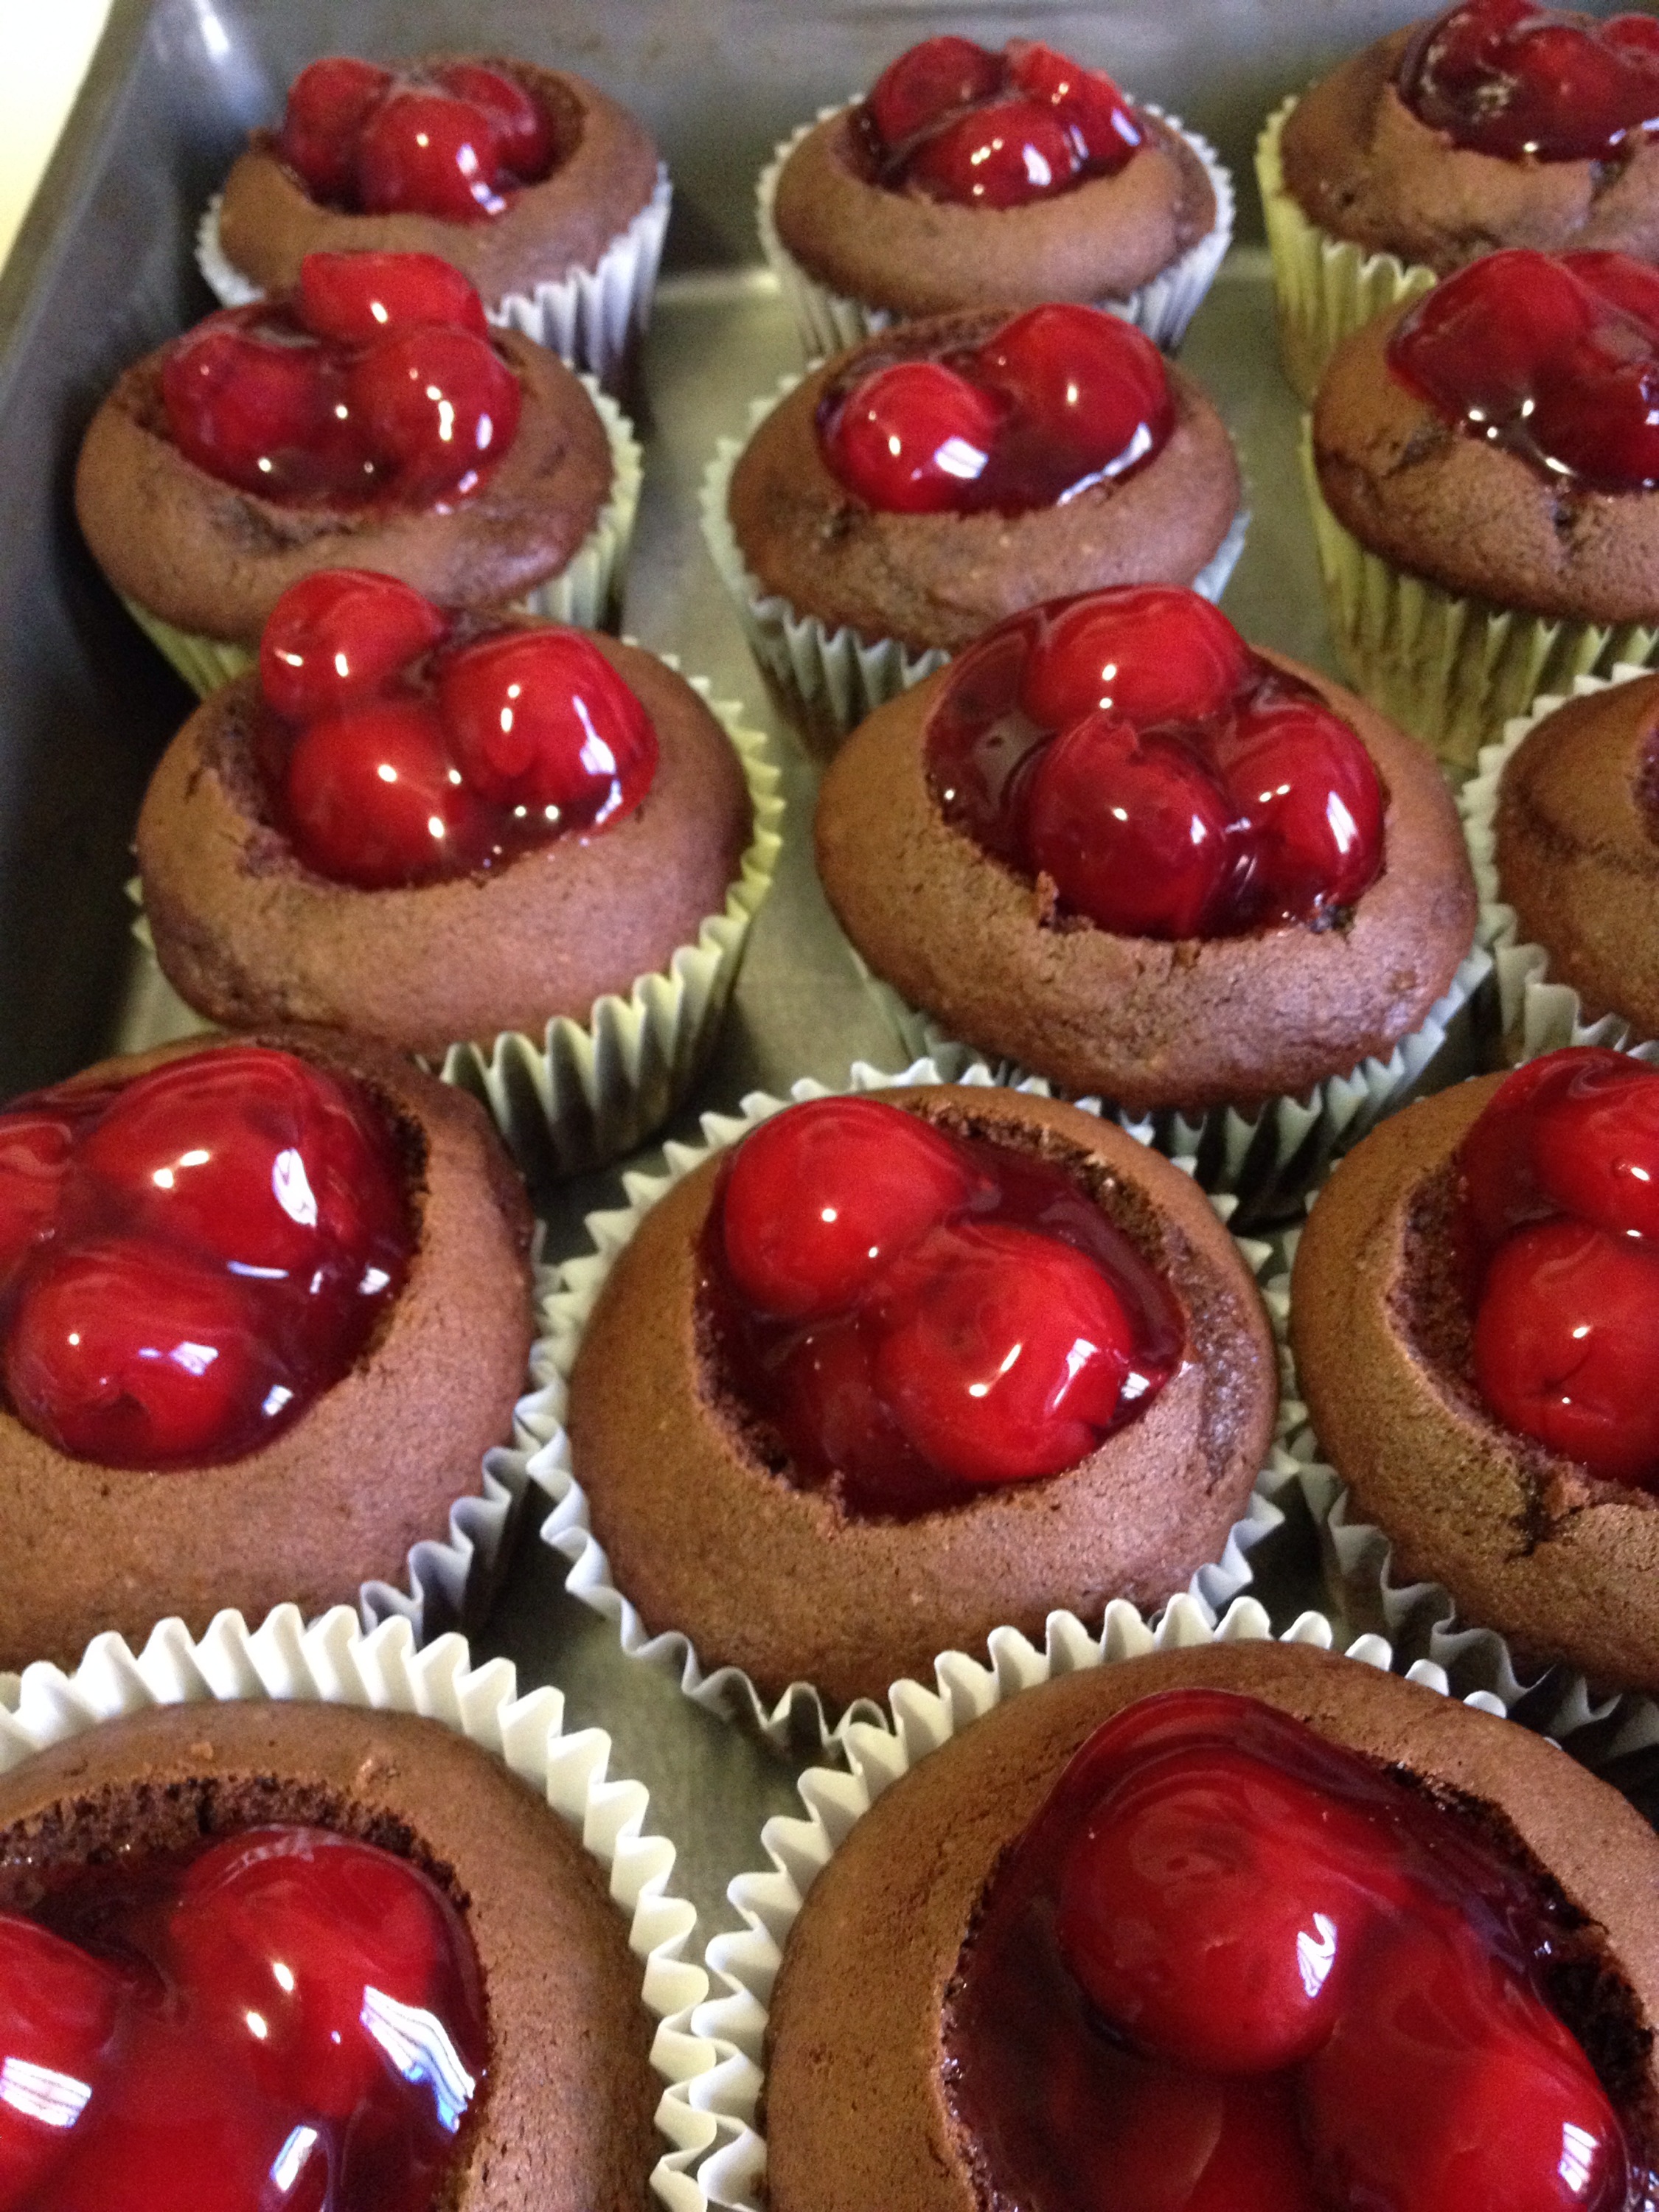
I blobbed the cherries into the divets and then piped the icing around. And now they sit in the fridge chillin’ until it’s party time later today.
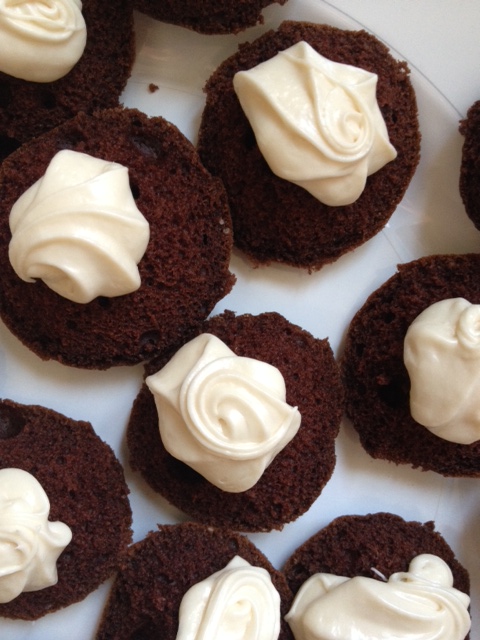
Here’s what I did with the removed cake:
And if you are wondering why “Non-Mutant” BFcakes – see the mutant ones here…it’s all about your audience!
The "butterbeer" recipe…
So…yeah…it’s pink, not caramel coloured…

I walk through the LCBO and see Dr. McGillicuddy’s Intense Butterscotch and have to find some way to get creative with it. And with searching, “butterbeer” comes up..click through for the original link I used to get a concept of how butterbeer is meant to taste….
Then I did what I always do, and got creative with it.
Canadian ButterBrr < yes brr> Concept Drink:
In a pitcher, mix:
1 litre cream soda < yes – that’s why it’s pink>
1 litre club soda
15 ml vanilla
about 125 ml each – or to taste:
- Dr. MCGillicuddy’s Intense Butterscotch < see link above>
- Vodka – your choice
- Sortilege – Maple flavoured whiskey – Thus the Canadian touch!
Give it all a stir and pour some out into glasses.
At this point, it’s good to taste it to make sure it’s on track, and you can adjust your quantities now if you want it sweeter or less sweet…
Whip up a small amount of 35% whipping cream < about 60 ml worked for us>, adding just a little bit more butterscotch < 10-15 ml> into it.
Gently glob it < yes, glob it>, onto the liquid in each glass and some will float down and the rest will create the beer like head.
Now. Enjoy.
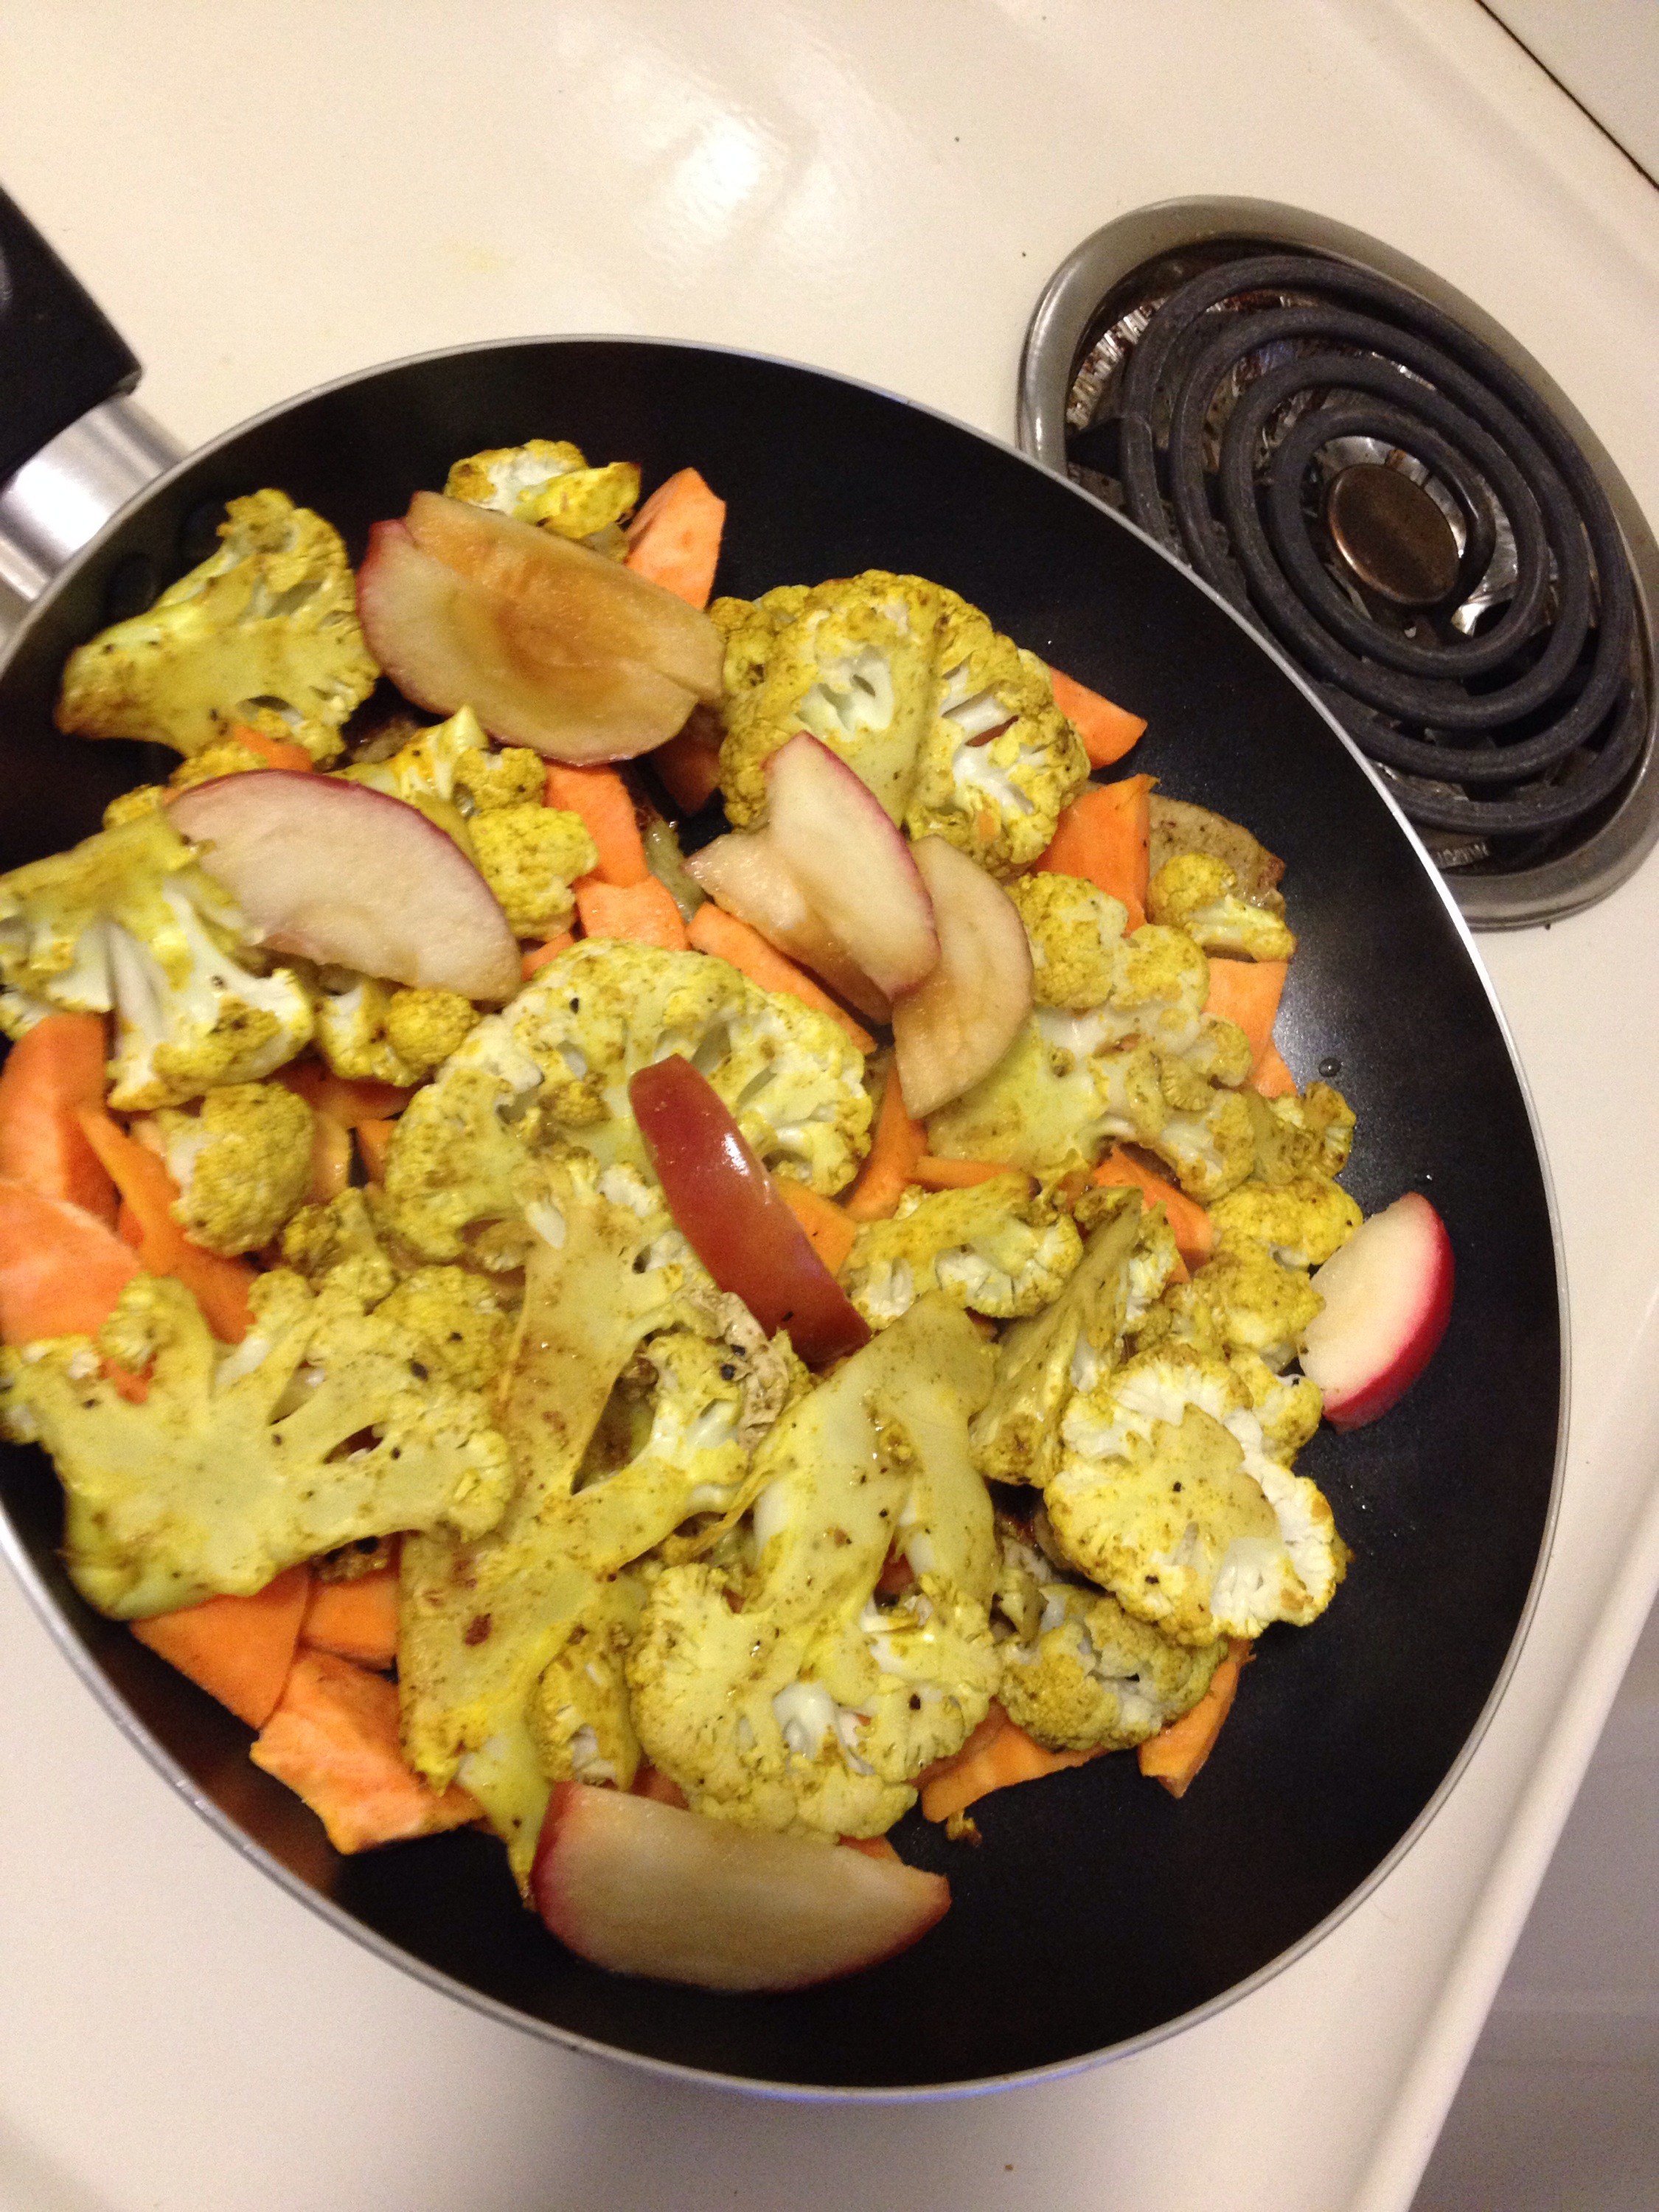
Getting Curry-ative for supper
The pan is a sizzling – lean pork with sweet potato, cauliflower and apple slices in a light spicy mix.
2 table spoons olive oil
1 tablespoon lemon juice
1 tablespoon curry powder
Salt and pepper.
Mix it.
Coat it.
Cook it ( stove top with a lid after the near was browned)!
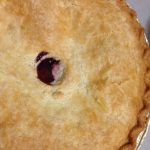
OMG – Butterscotch Meringue Pie…
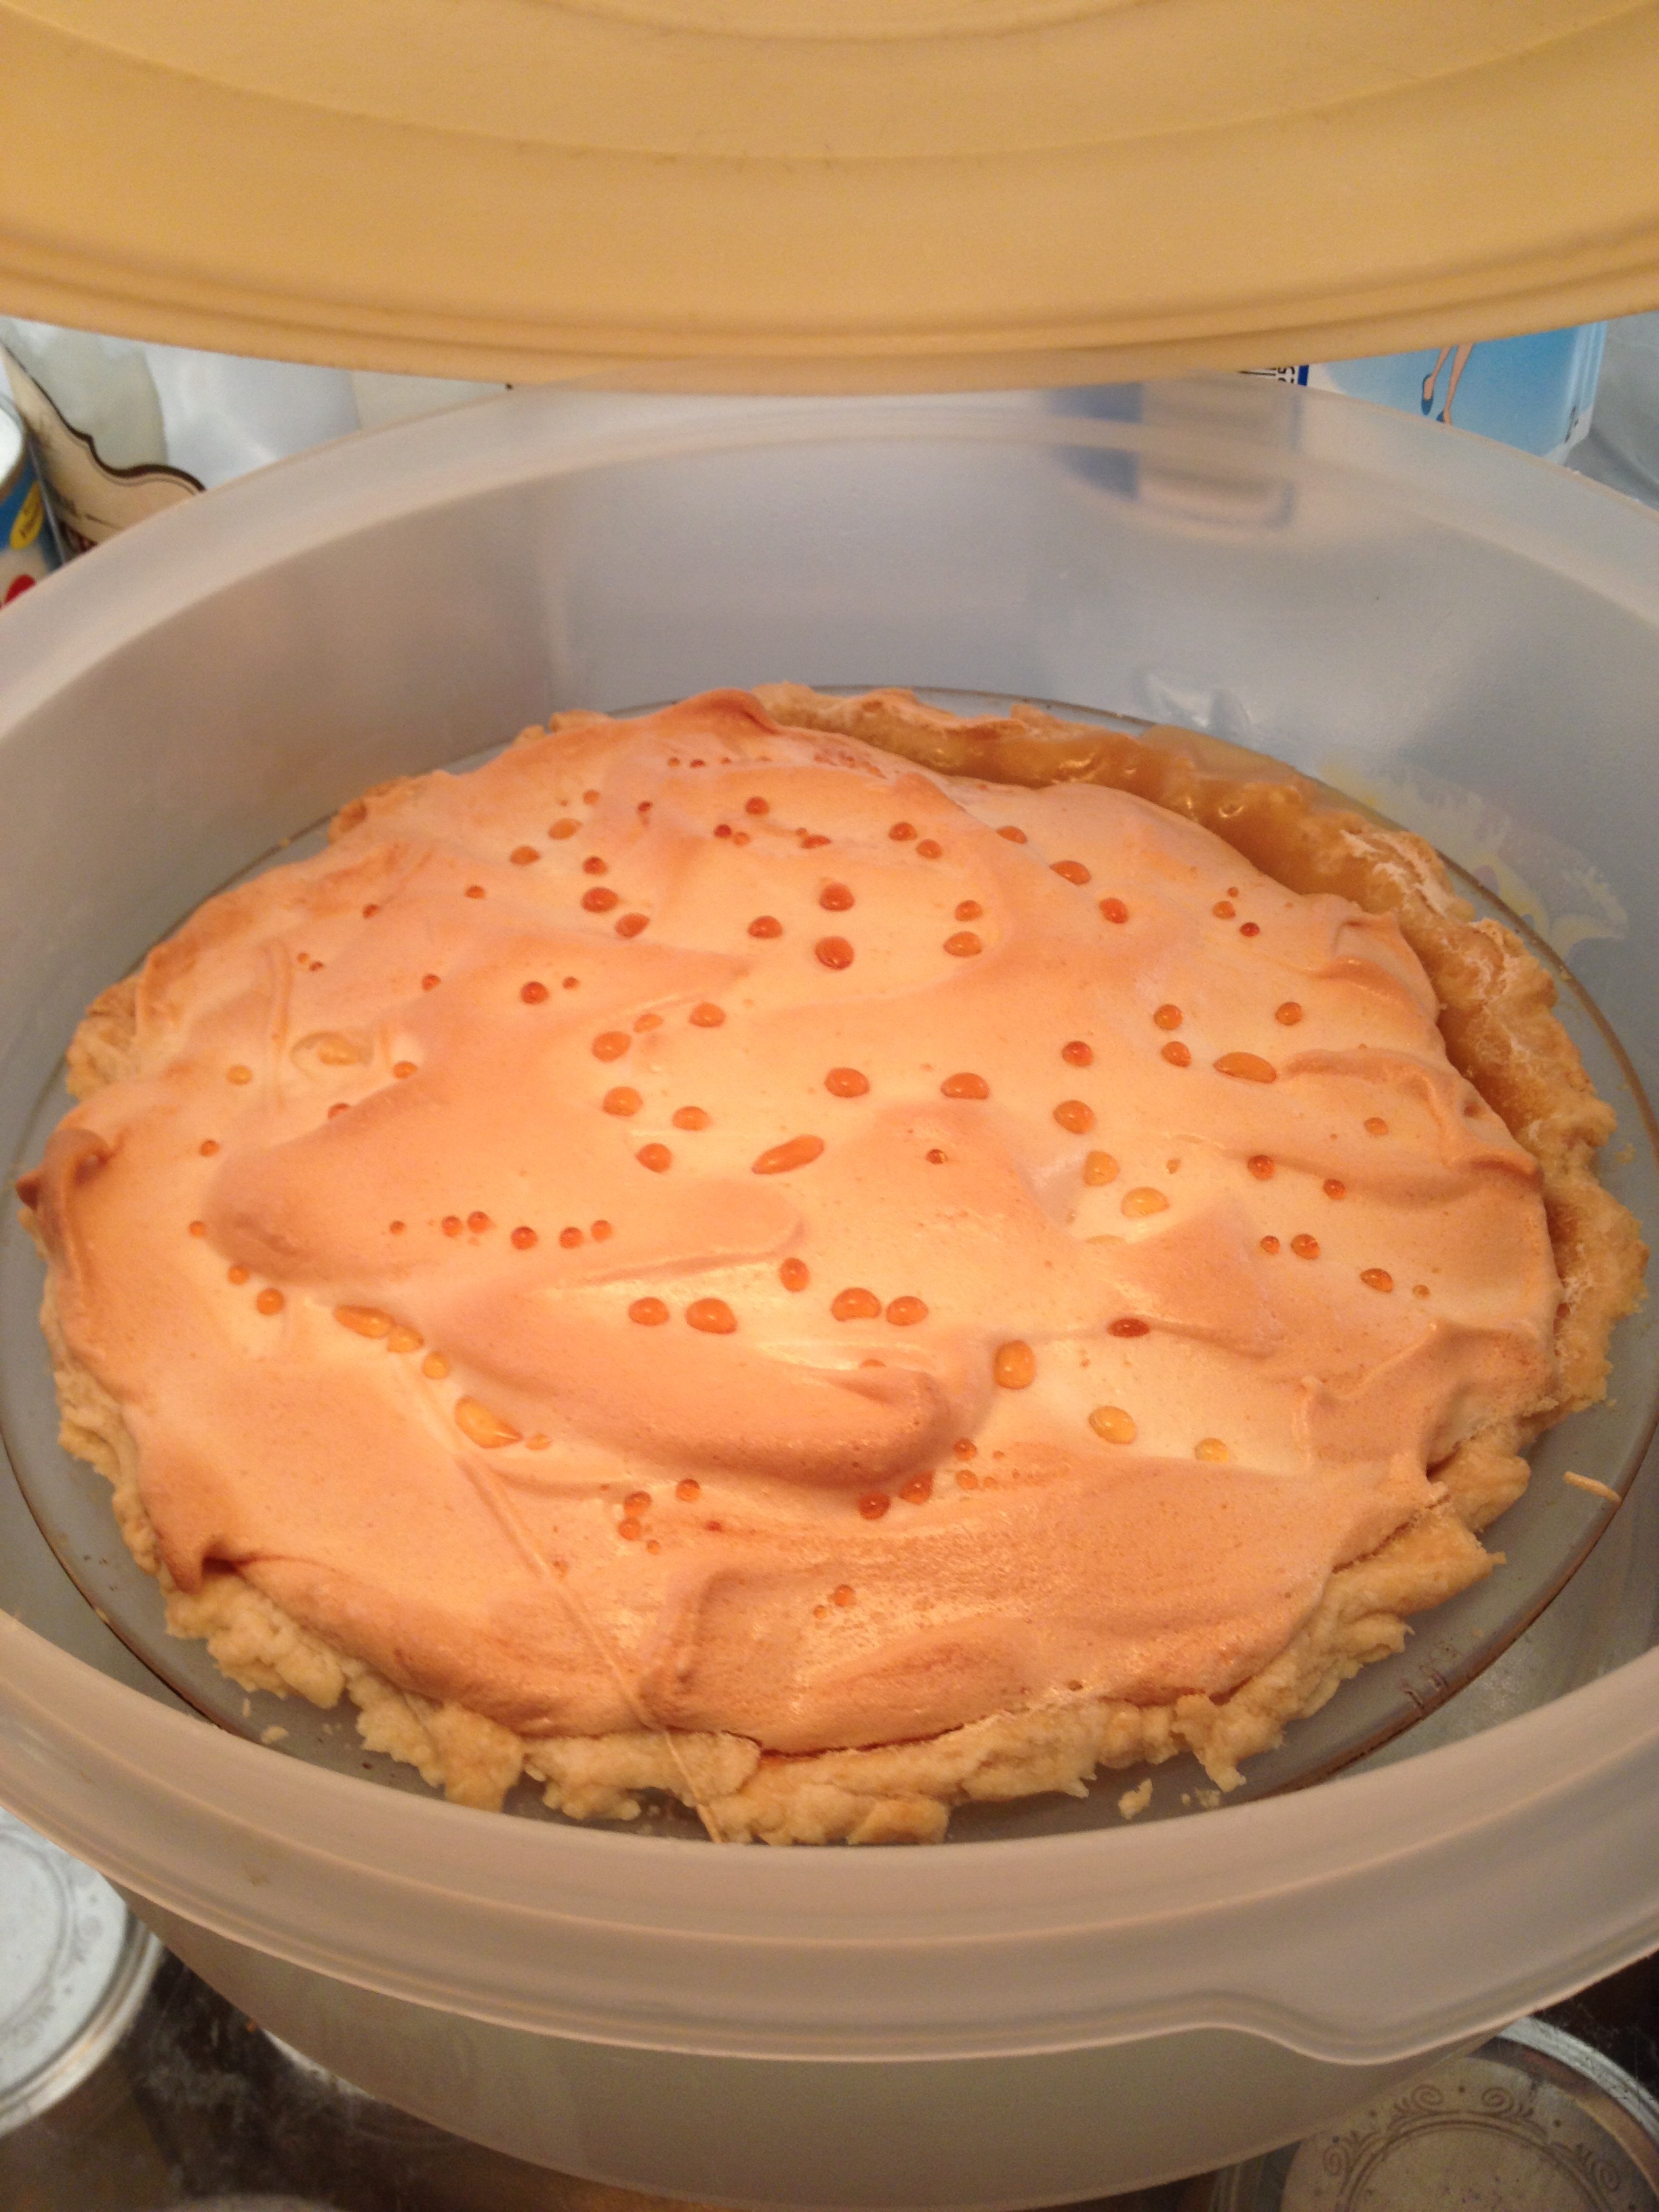 What happens when your foodie friend decides to make you a birthday gift?
and she goes onto your blog and finds your grandmother’s recipe you shared last year?
and then she makes it and brings it to you still warm?
Well, obviously, you melt and say thank you!!!
I’m letting it chill for now and will enjoy it tomorrow!
Healthy waffles!
Pre-making this batch of healthy waffles to minimize the kitchen time at the family brunch!
I got experiment-y as I usually do- so here are Halyma’s Healthy Waffles!

Want the recipe?
Here ya go:
4 cups oat “flour”*
1 ½ cups coconut “flour”*
½ cup red quinoa “flour”*
2 tablespoons baking powder
1 tablespoon baking soda
1 tablespoon each ground cinnamon and ginger
¼ cup honey
4 eggs
½ cup oil or fat of your choice melted
Water- 1 cup-ish**
Mix the dry stuff in a big bowl .
Preheat your waffle iron
Add the wet stuff to the dry, and mix. Add more water if you need to to get the consistency right.
Stiffer batter is ok- just spread it more. Flowy batter is ok too- just watch it doesn’t leak.
I use about ¼ cup batter per waffle side- but you can decide!
The * means:
I grind my own “flour” for these- I use a small coffee grinder and grind as needed.
- Oat flakes for oat flour
- Unsweetened coconut flakes
- Uncooked red quinoa
Enjoy! Makes about 24 4 inch waffles