It is fall and the squash are all over the place- harvest time!!
So today’s adventures:
Soup!
Yeah, this is classic and simple so not a lot of photos! And I did not weigh the squash so you can just judge the amounts for your own liking.
1-Chop half a white onion and 2 scallions into small chunks. Toss into a large pot.
2-Sauté the onions in 1 tablespoon olive oil, along with 1 teaspoon each( more if you like) of ginger and coriander powder.
3- While that’s cooking, stir occasionally and peel and chop 2 squash ( smallish); add the chunks as you go.
4- Sauté the squash as you continue peeling and chopping- you can multitask right?
5- Let sauté for a few minutes after you get the last chunks in.
6- Add water to just cover the veggies; bring to a boil and turn down heat to simmer until tender.
7-Purée by your method of choice- I transferred the soup into a large stainless steel bowl and used an immersion blender.
8- Taste and add salt and pepper to your liking.
Enjoy!
Category Archives: Recipes Blog
Vegan meringues
Father’s Day 2015.
A brief moment in conversation has the Sis-in-law erupting into a raving review of chickpea whipped cream.
Seriously raving. lunatic even…sorry JKL, I think your eyes were glowing slightly…
But today, I am making a slow cooker casserole and using a can of mixed beans – see photos – and decided to give it a try.
The first place I checked out was via Pinterest and Chocolatecoveredkatie.com as a starting point.
Again a bit of raving there too… but ya know…foodies… 🙂
She had made a reference to people baking the mixture into meringues, so I thought, “Hey, that sounds good.”…hmm…talking to myself…yeah…
I had to check on baking time and temperature, so I checked out Alittleinsanity.com as it seemed like a good way of maintaining continuity.
And yes, lovely vegan meringues pictured there are super inspiring. I don’t have silpat mats for my cookie sheets and I cannot be bothered to set up the piping bag and decorative tubes I do have, so spooning it onto paper bag cookies sheet liners works for me.
So… the concept:
Drain the liquid from your can of beans into your mixing bowl and start mixing on high and whip/ beat until you get stiff peaks like you would with egg whites.
This stiffness comes after about 10 minutes.
Add sweetener to taste. I started with about 2 tablespoons of brown sugar and added another tablespoon of honey for the white ones.
I then added 2 tablespoons of cocoa and 1/2 tsp vanilla for the brown ones. They are still baking, I am afraid to look – but I will and will add that photo later.
At this point, you can stop and just use this whipped frothy wackiness as a topping for whatever you want. Strawberries, cake, your spoon, your fave person – whatever…
Or you can dollop them out and bake them to make crunchy little bits of yum.
Yeah… the insanity is pervasive.
Freakin’ canned chick pea juice has a use!
UPDATE: don’t try baking the mixture once you add cocoa. It totally lost it’s shape and was not salvageable. So just use it as whipped topping if you add flavourings. No pics – too horrible for you to witness…
Sweet soya beans- cooking again!
Today takes me to our monthly gathering of crafty ladies- and sometimes non crafty but simply socializing ladies…and sometimes “lady” is more ironic than accurate for this group…I digress.
soya beans. I have a small amount raining of dried soya beans from a bulk purchase a few years ago- and yes- dried beans are great.
I soaked and cooked up a small batch last week and decided today they would be my contribution to our potluck.
The recipe:
1 cup dry soya beans, soak them and cook them- I used my slow cooker overnight.
1/3 cup molasses
2 tablespoons honey
1/2 tsp salt
1/2 tsp ginger
1/2 tsp cinnamom
1/4 tsp coriander ( I ran out- add more if you like)
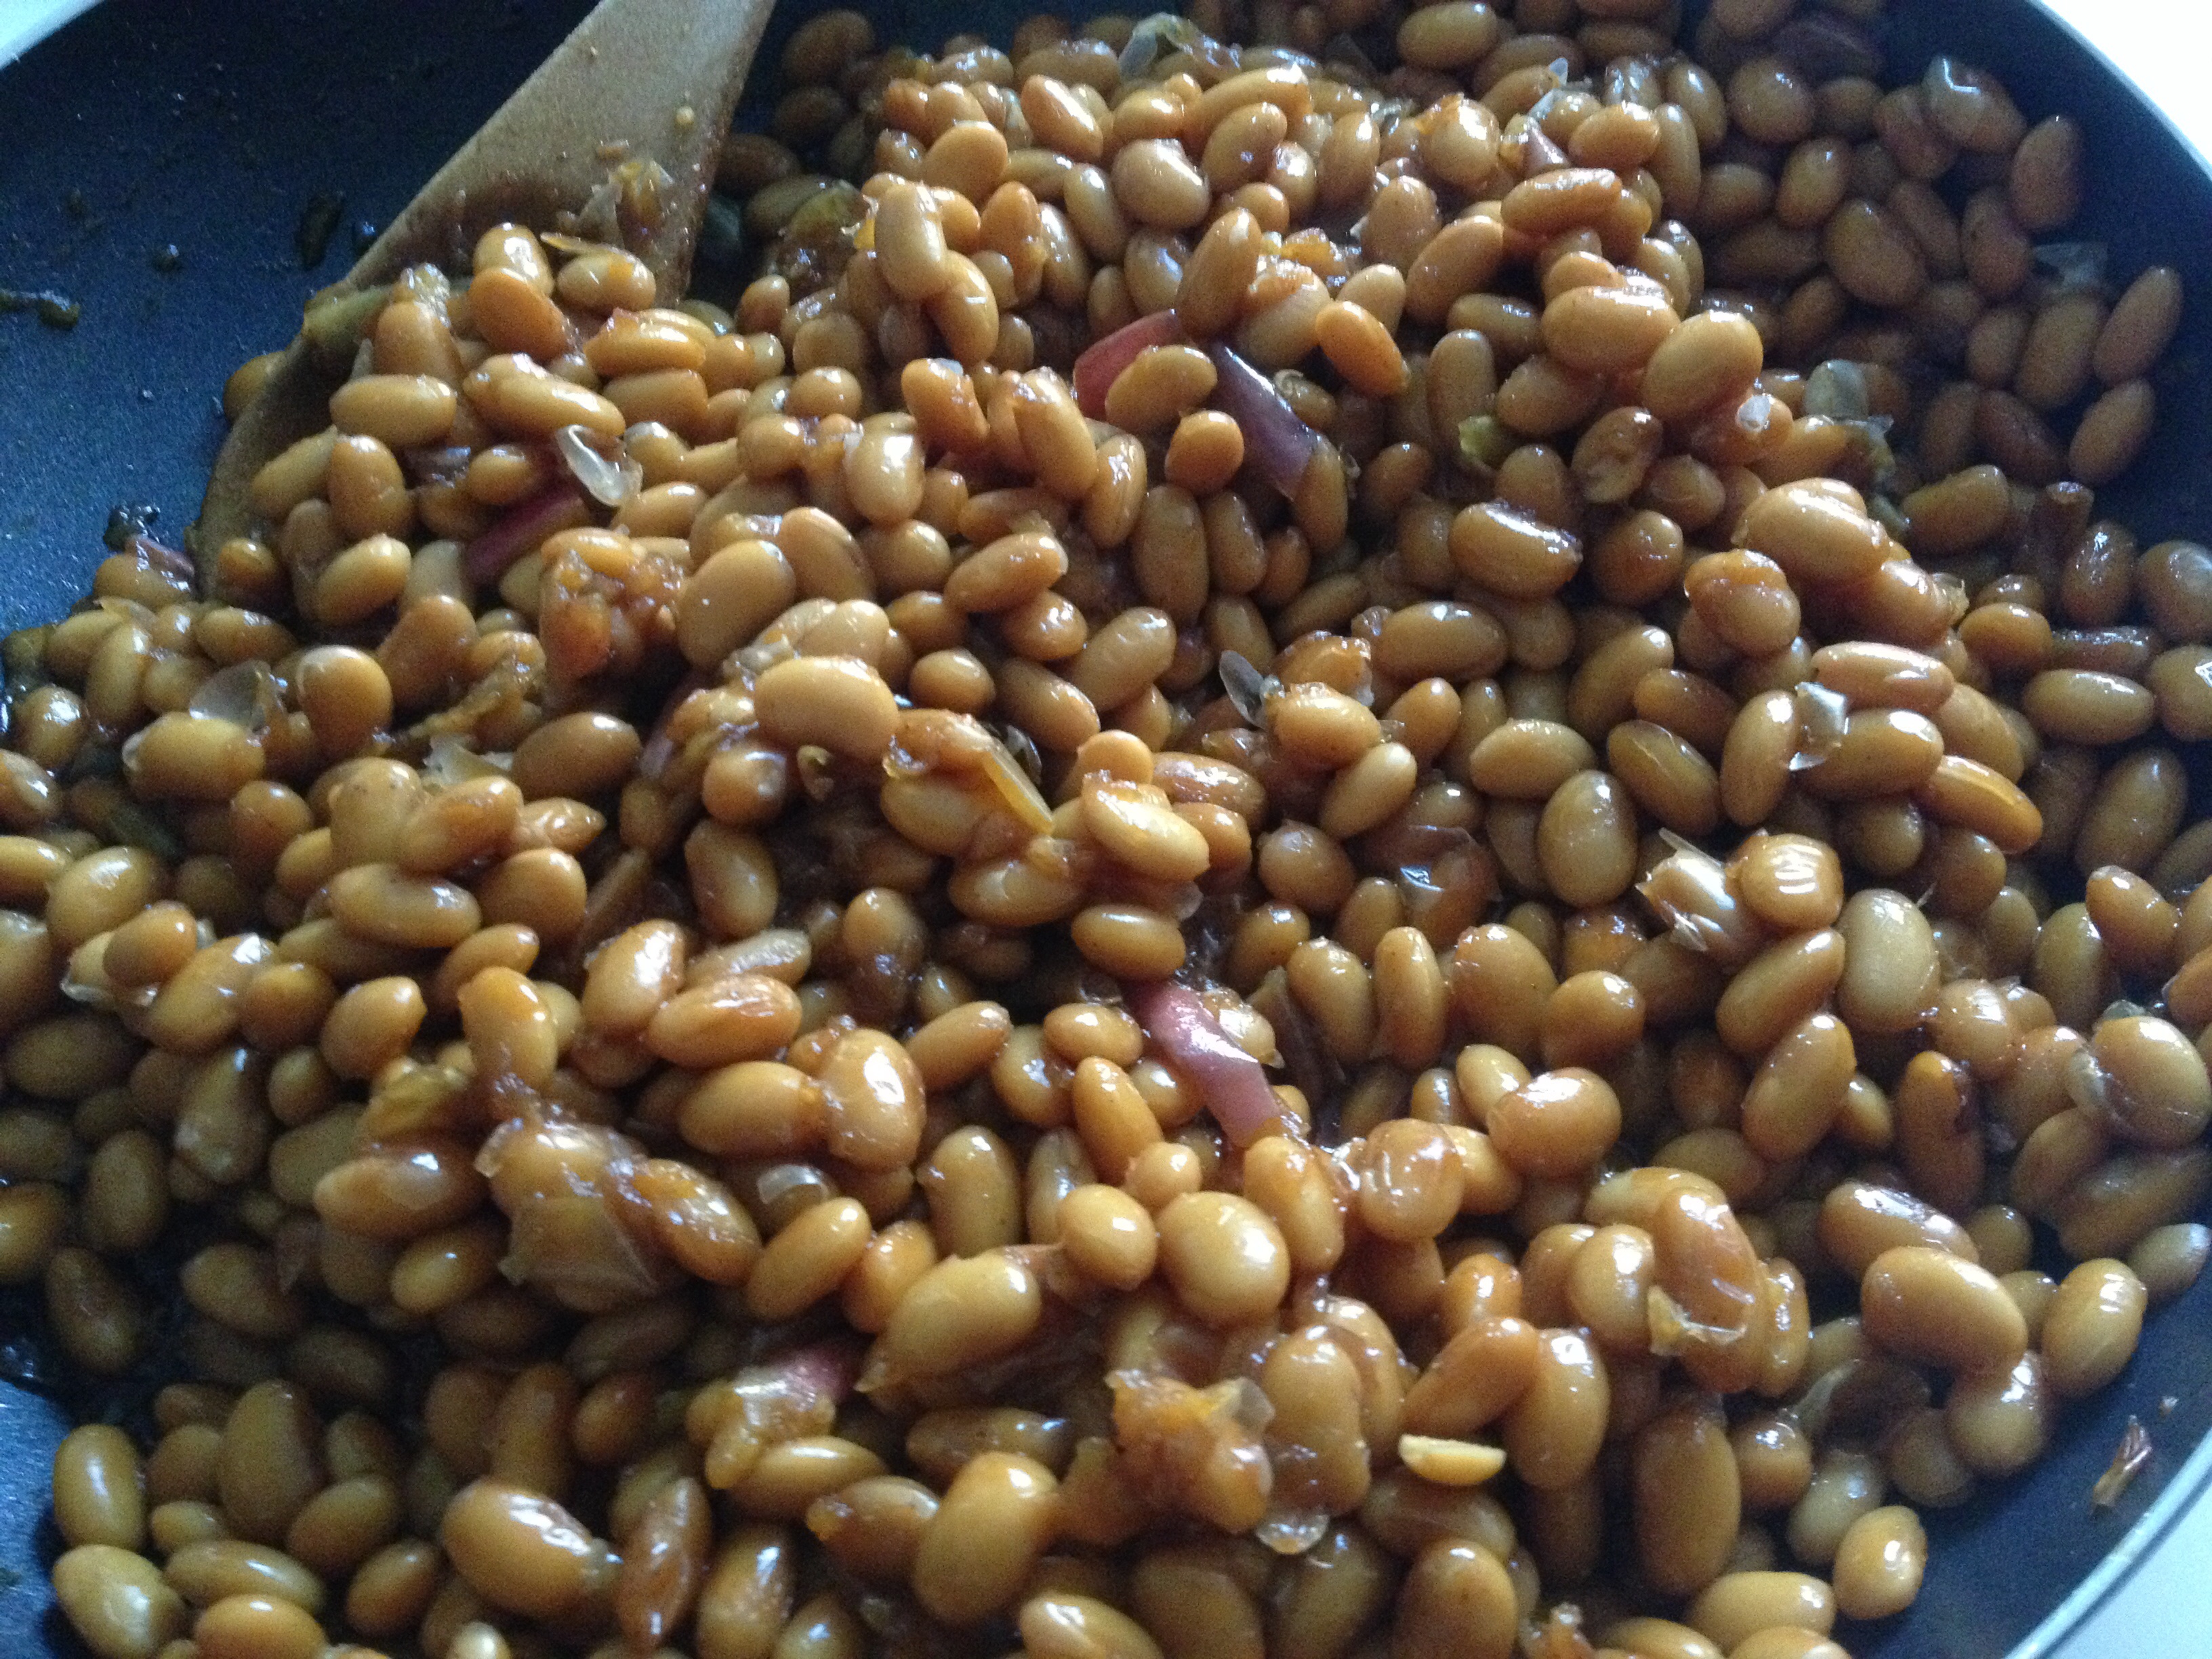
Melt/mix this in a skillet and add the drained beans.
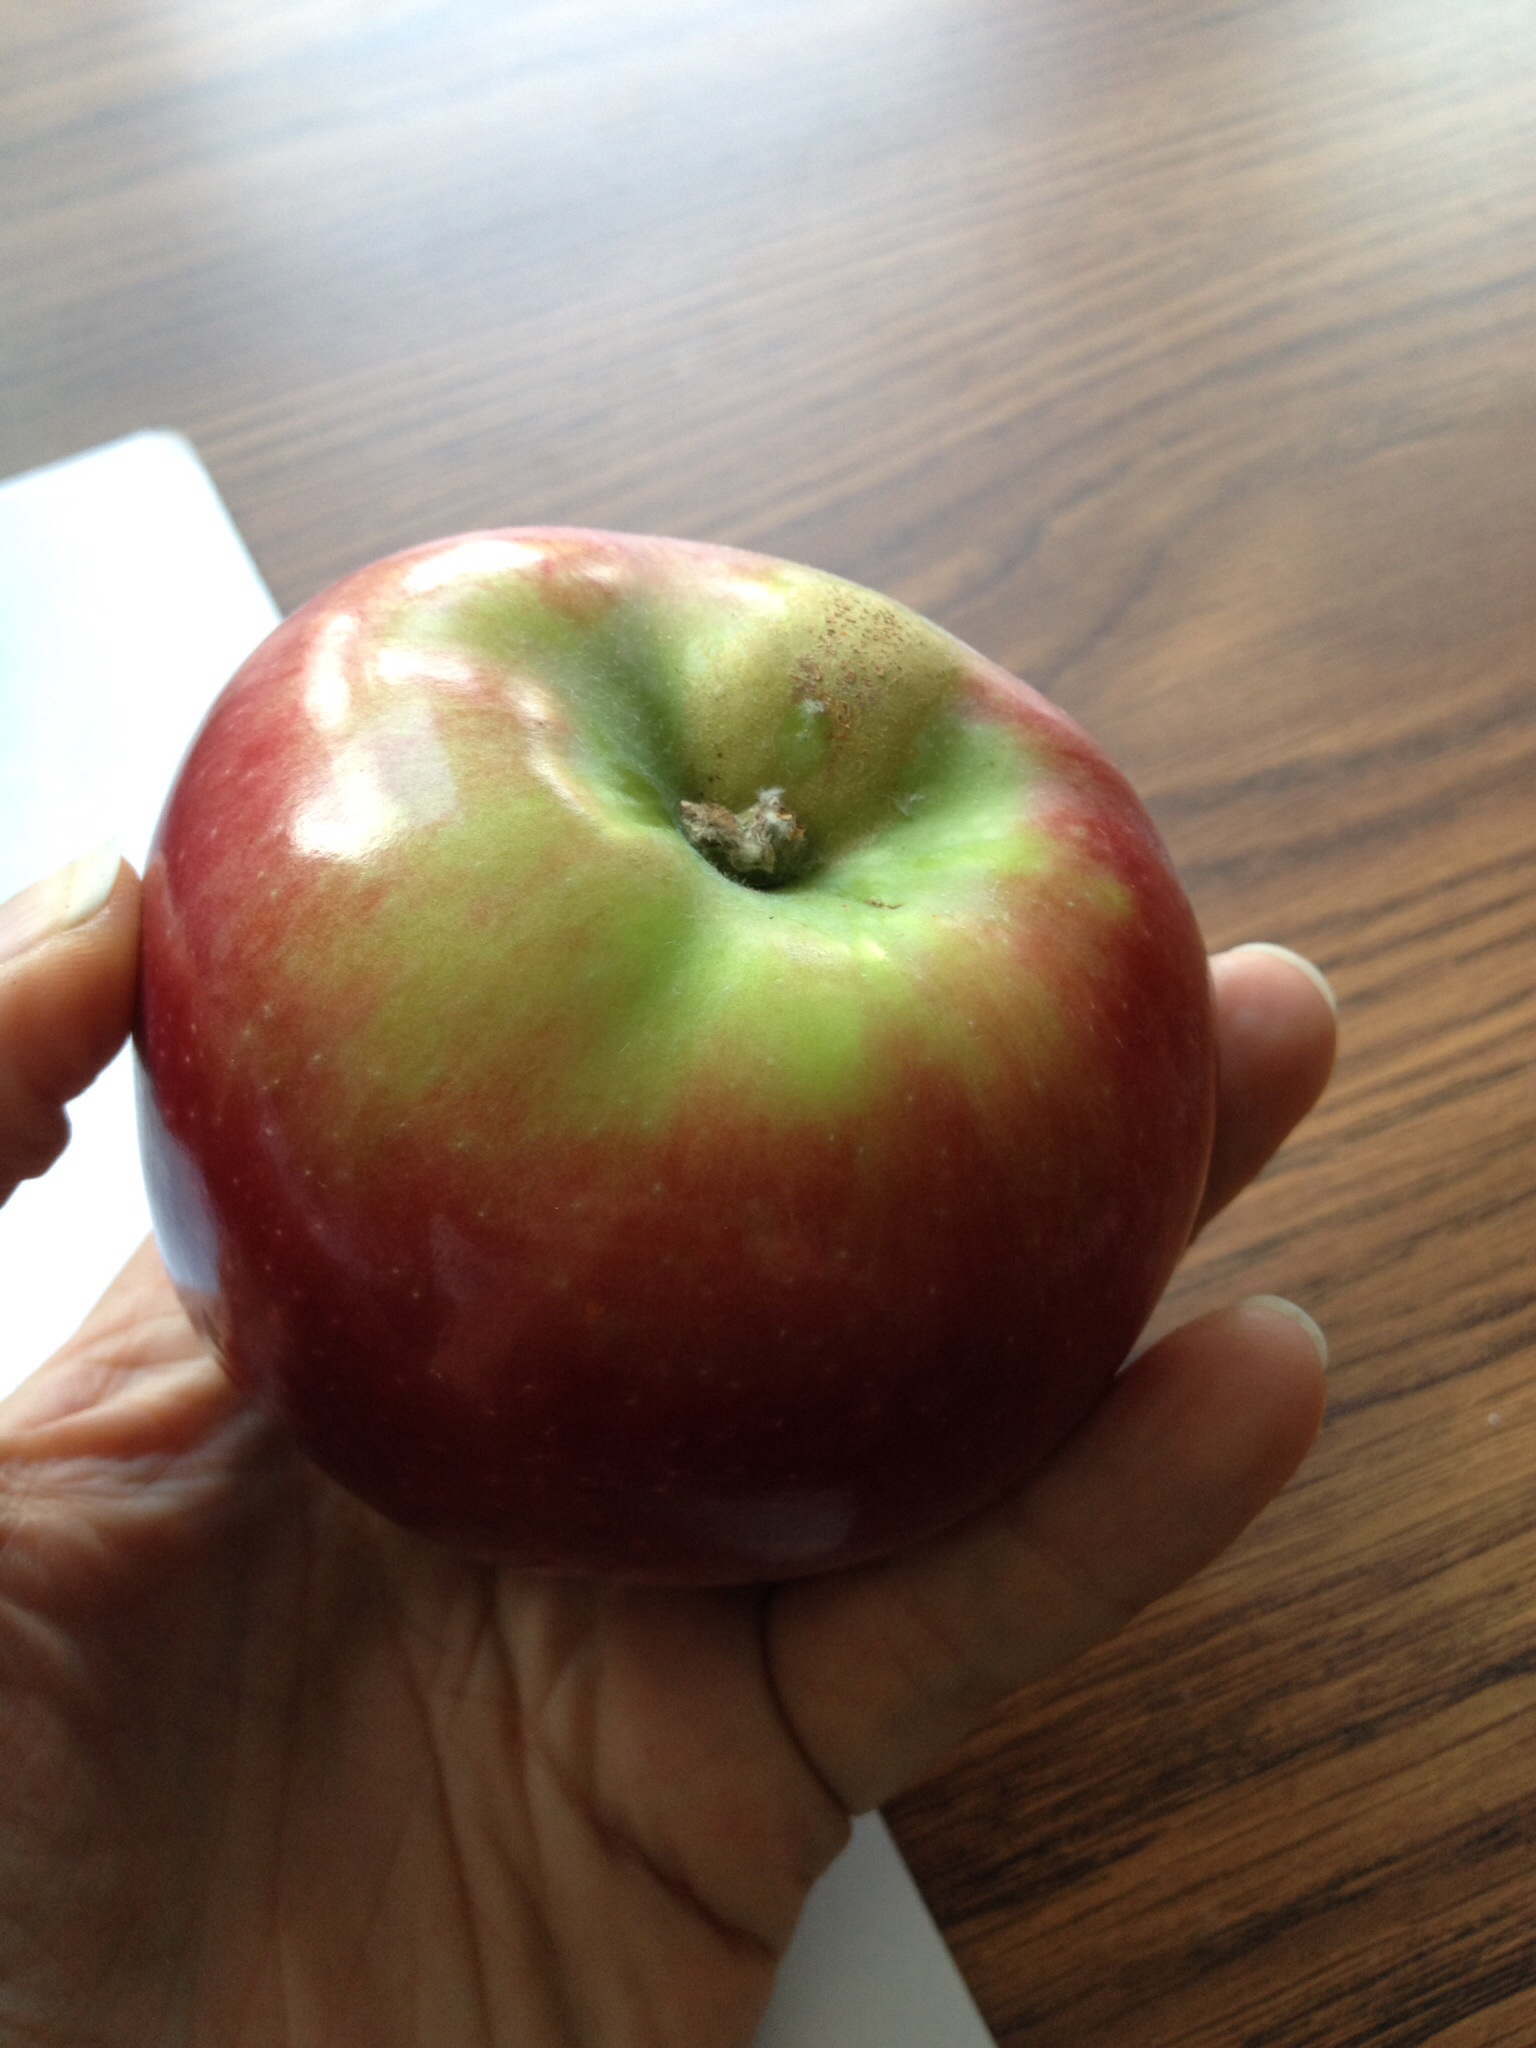
Chop a small apple and toss it in.
Cook over medium heat and stir until the apple melts into the sauce.
Enjoy
Butternut squash soup
Since I had some dental work a couple of days ago, I have been on “soft food”.
Fortunately my love of alternative recipes has been a great help as I have made myself things like avocado and cocoa pudding ; mashed banana and peanut butter pudding ; the usual smoothies, and an odd concoction of canned mushroom soup, mashed potatoes and cottage cheese…
Today is butternut squash soup day.
And I like things simple when possible- so here goes:
1 butternut squash- peel it and chop into cubes
1 sweet potato- same idea
1 large carrot – can you guess what to do with it?
Toss all those cubes into a soup pot and add water to just cover them.
Start your engines and boil til tender.
Add spices you like, mine are:
1/2 teaspoon coriander
1/2 teaspoon ginger
1/4 teaspoon nutmeg( I only had that left)
Salt
Once the veggies are tender, purée it and add about 1/4-1/3 cup coconut milk.
Nomnom.
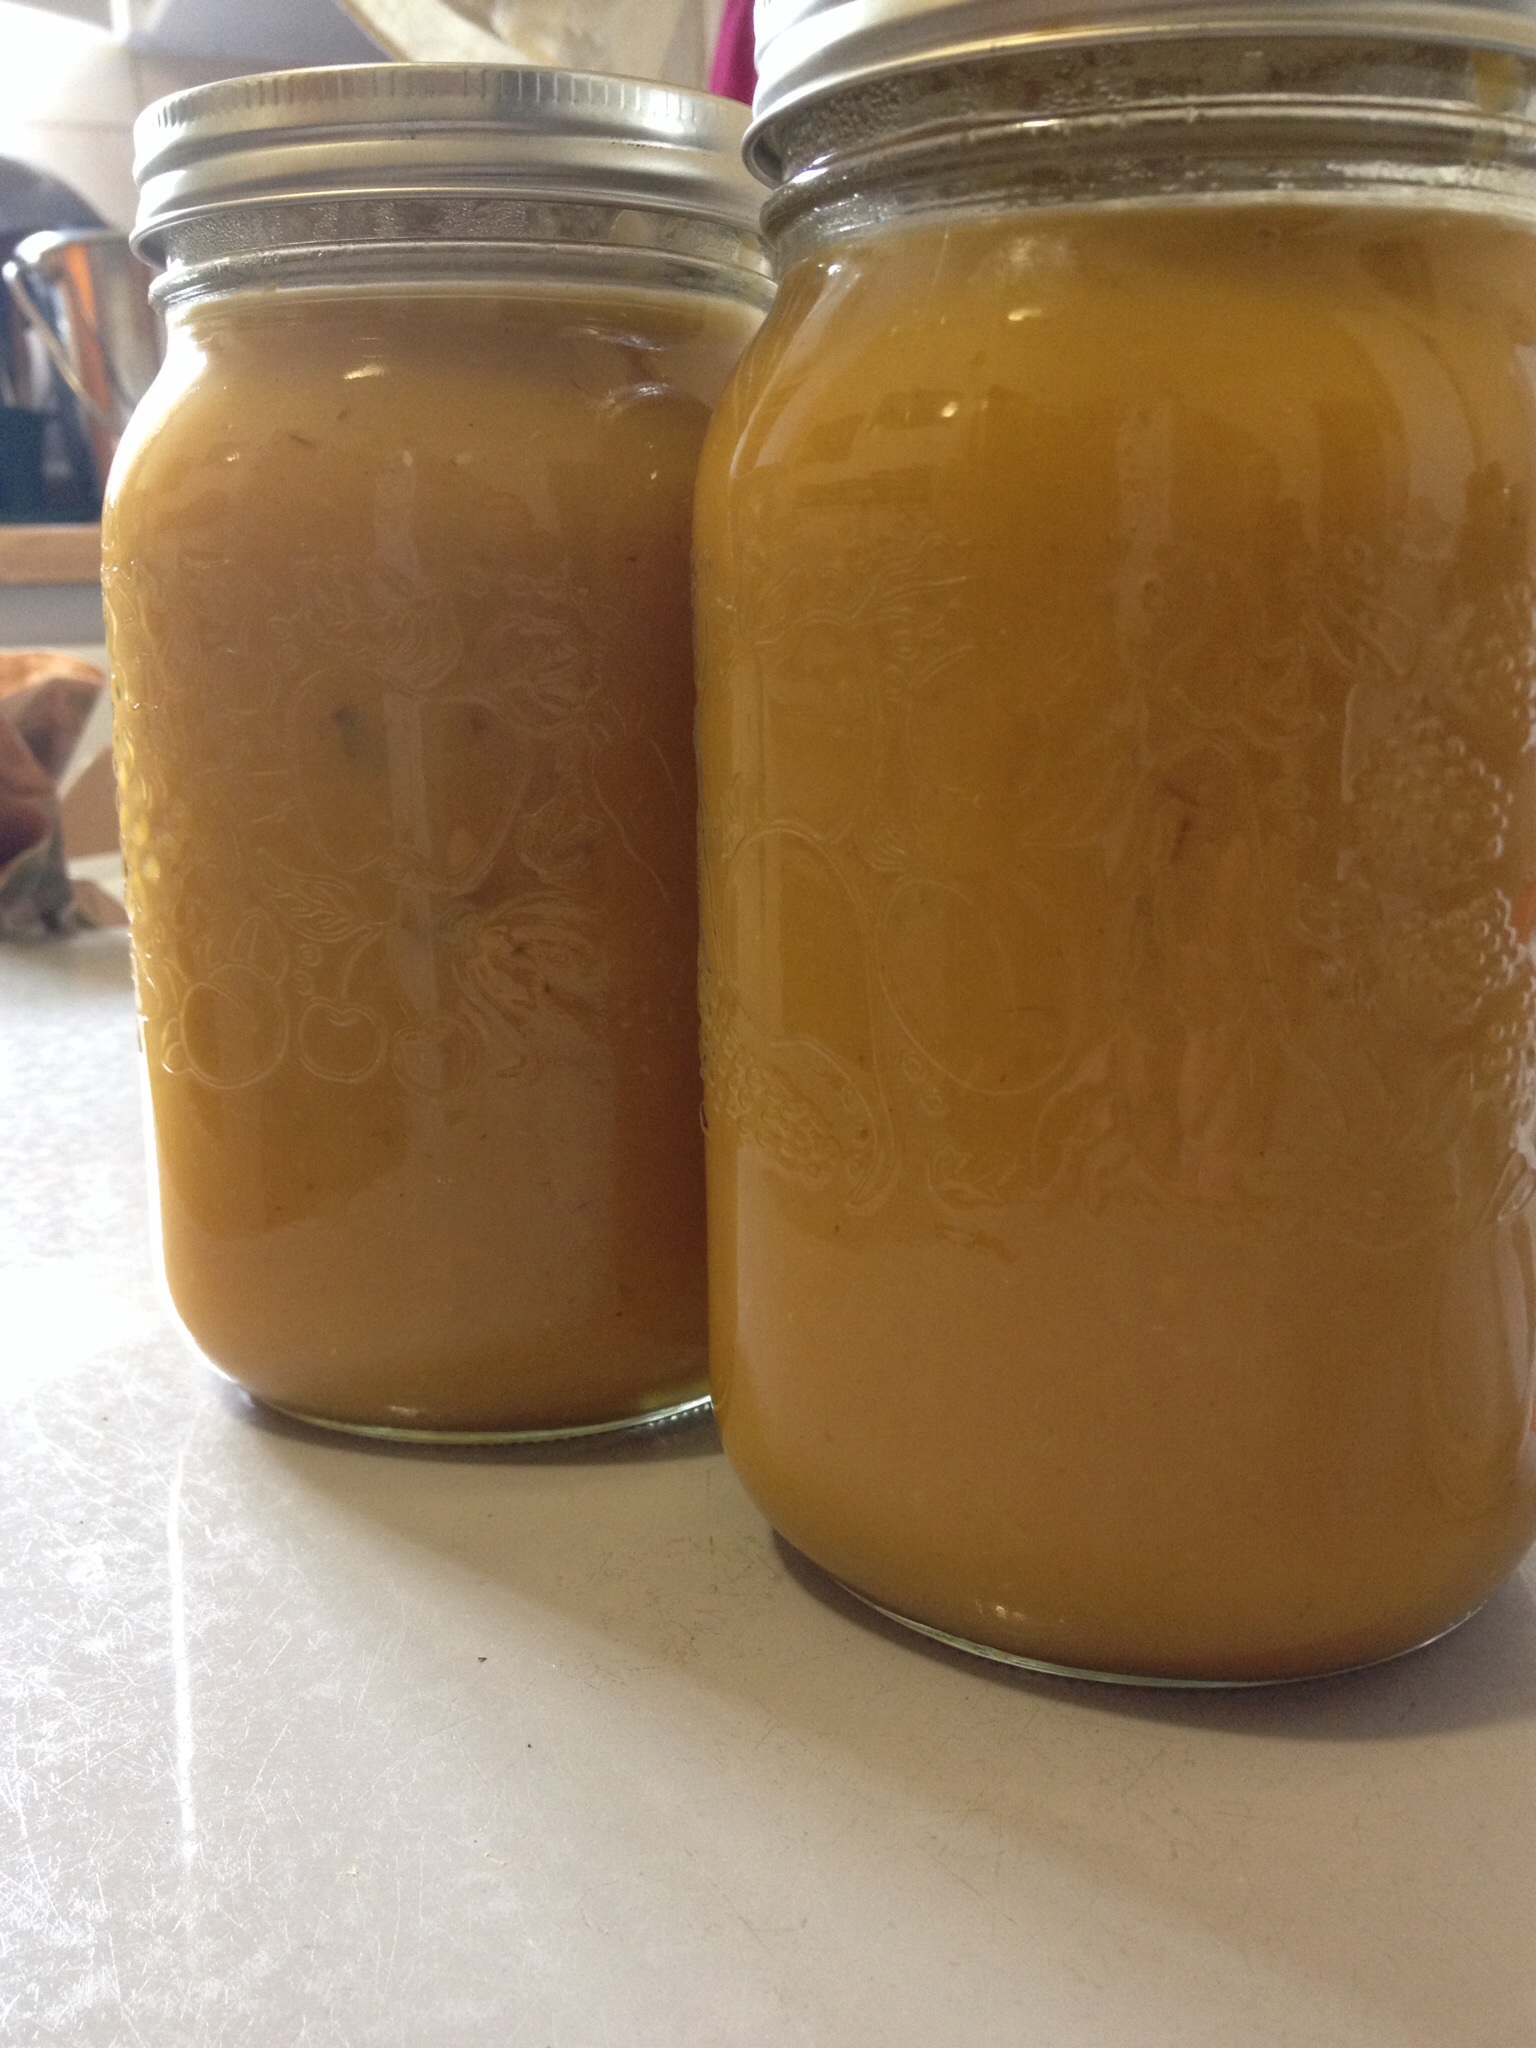
Makes 2 bowls for now and a 1 litre jar for later:
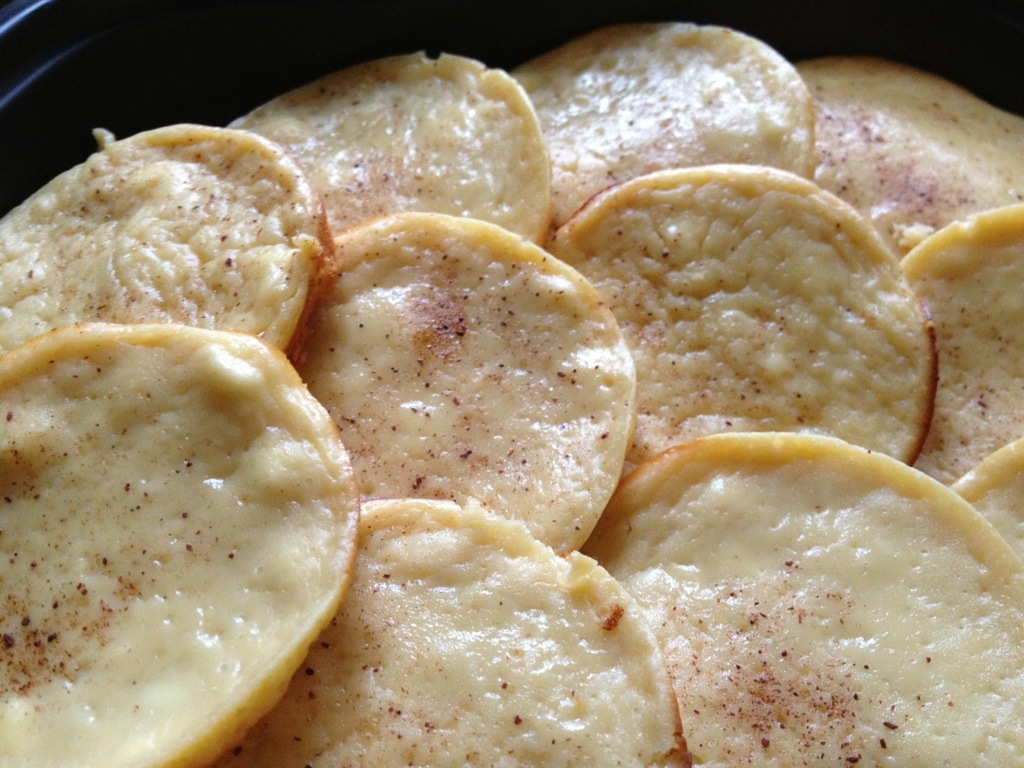
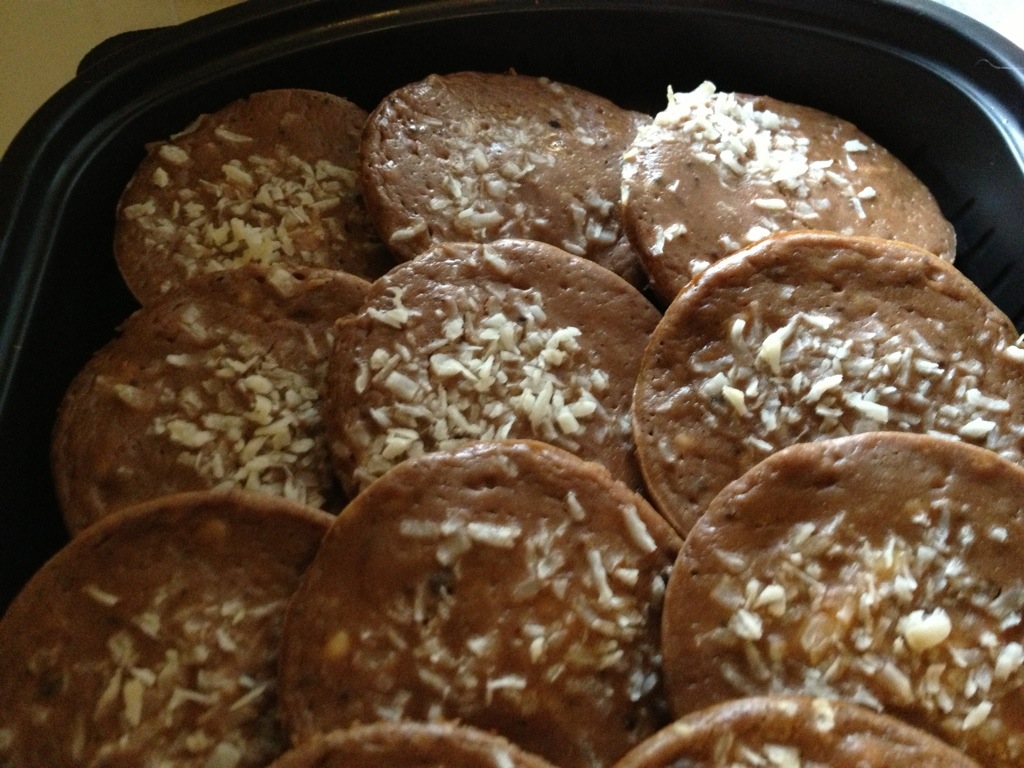
Cheesecake thins
Today’s party snack is based on my previous cheesecakelets recipe.
But no wontons in the house!
So instead I chose to lightly spray my muffin tins and go crust less – creating these thin slivers of cheesecake!
Recipe:
1 block of cream cheese
2 eggs
1/4 cup brown sugar
Make 11-12 in the basic and then add
– if desired- 1 tablespoon cocoa for the remaining 11-12.
Mix it all well.
Preheat oven to 375 degrees
Spoon 1 tablespoon or so into each lightly oiled muffin tin.
Add toppings if you like:
Basic- I sprinkled cinnamon sugar on top.
Cocoa- I added coconut.
Bake for about 6-8 minutes- I was distracted…
Let them cool in the muffin tins then gently remove. They will be a bit sticky.
Hoping for some Clutch reviews later!
More Wonton Fun
In prep for a social gathering tomorrow, I’ve made some of my Halyma’s Cheesecakelets, and then I had a pile of leftover wonton wrappers and decided to get simply creative again…
Halyma’s Applewraps are simple wedges of Macintosh apples, a sprinkle of cinnamon/sugar, wrapped individually in wontons.
Bake them on a lightly sprayed cookie sheet at 375 degrees for about 15 minutes, until golden.
Today’s Yummies – TAValonia’s Sunnyside Meringues
With all of the birthday celebrations going on lately, and the huge “CUPCAKE CRAZE” of 2009, I was thinking that I should explore some different options for those of us looking to indulge, without feeling the brutal waste of calories that come from those lovely cakes that abound. Don’t get me wrong – I LOVE CUPCAKES, but I am trying to lose weight and know my own weaknesses, so I choose to find alternatives when I can!
Revisiting foods that I have always liked to make, I remembered the light, melt- in-your-mouthiness of meringues… lemon meringue pie, butterscotch meringue pie… yummy but still high in calories when you’ve got a crust and loads of sugar involved.
As usual, I decided to come up with my own variation of a couple of old stand by recipes, both based on the Betty Crocker cookbook recipes for merignues and cream filling but with less than half the sugar!
Enjoy these 25 calorie per meringue treats – I know we will today!
One thing to note: I baked mine the day before, but they are really best made the day of, or at least, assembled the day of, but I was expecting today to be busy and figured I would save time and store them airtight in the fridge until taking them to the #FridayOffice PARTAY. There will be comments later describing the resulting 18 hour later condition!
Halyma’s Sunnyside Meringues
Meringues:
3 egg whites
1/4 tsp cream of tartar
1/8 cup raw sugar
Preheat the oven to 275 degrees F. Line two cookie sheets with brown paper [ compostable] or aluminum foil [recyclable].
Beat the egg whites with the cream of tartar until fluffy. Add the sugar a spoonful at a time until fully beaten into the fluff. Use an electric mixer or get a workout with a large wire whisk – your choice!
Spoon out 24 blobs, about 2 inches/5cm in diameter, on the lined cookie sheets, creating a little dent in the centre of each.
Bake in the oven for 25 minutes for chewy cookies, 40 minutes for crunchier, and if you have time, let them sit in the oven with the door open for another few hours to really dry them out if you want crunchy ones.
Creamy Custard Filling:
1/4 cup raw sugar
2 tablespoons cornstarch
1 cup milk [ 1%]
3 egg yolks, beaten well, in a metal or glass bowl
Mix the sugar and cornstarch in a small saucepan and add the milk. Cook over medium heat, stirring constantly, until the mixture thickens to a gravy consistency.
Important step:
Pour the hot milk mixture into the bowl holding the beaten eggs and mix as you pour. This keeps the sauce a smooth texture as opposed to letting it get clumpy. Pour it all back into the saucepan and put it back on the heat to continue cooking – keep stirring – until it reaches an almost pudding thickness.
Allow to cool for at least 30 minutes – stirring every once in a while to keep it smooth.
When ready to assemble, spoon a bit of custard into the centre dent in each meringue, dividing the custard between them all.
Serve immediately if possible…
If you have leftover custard, you can drop spoonfuls onto a cookie sheet and freeze it for “pudding pops”.
Hope you try these, and feel free to leave me some comments if you do!
I also made a chocolate butterscotch version, but they were not as good, so I’ll try that again and let you know sometime in the future!
Carob Coconut Cupcakes – my entry for Capital Cupcake Camp

Vegan Carob Coconut Cupcakes
Ingredients
1 ½ cups whole wheat flour
½ cups carob powder
3 tablespoons cocoa powder
1 teaspoon cinnamon
½ teaspoons ginger
½ teaspoons baking soda
½ teaspoons baking powder
⅓ cup coconut oil
¼ cup honey
¼ cup molasses
2 teaspoons apple cider vinegar
½ cup water [ you can use coffee if you like]
Method
Cream together the coconut oil [looks more like shortening to me than oil], honey, molasses, and cider vinegar.
Mix the dry ingredients in a separate bowl until well blended.
Alternately add the dry ingredients and the water to the coconut mixture, mixing well in between additions.
Make 12 cupcakes or 24 mini cupcakes and bake at 375 degree for about 10 minutes. Check with a toothpick to confirm done,but they are vegan so they can be gooey inside too!
Sprinkle the top with coconut, nuts, seeds or whatever you like.
I had a great time – congrats to the organizers for a very successful day!
Quick and easy cooking!
Click on photo for more pics!

HPIM5421.JPG, originally uploaded by campdancer2000.
So, we are starting to contemplate the idea of actually making our meals at home again! Too much “take out food” when we get busy, and the grocery store barely sees us!
So, I was hungry and it was late and so I looked in the cupboard and fridge and found some bits and pieces to assemble into what was actually a fabulous little meal!
Here’s the recipe – until it gets posted onto www.vegweb.com!
1 can black beans, drained and rinsed
3 fresh tomatoes, chopped
1/2 cup corn, frozen or canned
1/3 cup unsweetened applesauce
1 small jalepeno, chopped
1/4 tsp ginger powder
1/4 tsp cumin
1/4 tsp coriander
salt and pepper to taste
Heat a bit of oil in a large skillet and toss everything into it.
Let it cook, stirring occasionally, while you make up some rice/couscous/quinoa etc. as a side dish – approximately 20 minutes.
When the side dish is ready, serve it up!
Minty Bean Balls – a new recipe
Along with sewing and dancing, Tracey – my everyday ego – enjoys cooking. I have been missing that lately with so many other deadlines, shows, sewing projects for clients on the go. Today, I was able to sleep in, make whole wheat pizza crusts to freeze for easy meals this week, start some 24 hour whole wheat, no-knead bread, and do some groceries.
We have an invite to go to some friends for supper – another luxury at this time of year – and I wanted to bring something light and fun as an appetizer. Even though I did buy groceries, I had not thought about what I wanted to make or bring. Upon arriving home and scanning the fridge and cupboards, I came up with these.
Based loosely on the concept of falafels – or perhaps simply inspired by falafels, I took the idea and ran healthy with it.
- 1 can of mixed beans [ included chickpeas, kidney beans, pintos and black beans I think], drained and rinsed.
- 1/4 cup tahini
- 1/2 cup fresh mint leaves [ organic from my back yard]
Dump it all together and use a blender/food processor/hand blender to puree it all together. Make balls on an oiled cookie sheet, and bake in a 400 degree oven for about 30 minutes. If you prefer to fry them – go ahead. I don’t like to add too much extra fat, so I wanted to see how they turn out as a baked product.
Changes I will try next time:
Mine was very soft – as you can see in the picture, they did not hold their shape as balls. I had to make dropped balls from a spoon. I think I would add more beans or less tahini. Or possibly add some ground flax seeds or other seeds/nuts. They would have the consistency of cookie dough, and then can be rolled by hand.
I would suggest that if you have garlic and onion and like them, add some. I cannot eat these without spending the next day clearing my throat, so I avoid them, but for most people they would find them a standard addition. Say 1 clove garlic and 1/2 a small onion, both minced and then purees with the rest.
You can always use different fresh herbs too – cilantro, parsley, basil, hmm, whatever works for you.
We will be serving them with some garlic mayonnaise for those who want a dipping sauce tonight, but I have thoughts of these going really well as an alternative to meatballs in many recipes/meals.
If you try this, or create your own variation, I would love to hear!
