Halloween Party or Tiny Dinner Party?
Ok- you get both – with visuals!
Halloween party:
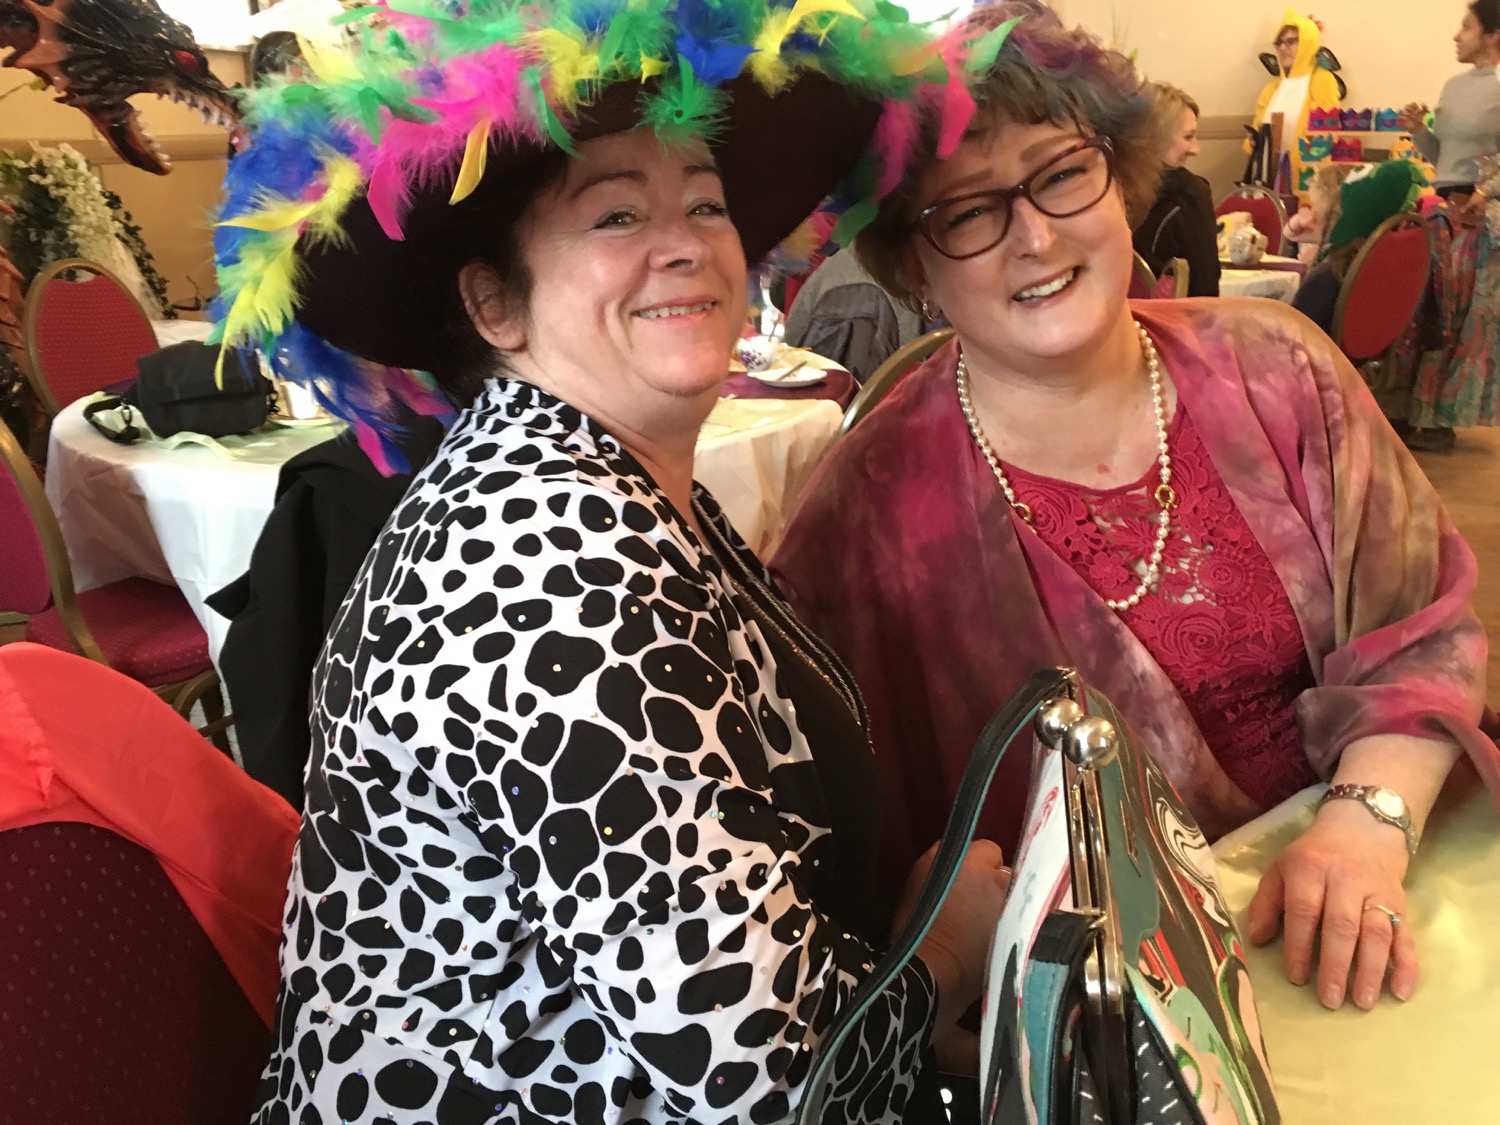
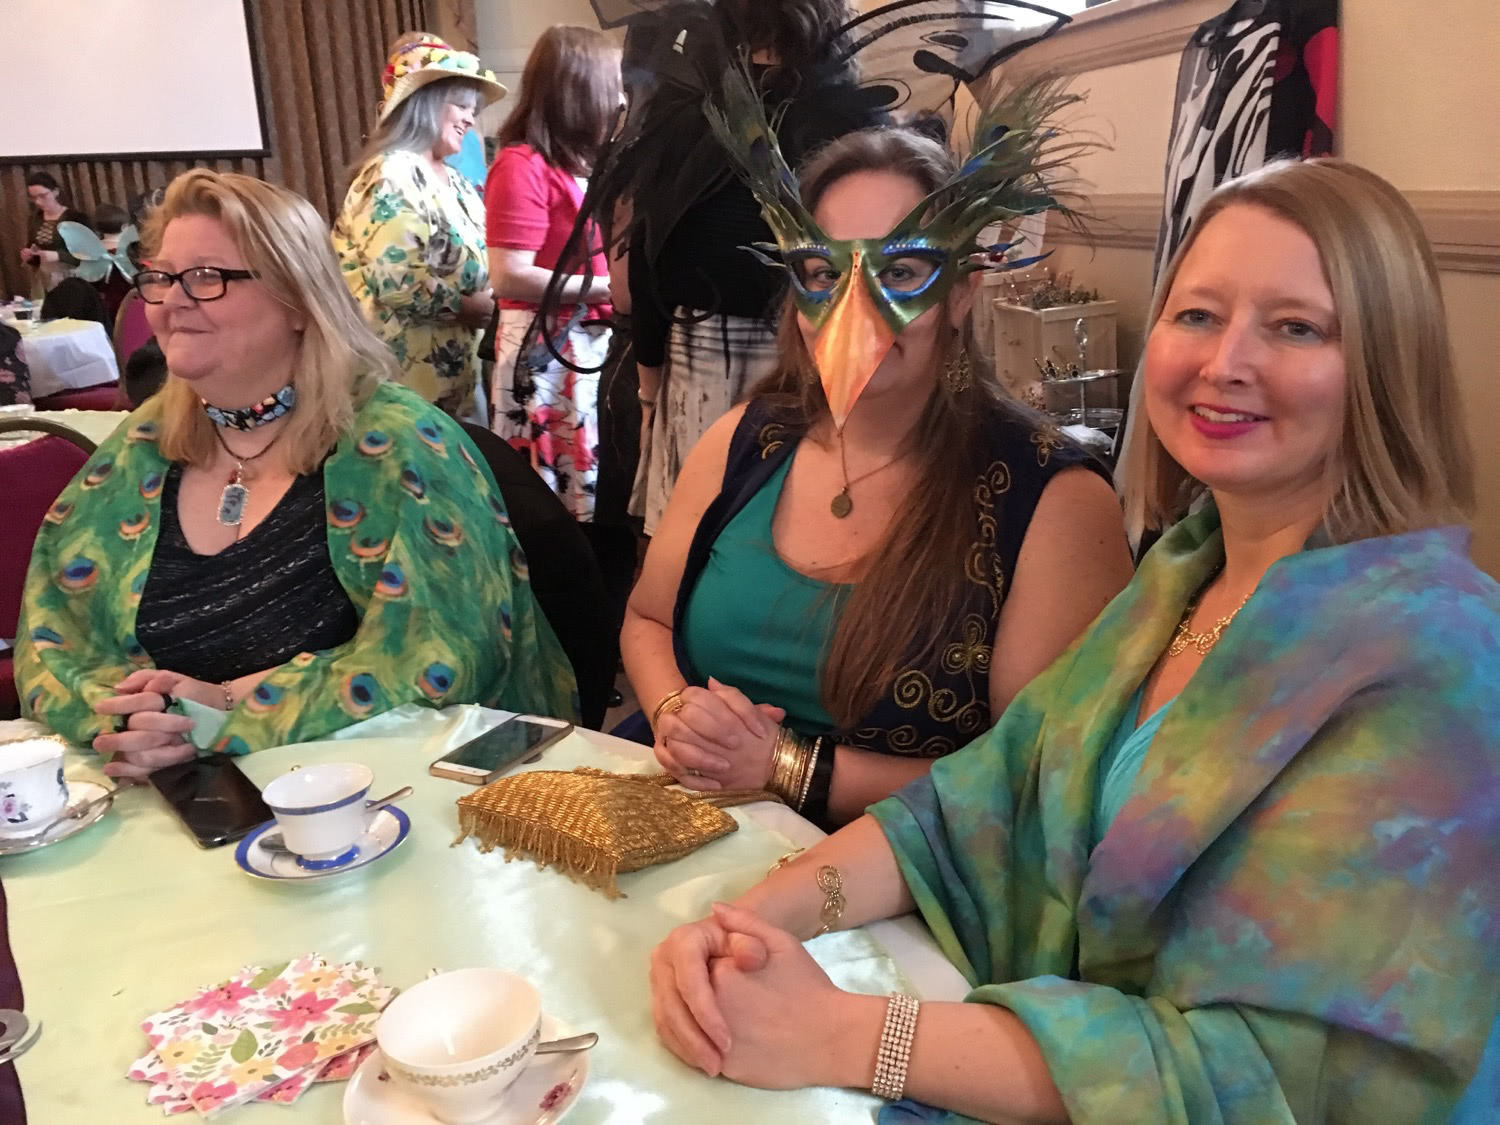
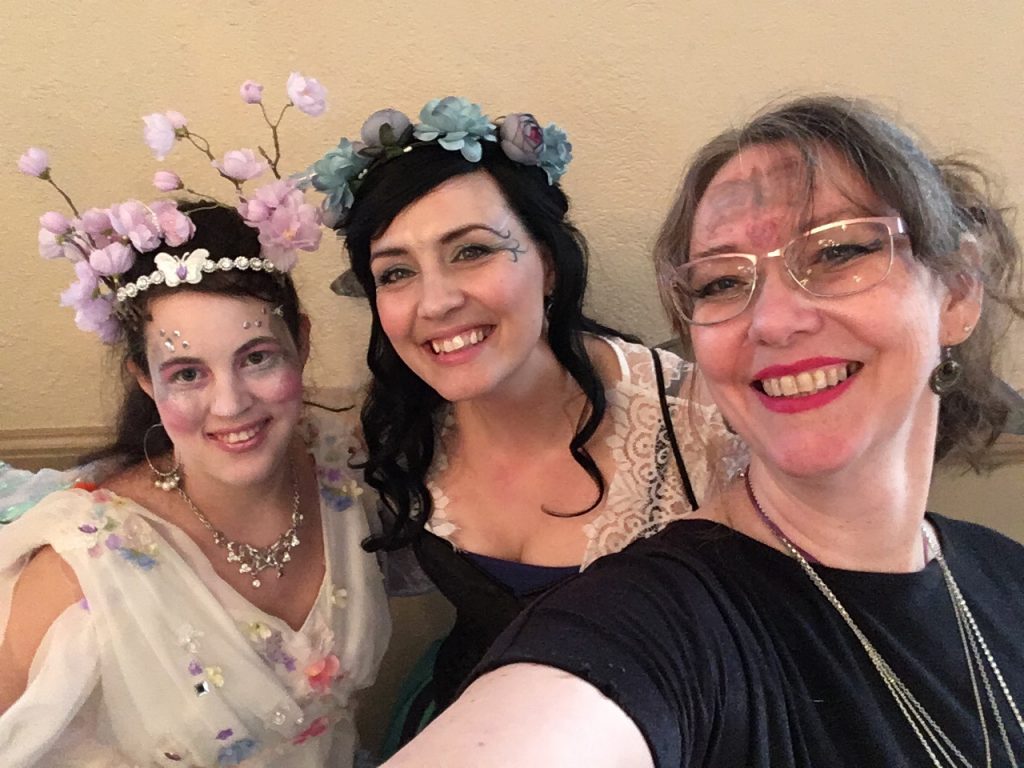
This weekend, along with being Diwali (happy Diwali to this who celebrated), many local Halloween parties happened.
Traditionally, hubby and I would have attended the Witches Gathering, but last year was the last of this fabulous event, after over 20 years of the organizers donating their time and making a community event that rocked.
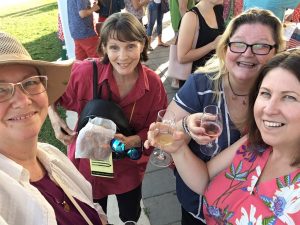
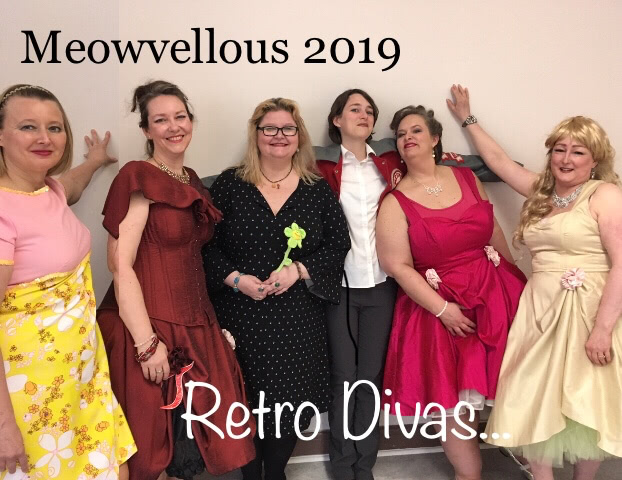
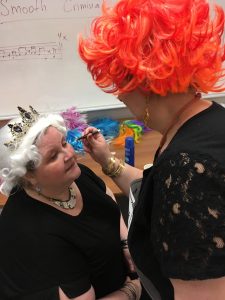
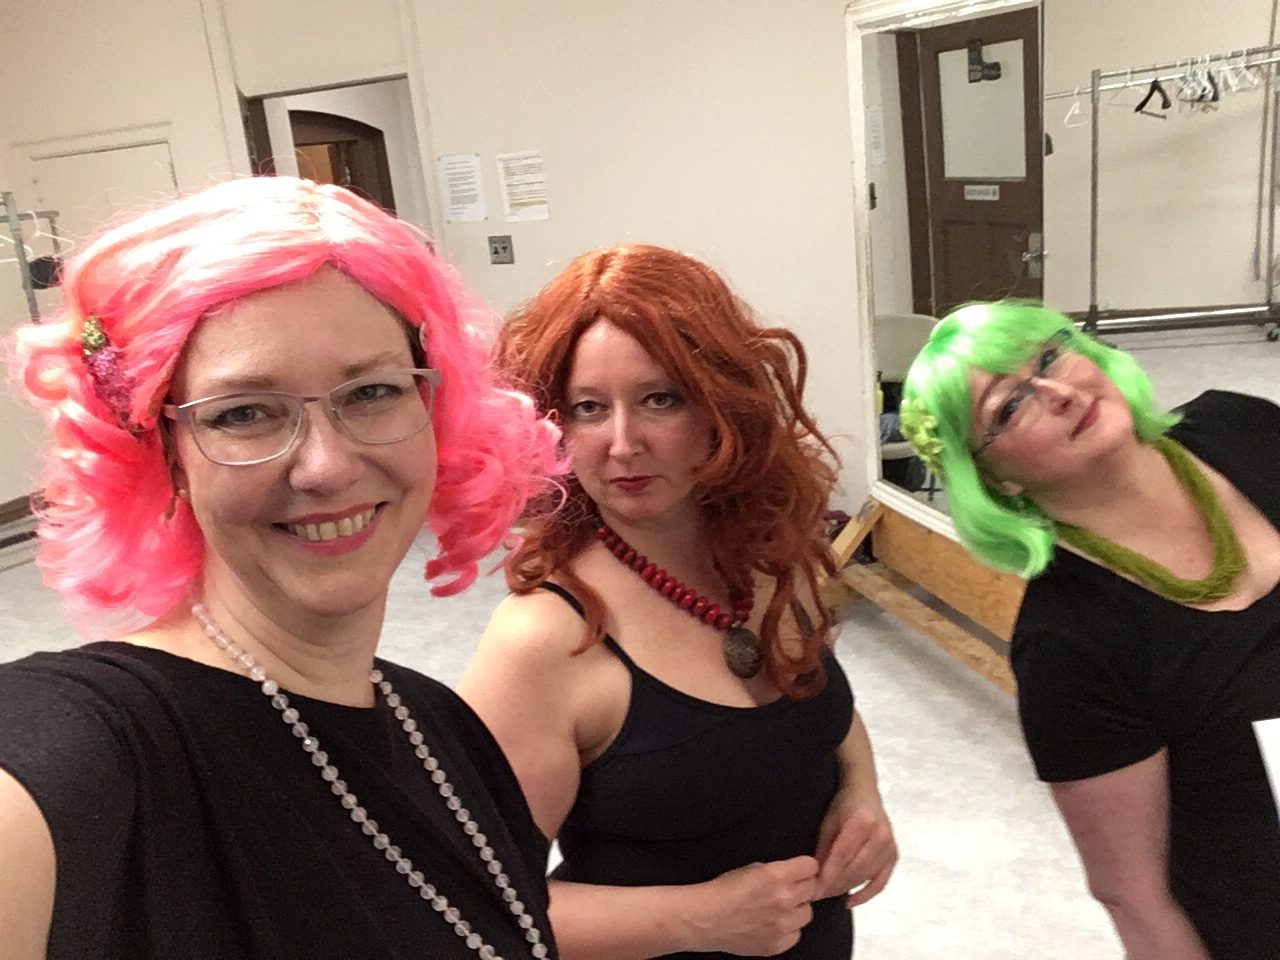
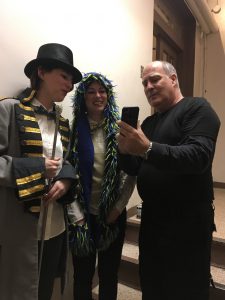
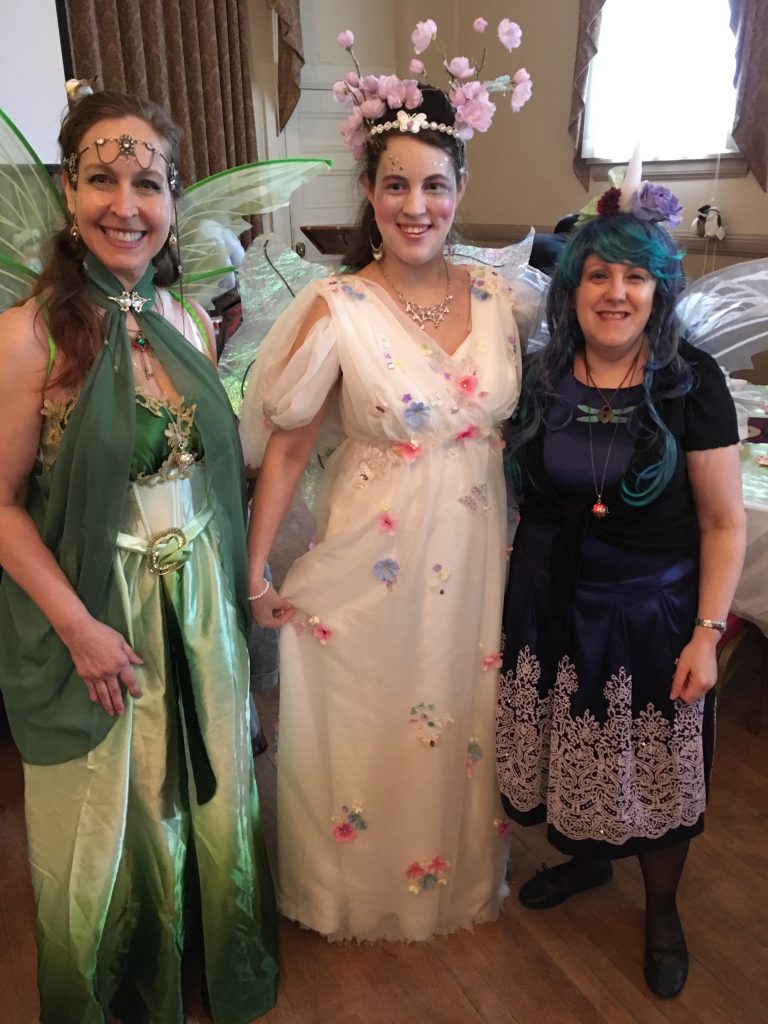
Back to the present – another group, Vixens Victorious Ottawa, has been hosting an annual fundraiser for the past few years in October and this year they decided the theme would be Nightmare on Kent Street- perfect!!!
It was fun!
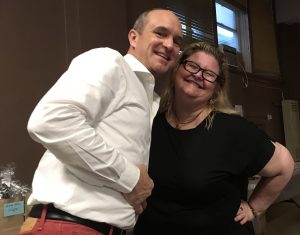
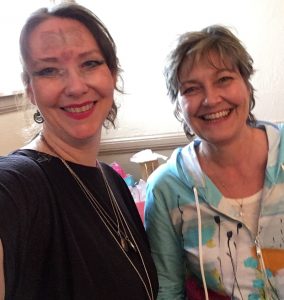
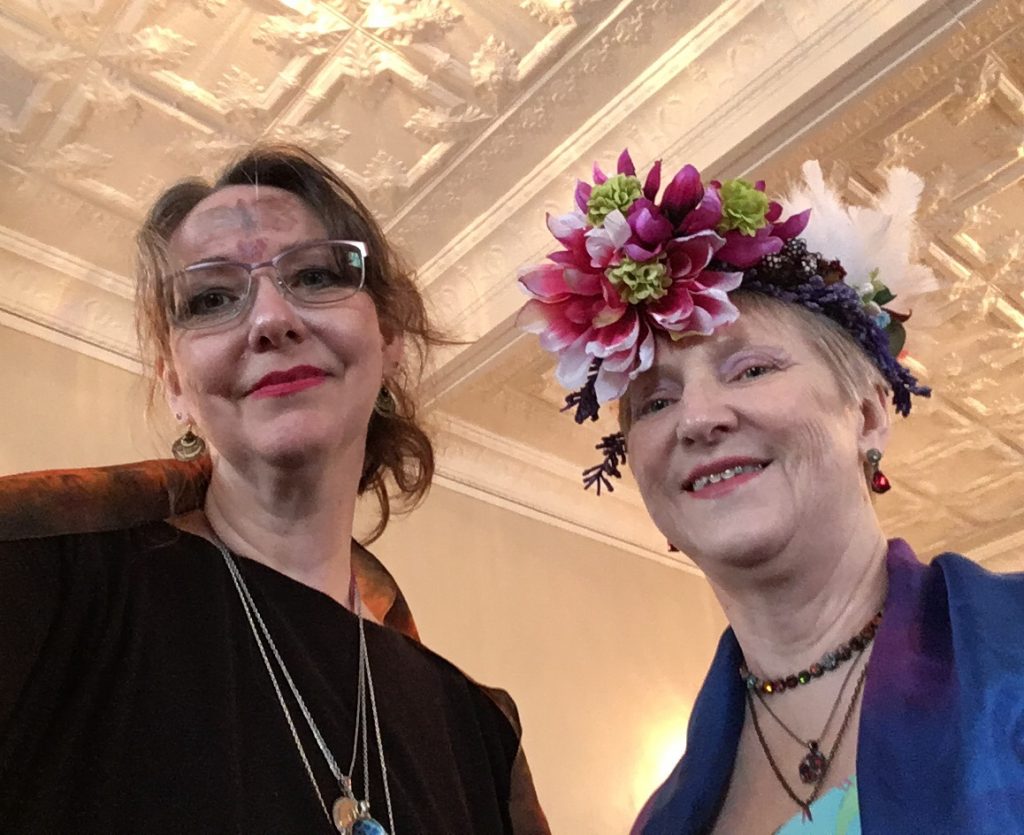
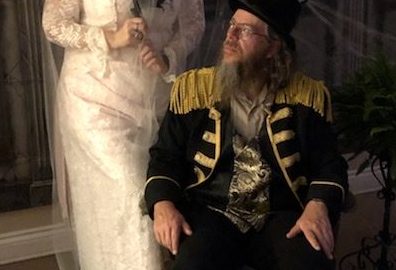
We went as a ghost bride and her stoic but distraught widower from the Victorian era ( stylized of course)
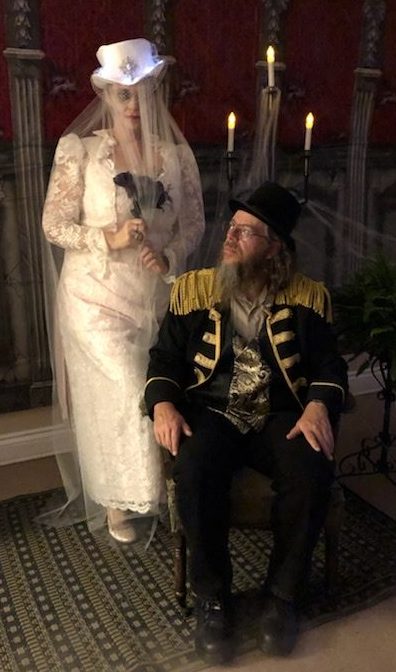

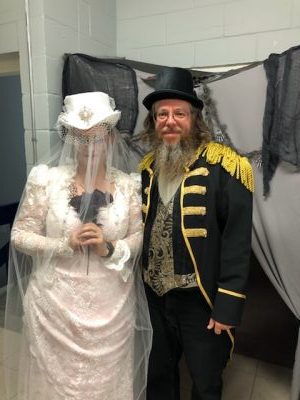
We won a prize in the couples category! Woot!
Congrats to the organizers and all the other winners – looking forward to next year!
————–and now….
Tiny Dinner Party!
A few months ago, I set up a sub group, Tiny Dinner Parties, on FB to an existing social activity organizing group, and have been test driving it and having some fun!
Note: I am torn about my use of FB as a social connecting space; I mainly use it for positive shares and as a means of connecting with multiple folk at once where conversations can be easily perused and organized.)
The concept:
Create a space that will allow a larger group of loosely connected folk a chance to both host and attend smaller group events without pressure or guilt. No need to fee pressure to host or attend, but if it works out timing and energy wise, join in!
- You want to host a party? You set up an event.
- You only have room for 3 people to join you? Indicate it.
- Your menu will be based on a specific food/style- ie. vegetarian or bbq or turkey dinner? Indicate it!
You then share the event with the full group and the first 3 ( or your chosen number) people to hit “going” have snared a spot at your table!
As a guest, you read through the description to make sure it’s a party you will enjoy before hitting “going”, offer your contributions if requested, and then venture out for a fun evening with friends- maybe folks you would not normally get a chance to meet!
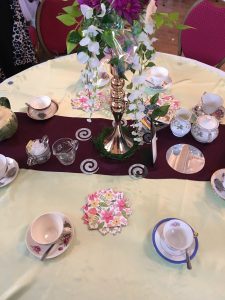
Turkey Dinner Time:
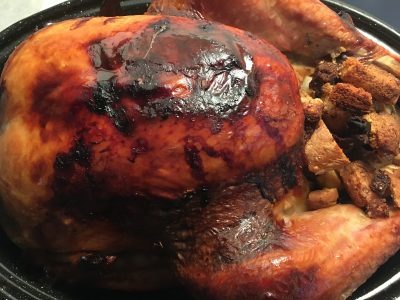

I hosted my 3rd last night and tried a new configuration for table set up- full on eat in kitchen!
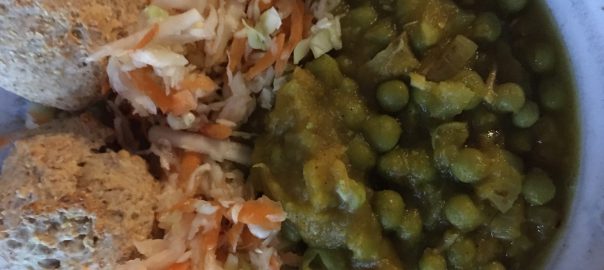
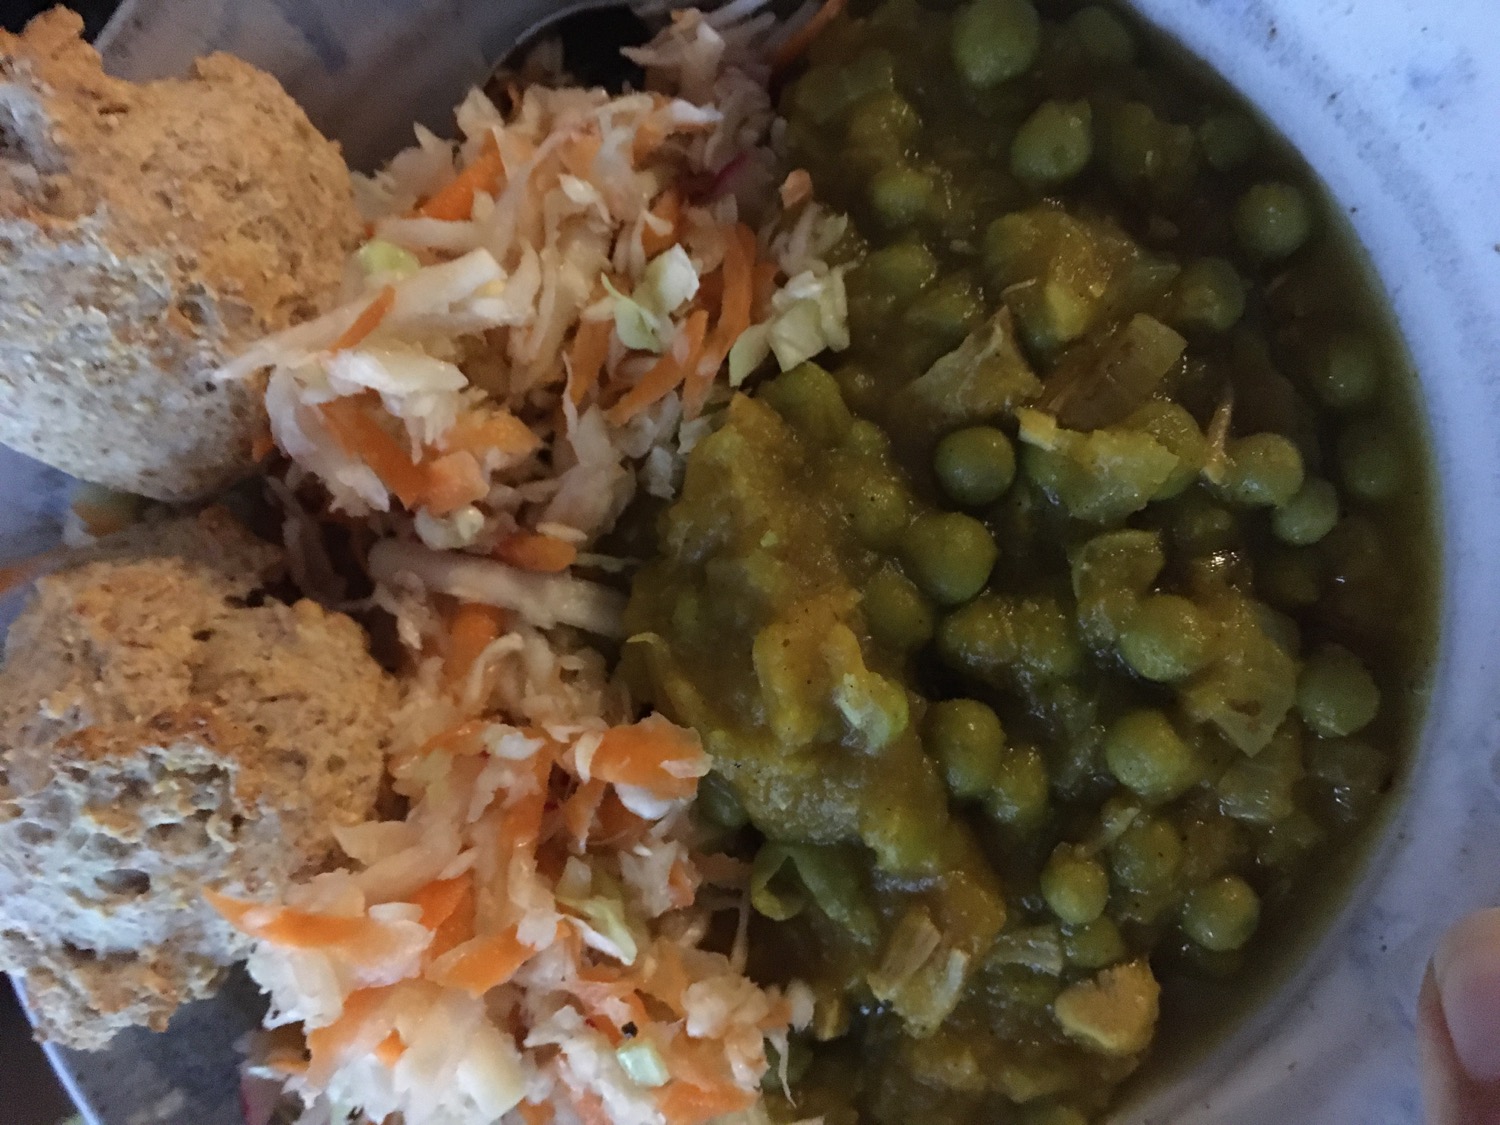
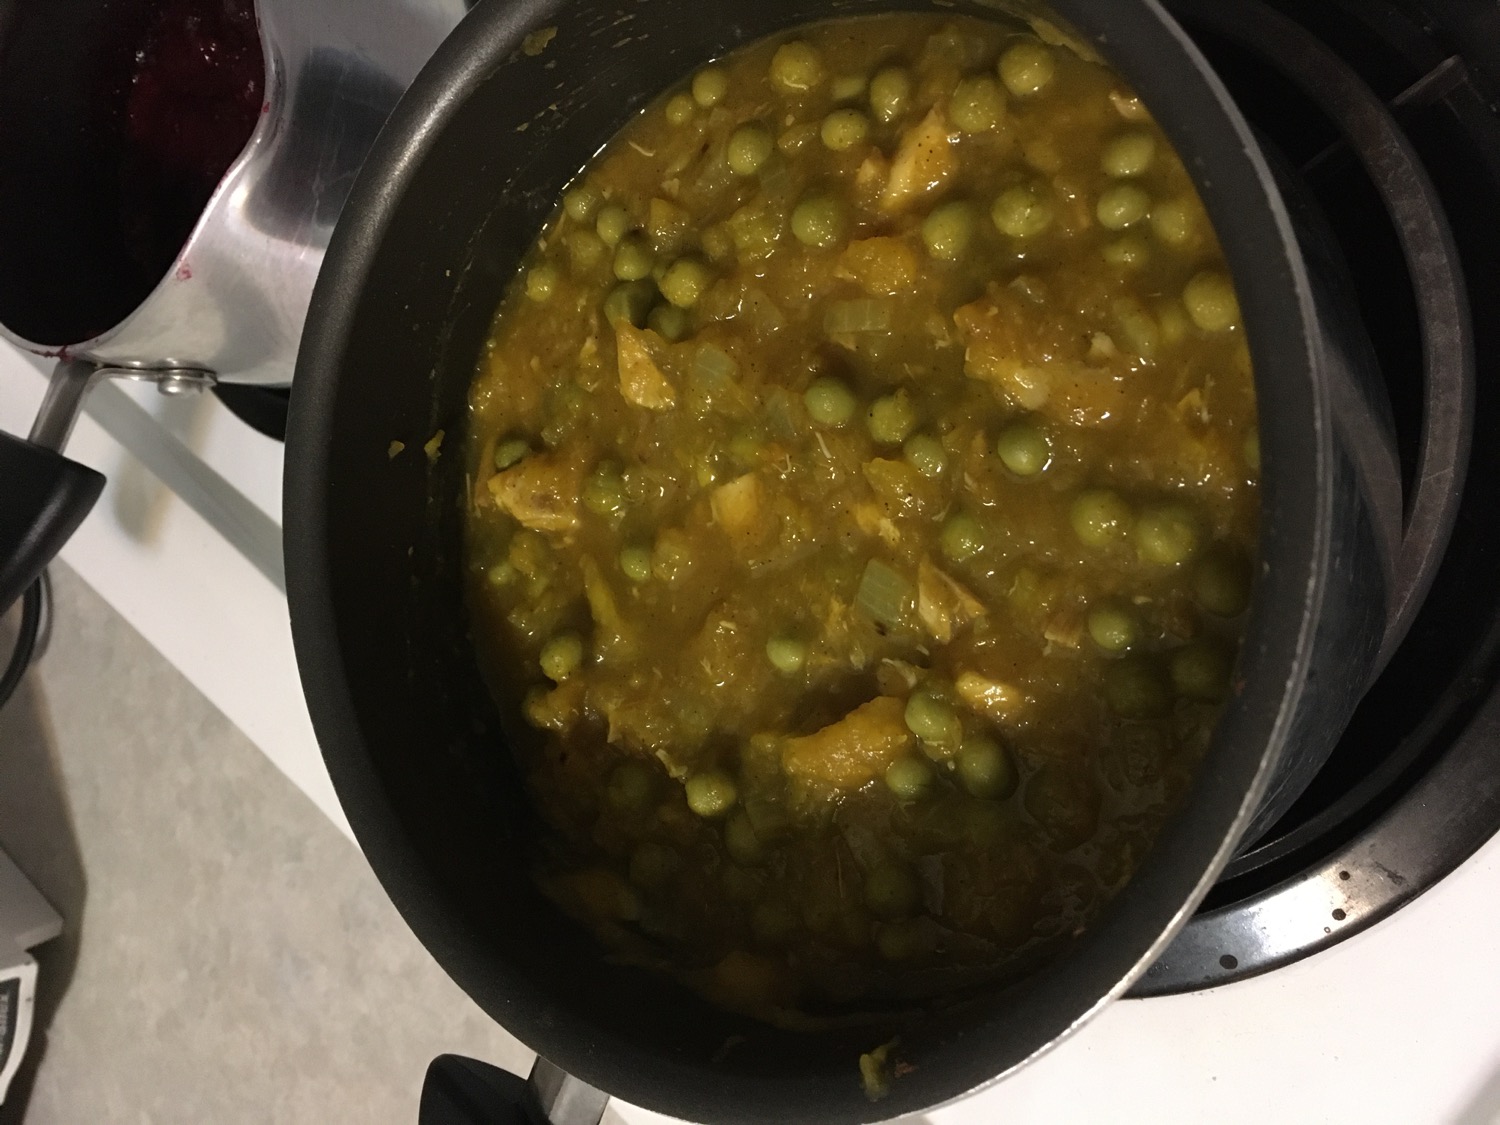
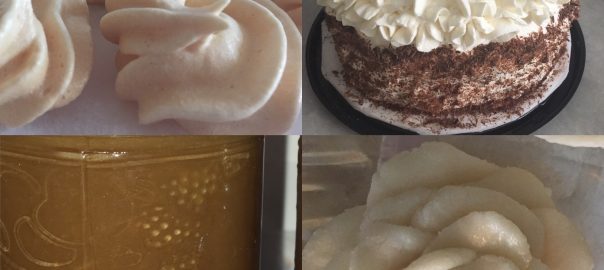
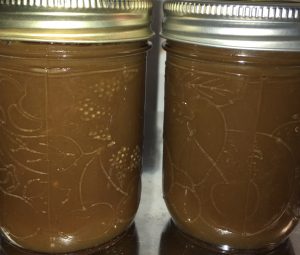
We had a lovely turkey dinner – sorry I did not get pics of the Kale salad, sweet potato casserole, Brussels sprouts with bacon, nor the mashed, stuffing and gravy – but it was all amazing.
…and a ” please, get out of the kitchen between courses so that I could clean up” – with the assistance of two lovely dish washers – MOST APPRECIATED HELP OF THE DAY!
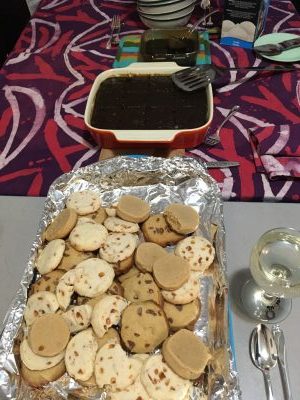
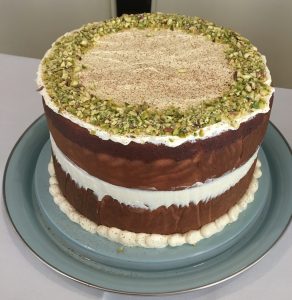
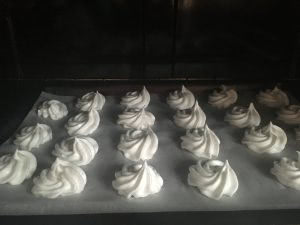
Then, there was the most lovely Sticky toffee pudding for dessert along with 3 types of cookies!